

Coloring bushes can add a lush and natural touch to your artwork. With the right techniques, you can create depth and texture that make the foliage look realistic.
In today’s tutorial, we will use a page from the Cottage Vibes, a Southern Lotus Coloring Book. Follow these easy steps to bring your bushes to life!
- Ohuhu Markers (GY3, G2, BG6)
- White Acrylic Pen
- A coloring page from Cottage Vibes Coloring Book
Step 1: Base Layer with GY3
Start by applying a smooth first layer using the marker shade GY3. This will be the foundation of your bush, giving it a vibrant green tone. Make sure to color evenly and leave no white gaps for a seamless look.

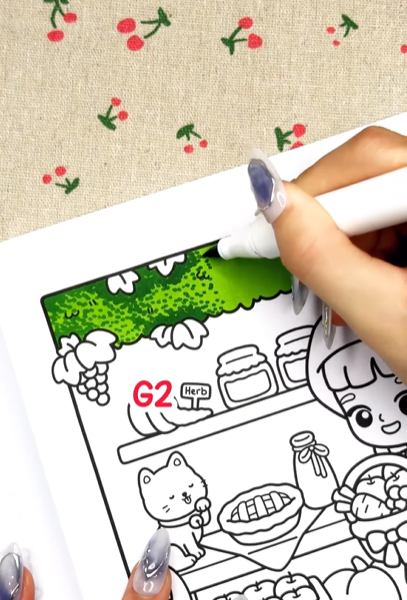
Step 2: Add Texture with G2
To create the natural texture of leaves, use the dotting technique with the G2 marker. Lightly tap the marker tip onto the page, focusing on the areas where shadows would naturally form. This will add depth and make the bush appear fuller.
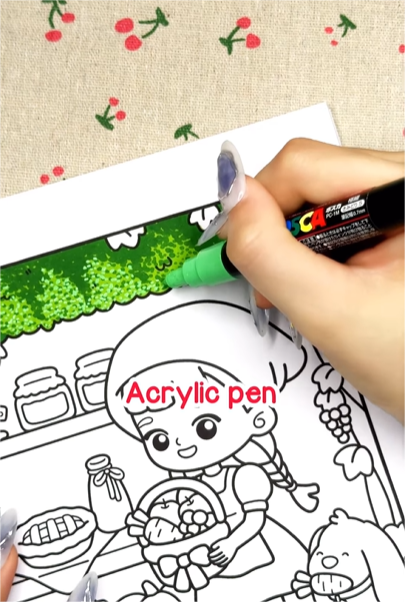
Step 3: Add Highlights with Acrylic Pen
Use a white acrylic pen to create small highlights where light naturally hits the bush. This step enhances contrast and gives the leaves a lively, three-dimensional effect.
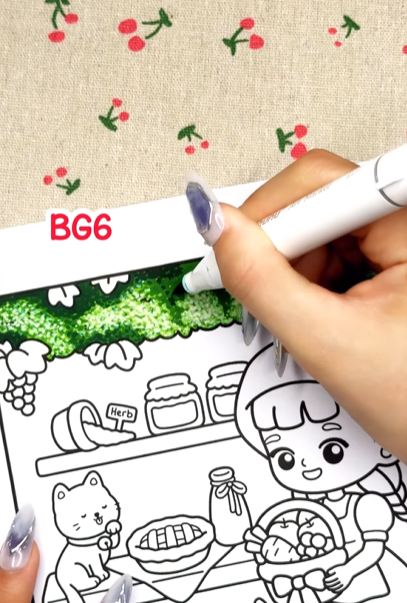
Step 4: Add Shadows with BG6
To make the bush look more dynamic, use BG6 to add subtle shadows at the base and within denser areas. This darker shade creates depth and makes the leaves stand out even more.
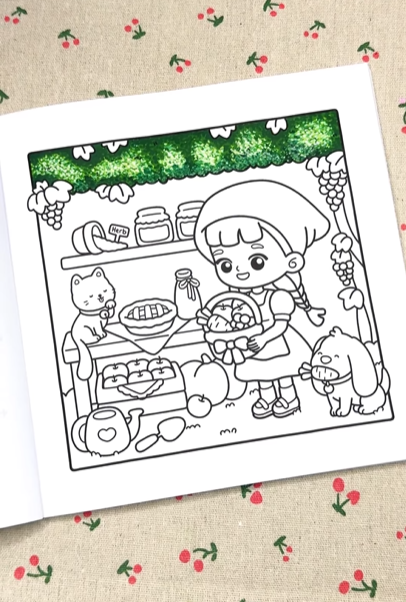
You now have a beautifully colored bush with realistic texture and shading. Feel free to experiment with different green tones and dotting patterns to create a variety of bush styles!
For more tutorials, check out Instagram Southern Lotus Coloring, where you can find video demonstrations of various coloring techniques, including this bush tutorial.
Enter your email to get our special. Gift straight to your inbox.