

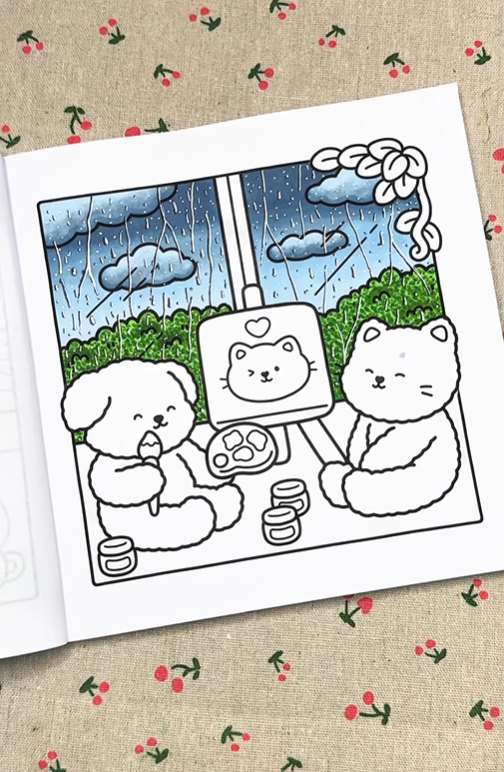
A rainy day brings a special kind of beauty, especially when viewed through a window with raindrops gently sliding down the glass. Unlike a typical rain scene, coloring rain through a window adds extra depth by blending colors to create a soft gradient sky and realistic raindrops. In this coloring tutorial, we'll guide you through five simple steps to achieve this effect using 4 simple color markers.
Today's tutorial features an illustration from the Fuzzy In Love by Southern Lotus Coloring Book, available on our website and Amazon.
- Ohuhu Markers (MG060, BGII03, MG020, CGII08)
- White Acrylic Pen
- A coloring page with a rainy window scene (from Fuzzy In Love Coloring Book)
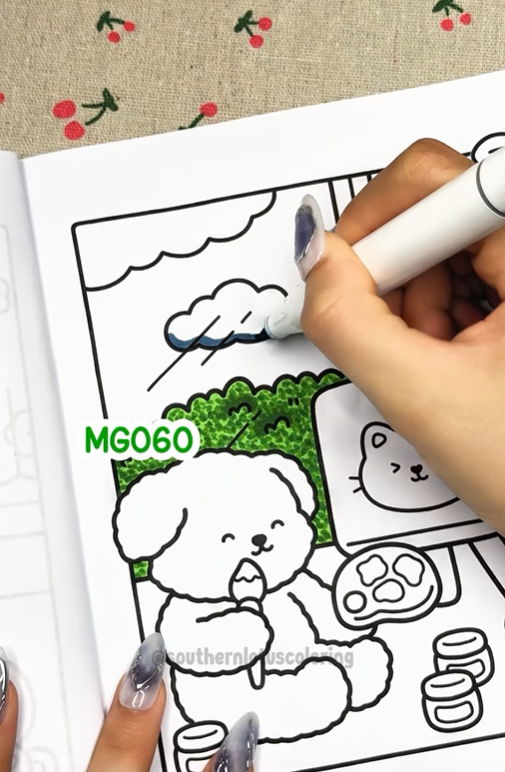
Step 1: Shade the Lowest Part of the Cloud with MG060
Start by coloring the lowest one-third of the clouds with MG060. This step creates the foundation for the color gradient effect.
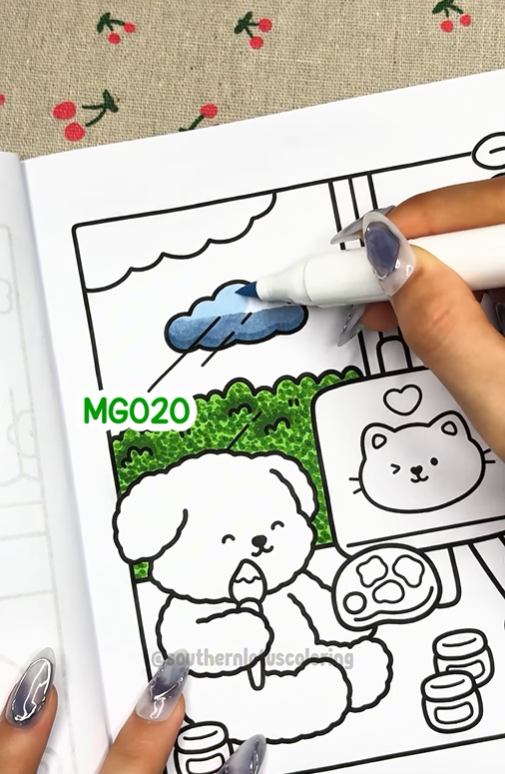
Step 2: Blend with BGII03 and MG020 for a Gradient Effect
Layer BGII03 above the first color and MG020 over it to create a seamless blending colors effect. Blend well to soften the transitions and achieve a smooth, misty cloud.
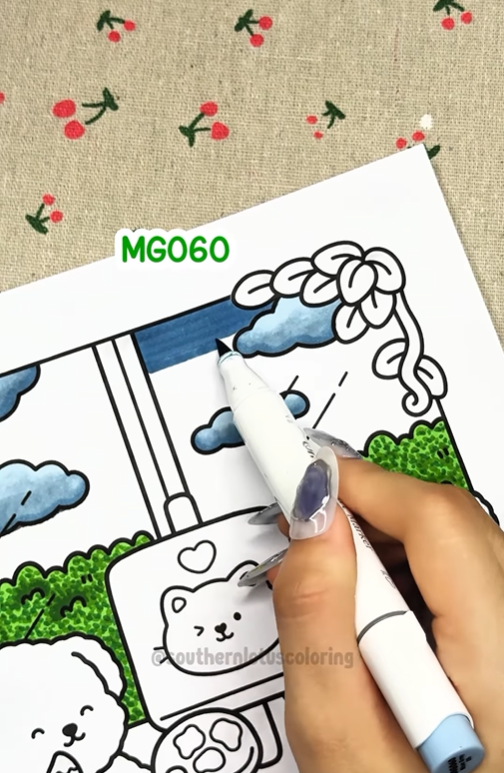
Step 3: Color the Sky with the Same Blending Technique
Apply the same blend colors technique to the sky, but this time, work from top to bottom. This will create a natural-looking rainy day atmosphere.
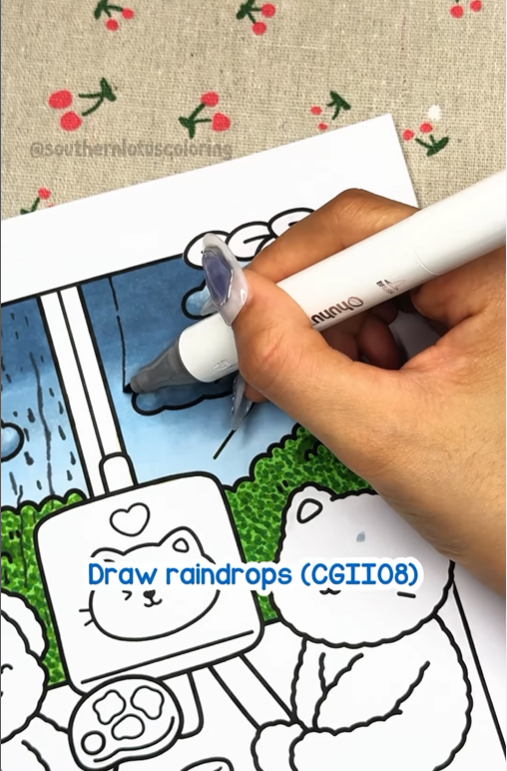
Step 4: Draw Raindrops with CGII08
Use CGII08 to add rain drops in two styles:
- Long streaks for raindrops on the window.
- Small dots for rain falling further away.
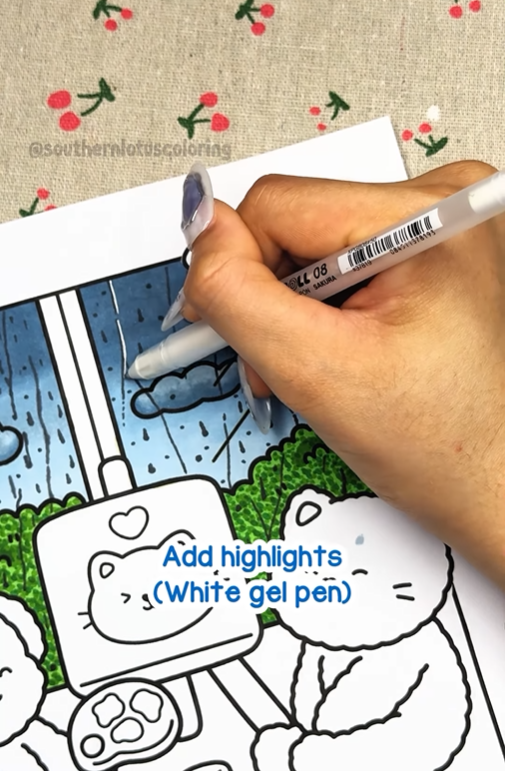
Step 5: Highlight with a White Acrylic Pen
Finally, enhance the rain drop tutorial effect by adding highlights with a white acrylic pen. Place tiny reflections on raindrops and streaks for a realistic wet-glass look.
Your rainy day scene through a window is complete!
Whether you’re practicing blending markers or experimenting with different color gradients, this coloring tutorial will add depth and emotion to your artwork.
For more detailed tutorial, you can check out our Instagram.
Enter your email to get our special. Gift straight to your inbox.