

Blending red is one of the most requested coloring techniques in the coloring book community. Red is vibrant, emotional, festive, and perfect for Christmas coloring pages, cute ornament illustrations, kawaii coloring books, adult coloring books, and holiday themed art. However, red ink dries quickly and can be challenging for beginners in alcohol marker coloring. In this step-by-step guide, Southern Lotus will show you how to blend multiple red shades smoothly using Ohuhu markers, creating a soft, velvety 3D finish that looks professional even if you're just starting out.
Today, we’ll practice on a cute Christmas ornament and learn how to color them in different ways. A perfect mini project for fans of coloring books for adults, beginner friendly coloring pages, stress relief coloring books, kawaii art, and cute aesthetic coloring books.
For a smooth and dimensional red gradient, here are the recommended tools:
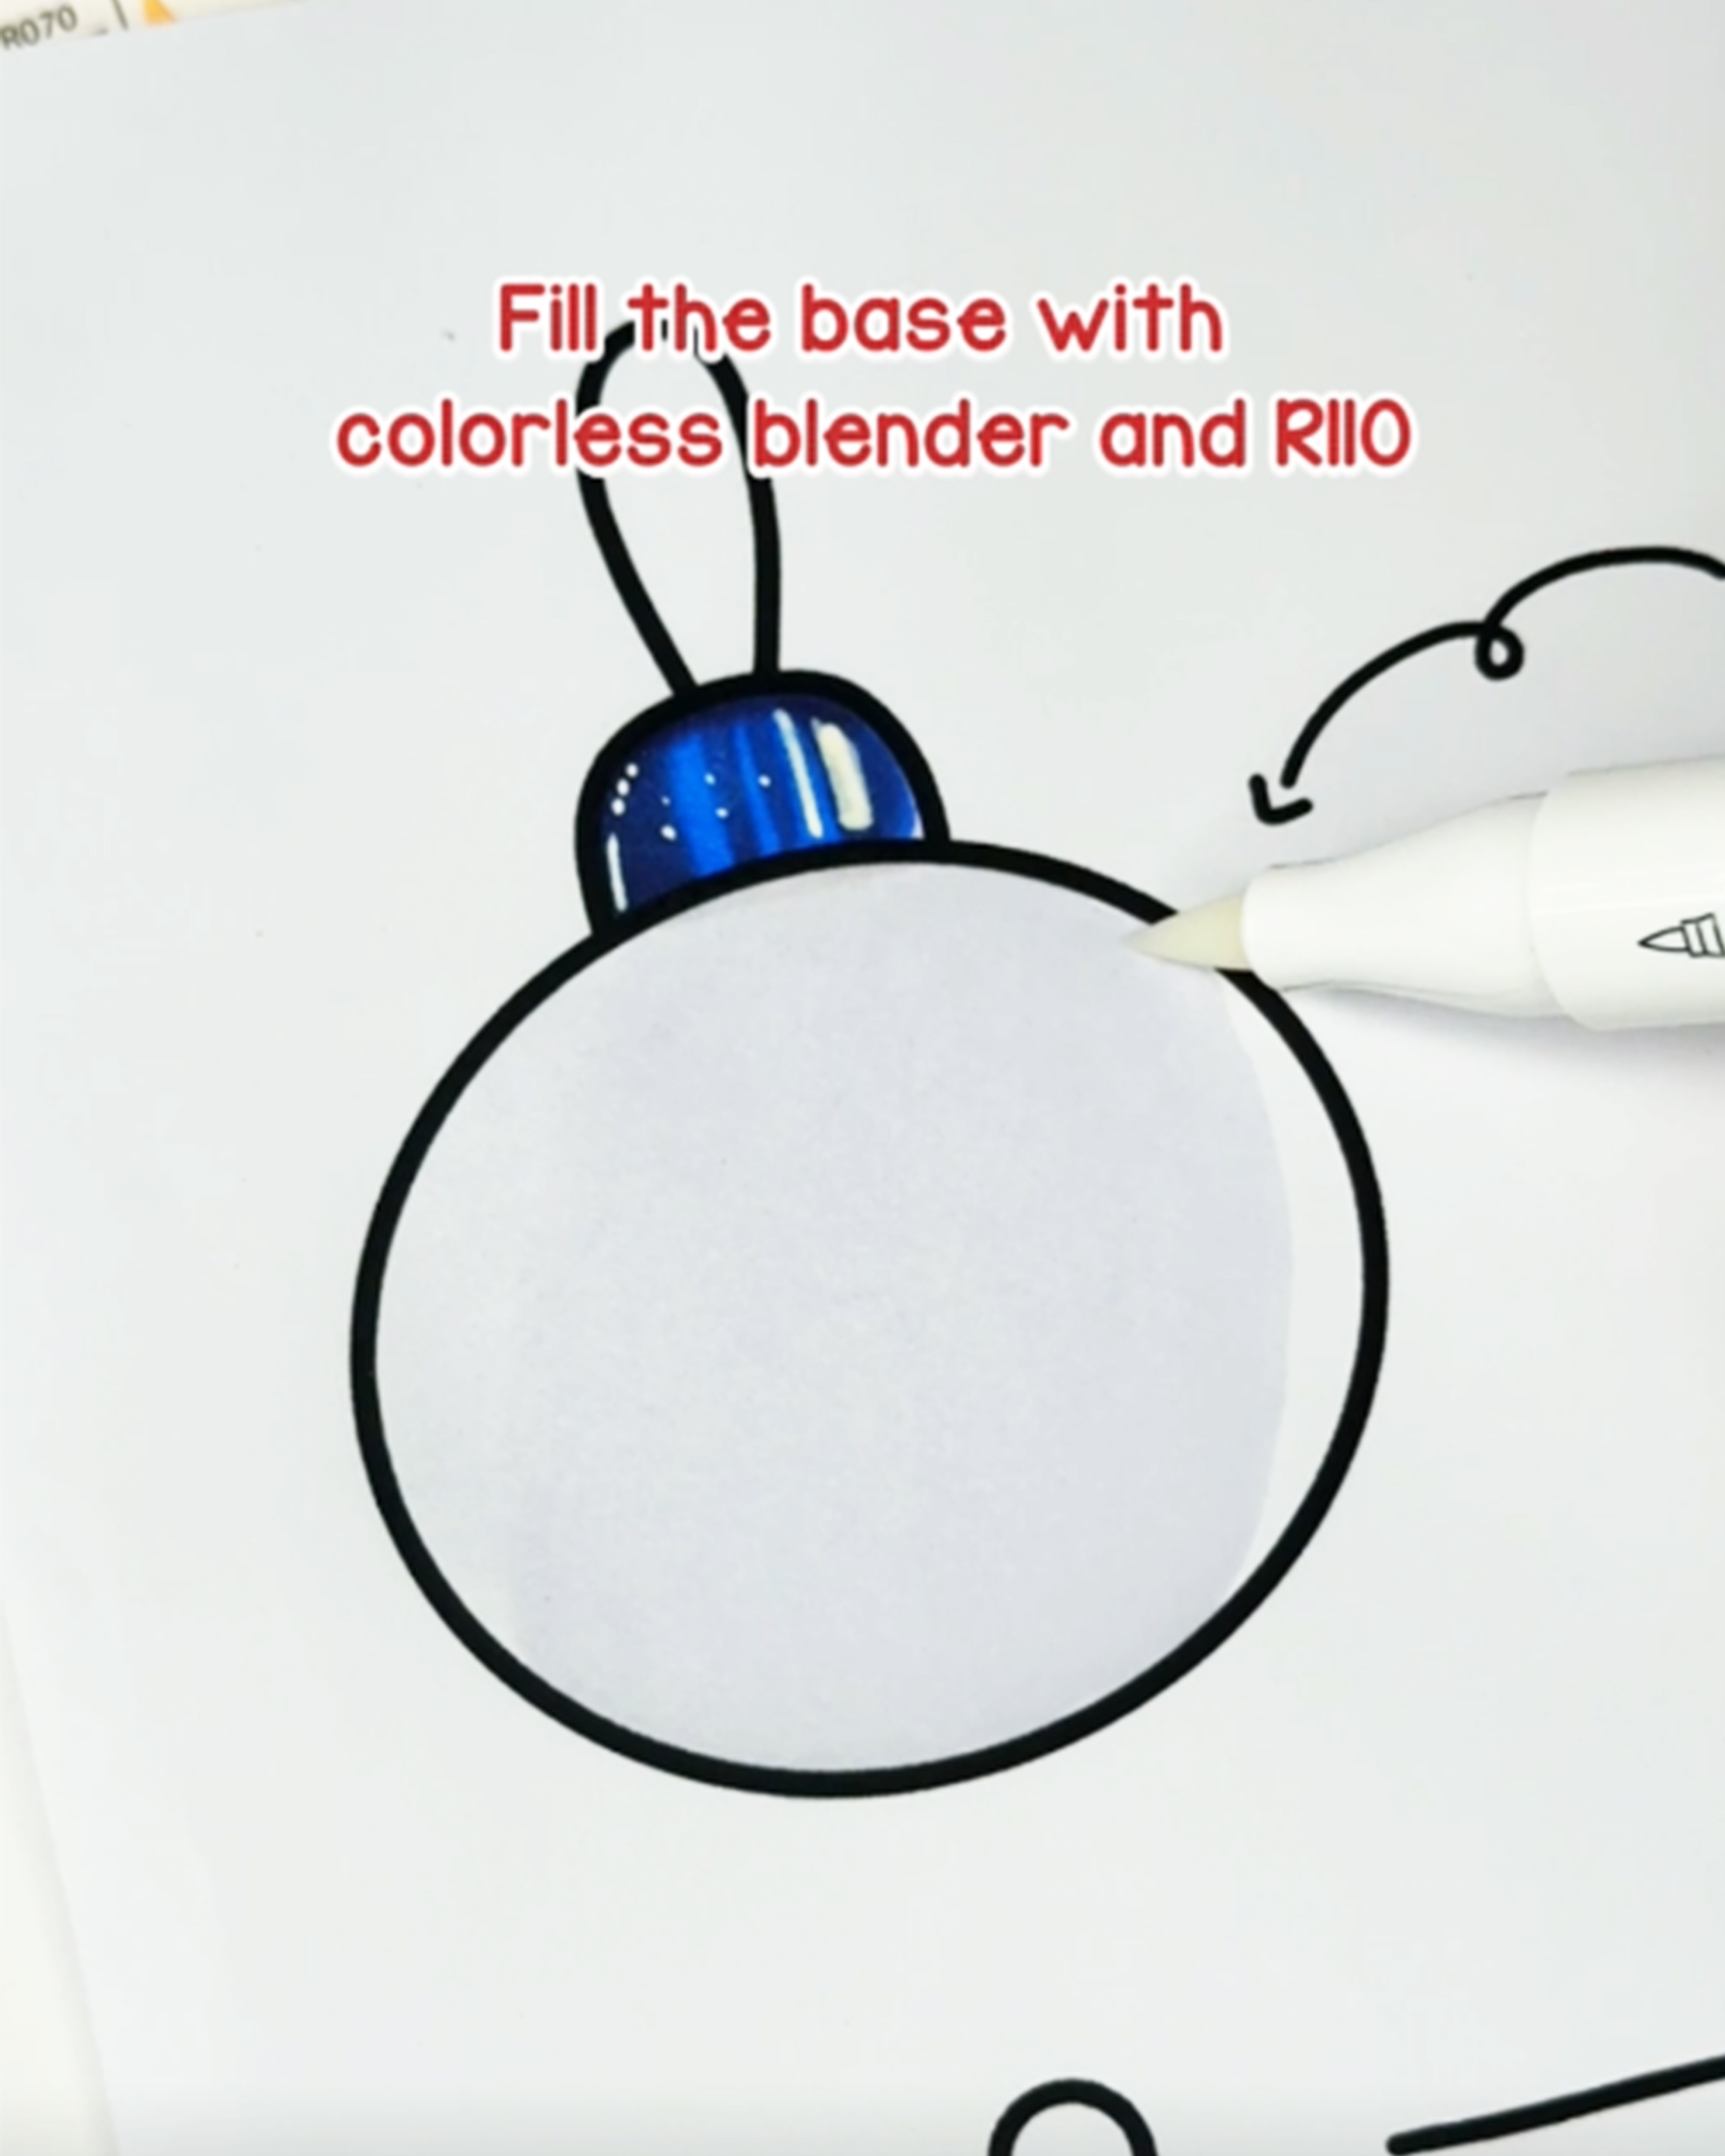
Start by applying a generous layer of Colorless Blender. This keeps the surface wet and prevents streaks perfect for beginners practicing alcohol marker coloring on cute Christmas pages. Then, fill the entire shape with R110 to build a soft pastel base.
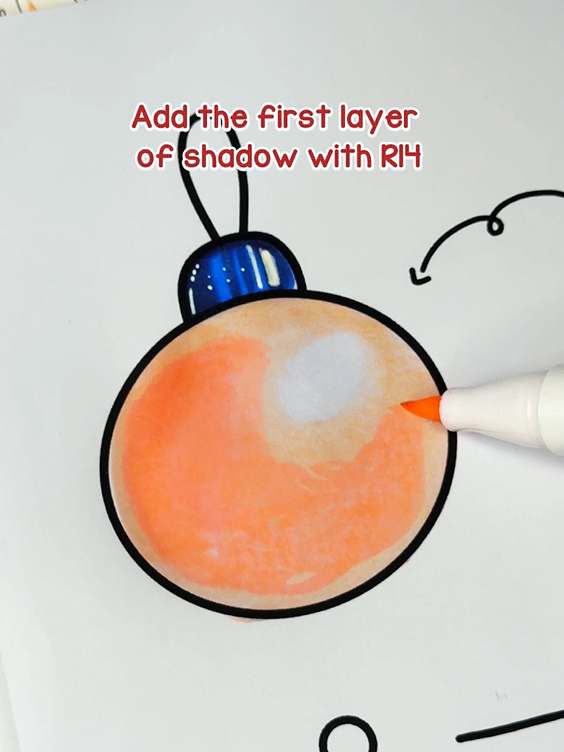
Use R14 to establish the first round of shadows. Focus on the lower and side areas. It's normal for this layer to look uneven, blending improves with each layer.

Apply R38 to create a bright, festive red perfect for Christmas coloring books and kawaii art. Then switch back to R14 to soften the transition. This repeated blending technique gives a smooth, velvety finish.
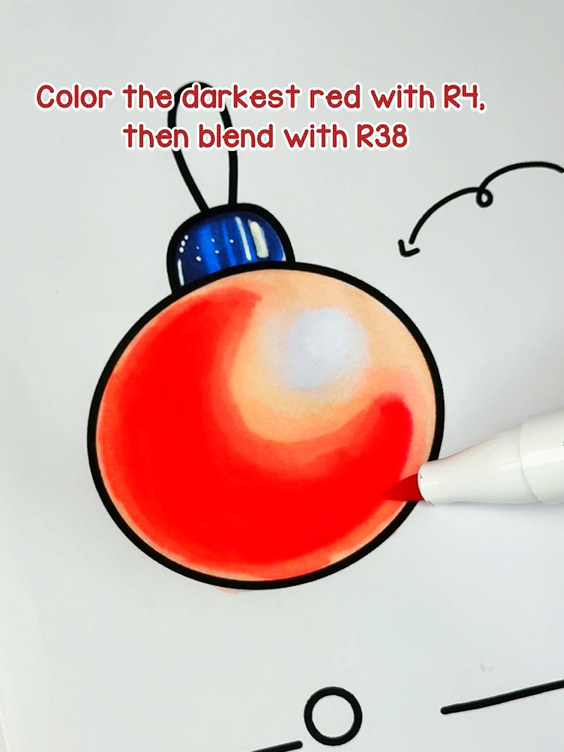
Use R4 to add the deepest shadows. This step creates strong dimension and makes the ornament look round and glossy. After adding depth, lightly blend with R38 to smooth harsh edges.
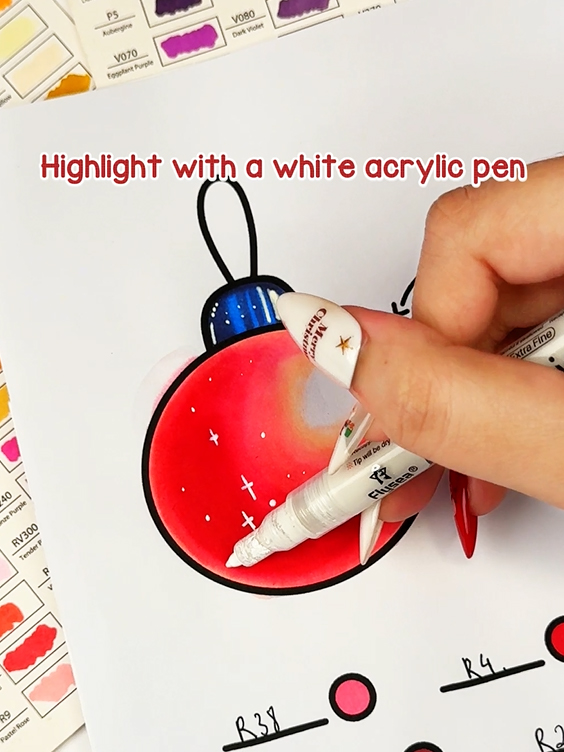
Add highlights using a white acrylic marker. Curved reflections, sparkles, or tiny dots make your ornament glow beautifully perfect for Christmas coloring pages, cute aesthetic art, and kawaii holiday illustrations.
If you’d like to practice your alcohol marker blending, we also prepared a free printable PDF so you can test your red gradients before working on your main pages. This practice sheet includes simple ornament outlines designed specifically for smooth shading, highlight placement, and layering exercises. It’s perfect for beginners who want to build confidence and for experienced colorists who enjoy warming up before creating a finished piece.
Still figuring out how to blend red? Don’t worry. I filmed every step so you can just follow along and practice with me.
Enter your email to get our special. Gift straight to your inbox.
