
Blending colors is one of the most important skills in coloring. It helps create realistic gradients, smooth shading, and soft textures for a more professional look. If you're new to blending or want to improve your technique, this guide is for you!
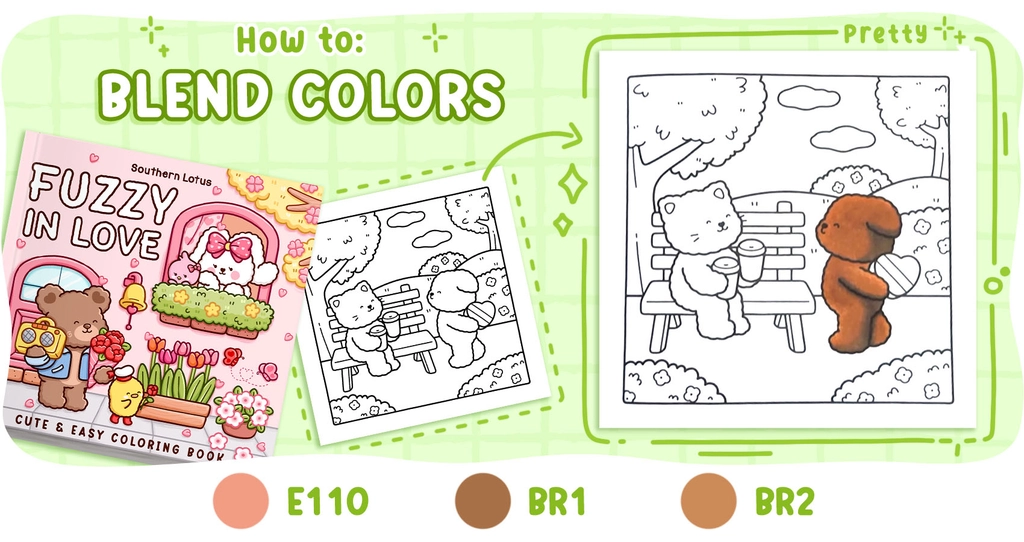
Today, we’re working on an adorable fluffy bear illustration from the Fuzzy In Love,a Southern Lotus Coloring Book, fill with romantic and cozy animal couple scenes, available on our website and Amazon. Follow these simple steps using Ohuhu markers to achieve a soft, 3D fur effect.
- Ohuhu Markers (E110, BR1, BR2)
- A coloring page featuring a fluffy animal (from Fuzzy In Love Coloring Book)
- Blending marker (optional, but helpful for smoother transitions)
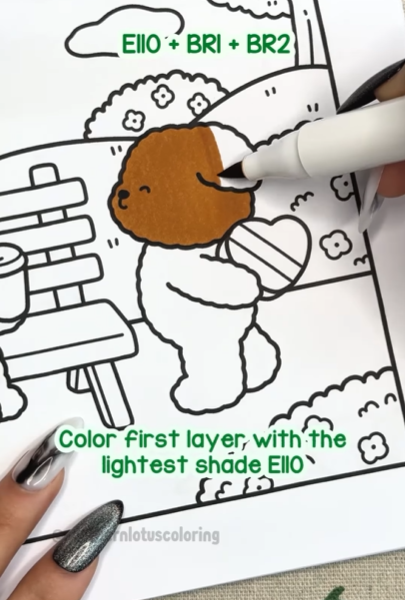
Step 1: Base Layer with the Lightest Shade
Start by covering the entire bear with E110, the lightest shade. This creates a smooth base and makes blending easier.
Note: Use light, even strokes to prevent streaking.
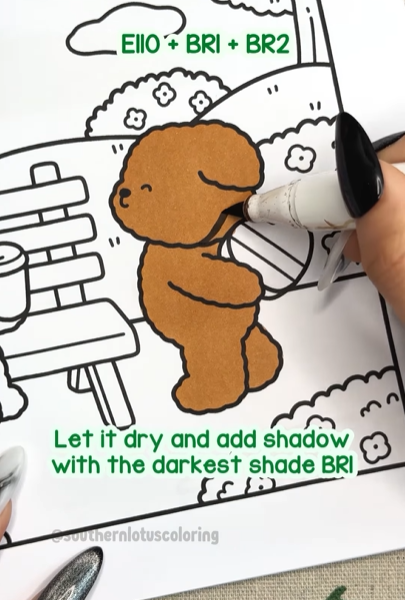
Step 2: Add Shadows with the Darkest Shade
Once the base layer is completely dry, use BR1 to add shadows where the fur would naturally be darker—around the edges, under the chin, and near overlapping areas.
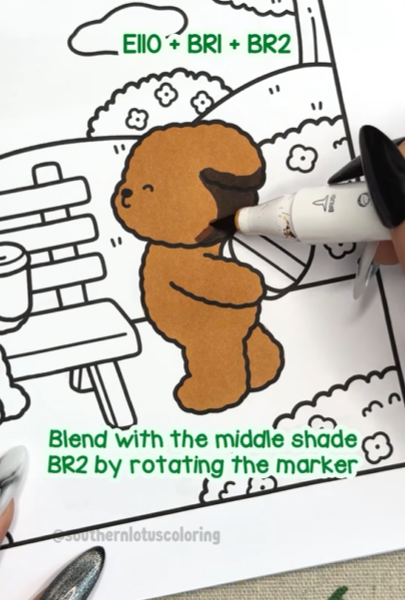
Step 3: Blend with the Middle Shade by Rotating the Marker
Now, take BR2 and blend the shadowed areas into the lighter areas. Use small circular motions to soften the transition and create a fluffy texture.
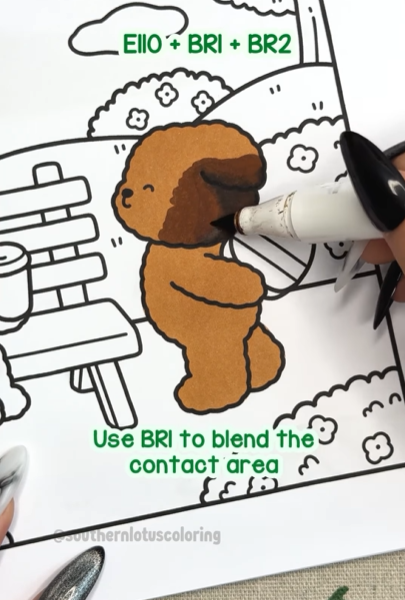
Step 4: Use BR1 to Soften the Contact Area
Go back with BR1 and carefully blend the contact points between the darkest and middle shades. This helps create a smoother gradient without harsh lines.
Note: Move in small strokes rather than long lines to mimic fur texture.
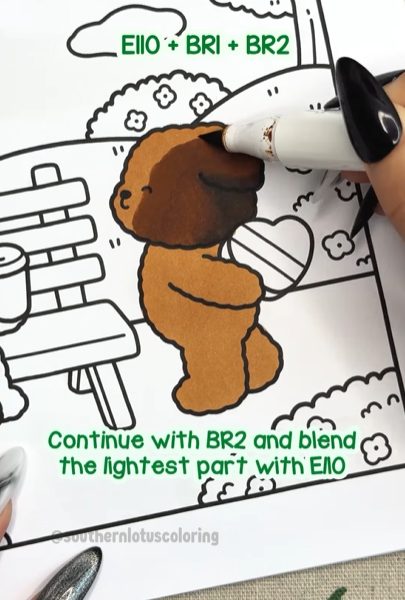
Step 5: Blend the Lightest Part with E110
Now, return to E110 and blend the lightest areas into BR2. This final blending step creates a seamless transition from light to dark, making the bear's fur look soft and fluffy.
Tip: If needed, repeat the blending process to refine the effect.
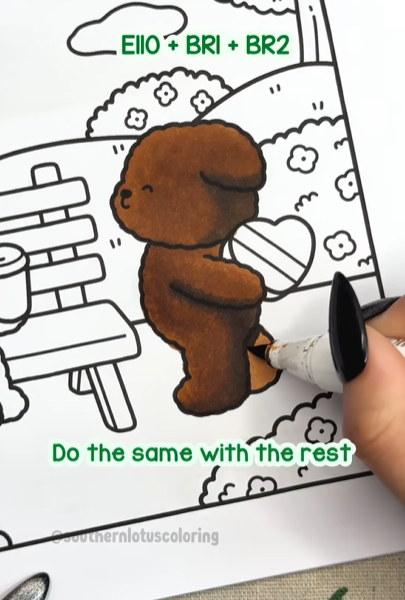
Step 6: Repeat for the Rest of the Bear
Continue these steps for the rest of the illustration, making sure to follow the fur’s natural direction. Each section will gradually blend into a realistic, cozy fur texture.
Your Fluffy 3D Bear is Done!
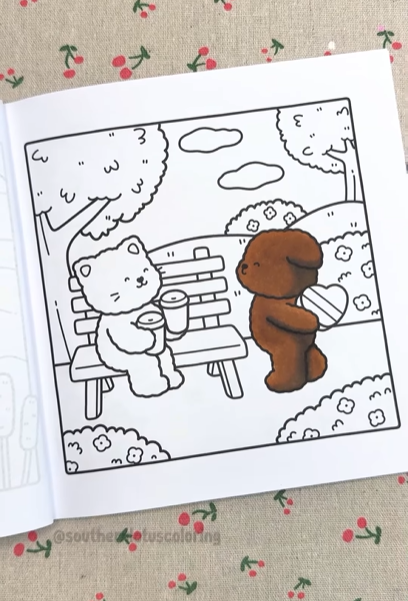
By layering and blending carefully, you’ve created a soft, dimensional look that makes your bear extra fluffy and huggable! This technique can be used for fur, fabric, clouds, and other soft textures in your coloring pages.
For more detailed tutorial, you can check out our Instagram.
Enter your email to get our special. Gift straight to your inbox.