

Creating a 3D pathway in your coloring projects adds depth and realism to your artwork. In this tutorial, we'll use a page from the "Fuzzy In Love" coloring book by Southern Lotus Coloring Book to demonstrate effective techniques for coloring a stone pathway. By following these steps, you'll learn how to blend colors, add textures, and achieve a realistic 3D effect in your illustrations.
- "Fuzzy In Love" Coloring Book by Southern Lotus Coloring Book
- Ohuhu Markers (WG09, WG090, WG070, RG030, GY3)
- Black pen
- Black gel pen
- White and yellow acrylic pens
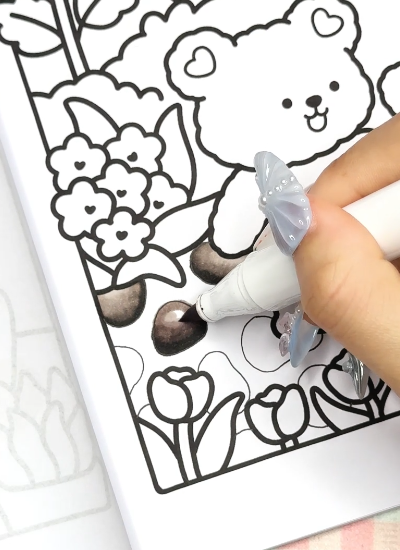
Begin by drawing the shapes of the stones that form the pathway using a black pen. This step establishes the structure of the path and defines each stone's boundaries.

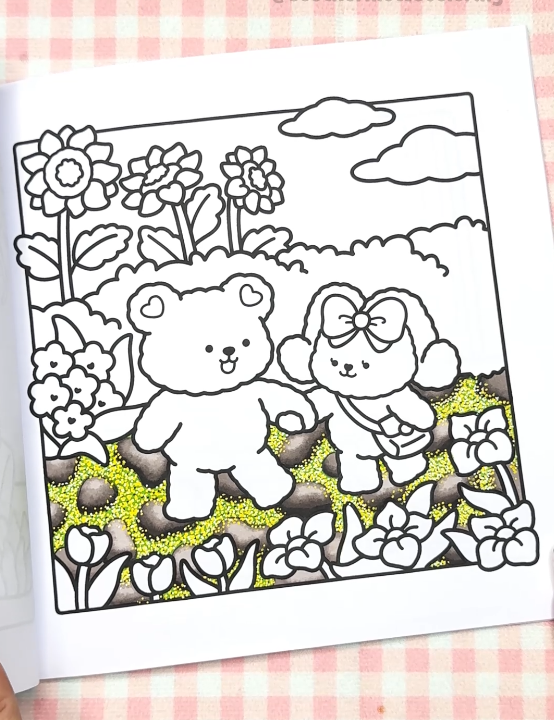
Color each stone using the markers in the following order: WG09, WG090, WG070, and RG030. After applying these colors, blend them together using the WG070 marker to create a smooth transition between shades, enhancing the 3D appearance of the stones.
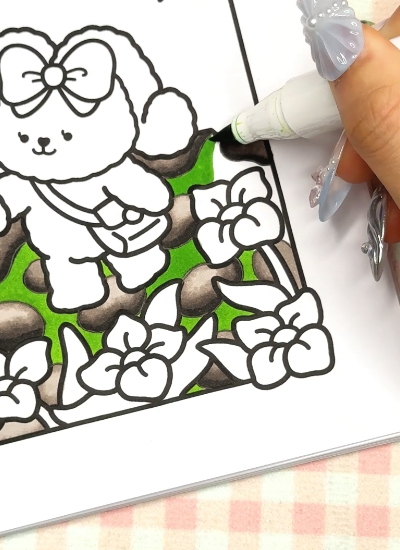
Fill in the gaps between the stones with the GY3 marker. This represents the grass or ground between the stones, adding contrast and realism to the pathway.
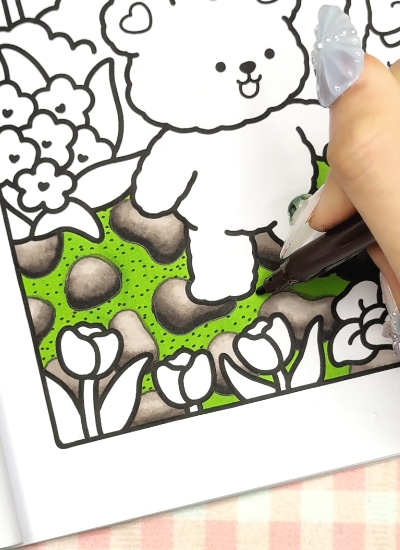
Using a black gel pen, add small dots to the green areas between the stones. This technique introduces texture, simulating soil or small pebbles, and adds depth to the illustration.
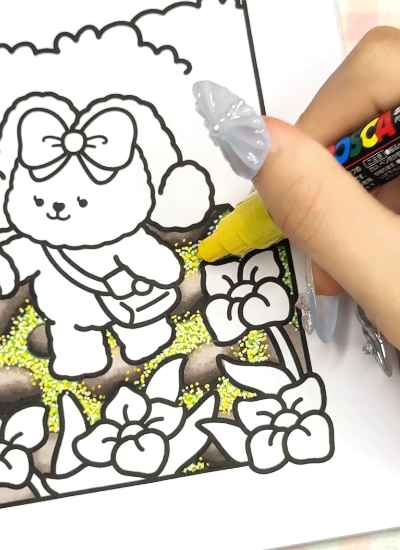
To enhance the realism of the pathway, use white and yellow acrylic pens to add dots and highlights on both the stones and the green spaces. This step adds brightness and mimics the effect of light reflecting off the surface, contributing to the 3D effect.
By following these steps, you've created a 3D pathway that adds depth and realism to your illustration. The combination of outlining, color blending, texturing, and highlighting brings the pathway to life, enhancing the overall impact of your artwork.
If you enjoyed this tutorial and wish to further develop your coloring skills, consider exploring additional resources and guides on Instagram Southern Lotus.
Enter your email to get our special. Gift straight to your inbox.