

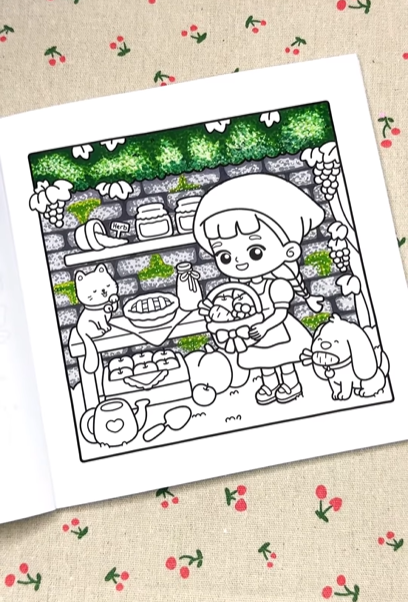
A mossy wall can bring a natural and enchanting look to your coloring pages! Today, we’ll be working on a page from "Cottage Vibes", illustrated by Southern Lotus Coloring Book, to create a realistic 3D mossy wall effect using Ohuhu Markers. Follow this step-by-step tutorial to achieve a beautiful, aged brick wall covered in natural moss!
- "Cottage Vibes" Coloring Book by Southern Lotus Coloring Book
- Ohuhu Markers (CG2, CGII04, CGII06, G080, G170, G190)
- White Acrylic Pen (for highlights)
- Pencil (for drawing the brick frame)
Step 1: Draw the Brick Wall Frame
Using a pencil, lightly draw the frame of the brick wall on your coloring page. Keep the lines clean but avoid pressing too hard, as these are just guidelines for coloring.
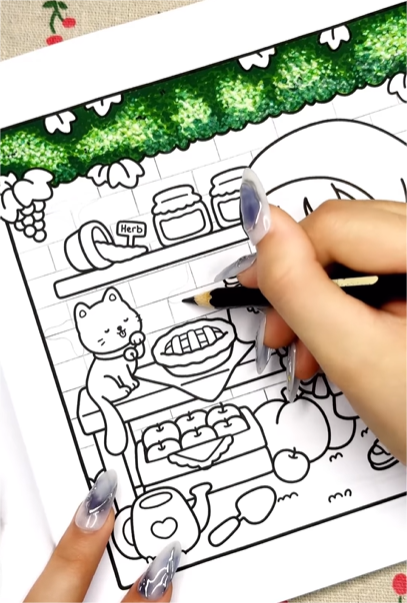
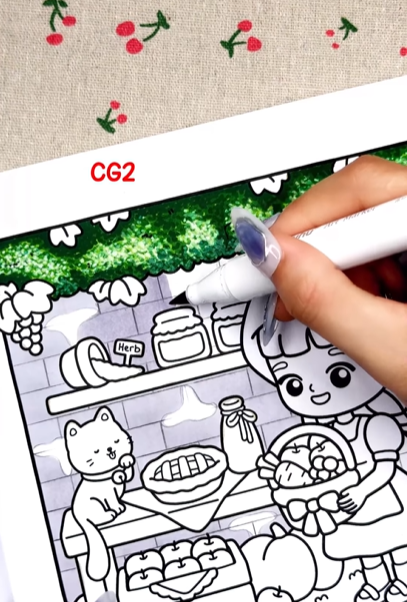
Step 2: Cover the Wall with CG2
Fill the entire wall area with CG2, leaving out the pre-determined mossy spots. This creates a solid base layer for the bricks while keeping the mossy areas ready for green tones.
Step 3: Add Shadows with Dotting Technique
Use CGII04 to add shadows along the edges of the bricks. Apply the dotting technique by gently tapping the marker to create a natural, stone-like texture.
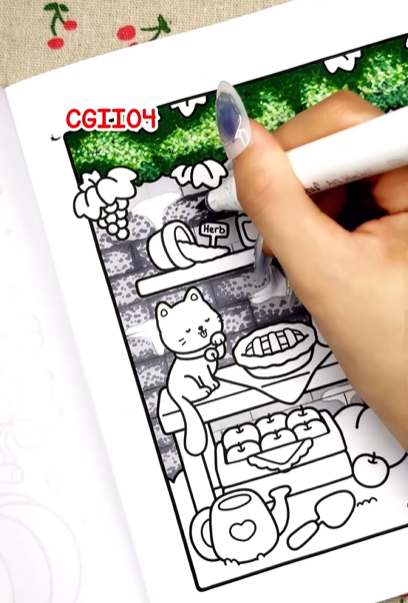
Step 4: Define the Brick Shapes
Trace over the pencil lines with a fine tip CGII06 marker to define each brick clearly. This step not only enhances the brick shapes but also adds a subtle shadow effect, giving the wall a 3D look.
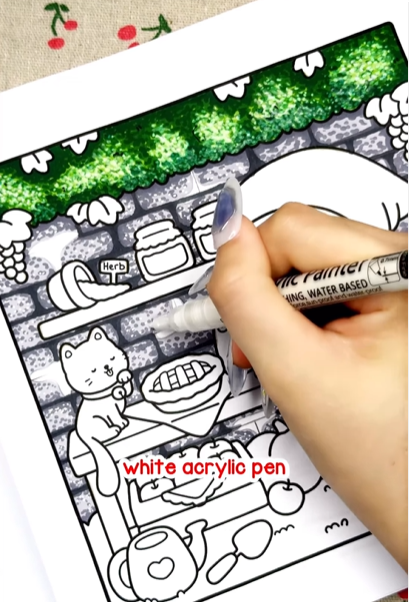
Step 5: Highlight with White Acrylic Pen
Use the dotting technique again, but this time with a white acrylic pen. Add highlights to the top edges of the bricks to mimic light reflection and bring out the wall’s texture.
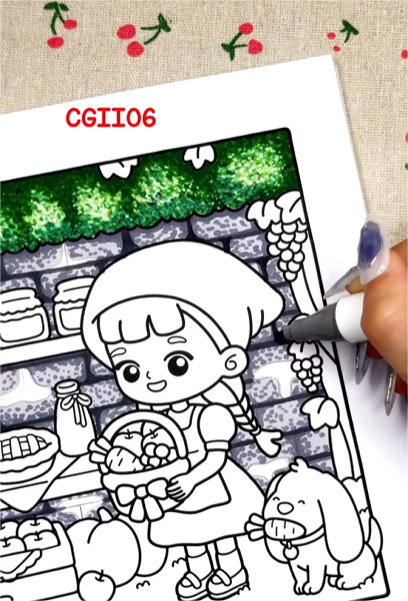
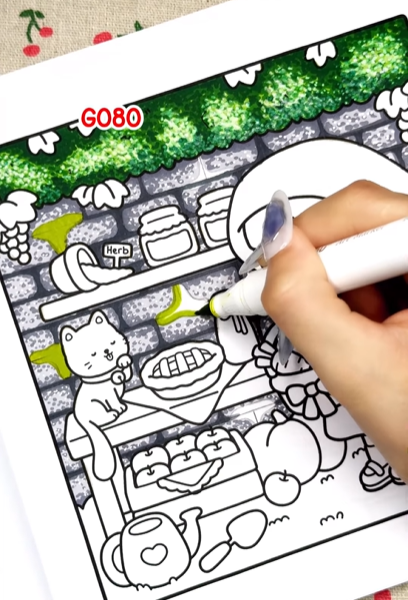
Step 6: Color the Mossy Areas
Fill the mossy areas with G080, focusing on the spaces between bricks and the spots where moss naturally grows. This layer will create the base for the mossy effect.
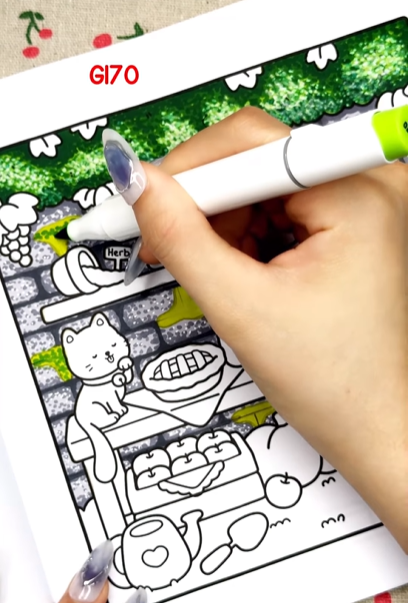
Step 7: Add Depth to Moss with G170
Repeat the dotting technique with G170 to create a darker, layered look. Concentrate the darker green in the shadowy areas to enhance the 3D effect of the moss.
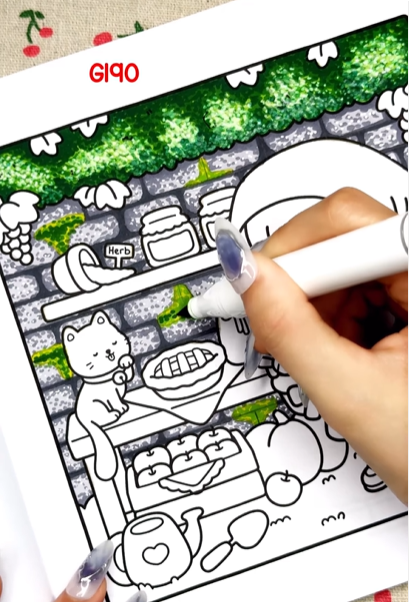
Step 8: Shadow of Moss with G190
At the intersections of the bricks, add small dots and shadowy strokes with G190. This creates the illusion of moss growing deep within the crevices, enhancing the wall’s aged and natural appearance.
Your page now features a realistic and textured mossy wall that adds a natural and charming vibe to your artwork. This technique is perfect for creating rustic, cottagecore designs and pairs beautifully with the scenic patterns in the Southern Lotus Coloring Book.
Love creating nature-inspired designs? Follow Instagram @SouthernLotusColoring for step-by-step video tutorials on this and many other creative coloring techniques!
The Southern Lotus Coloring Book collection offers:
Try this mossy wall technique on different pages from "Cottage Vibes" and bring a touch of nature to your designs!
Enter your email to get our special. Gift straight to your inbox.