
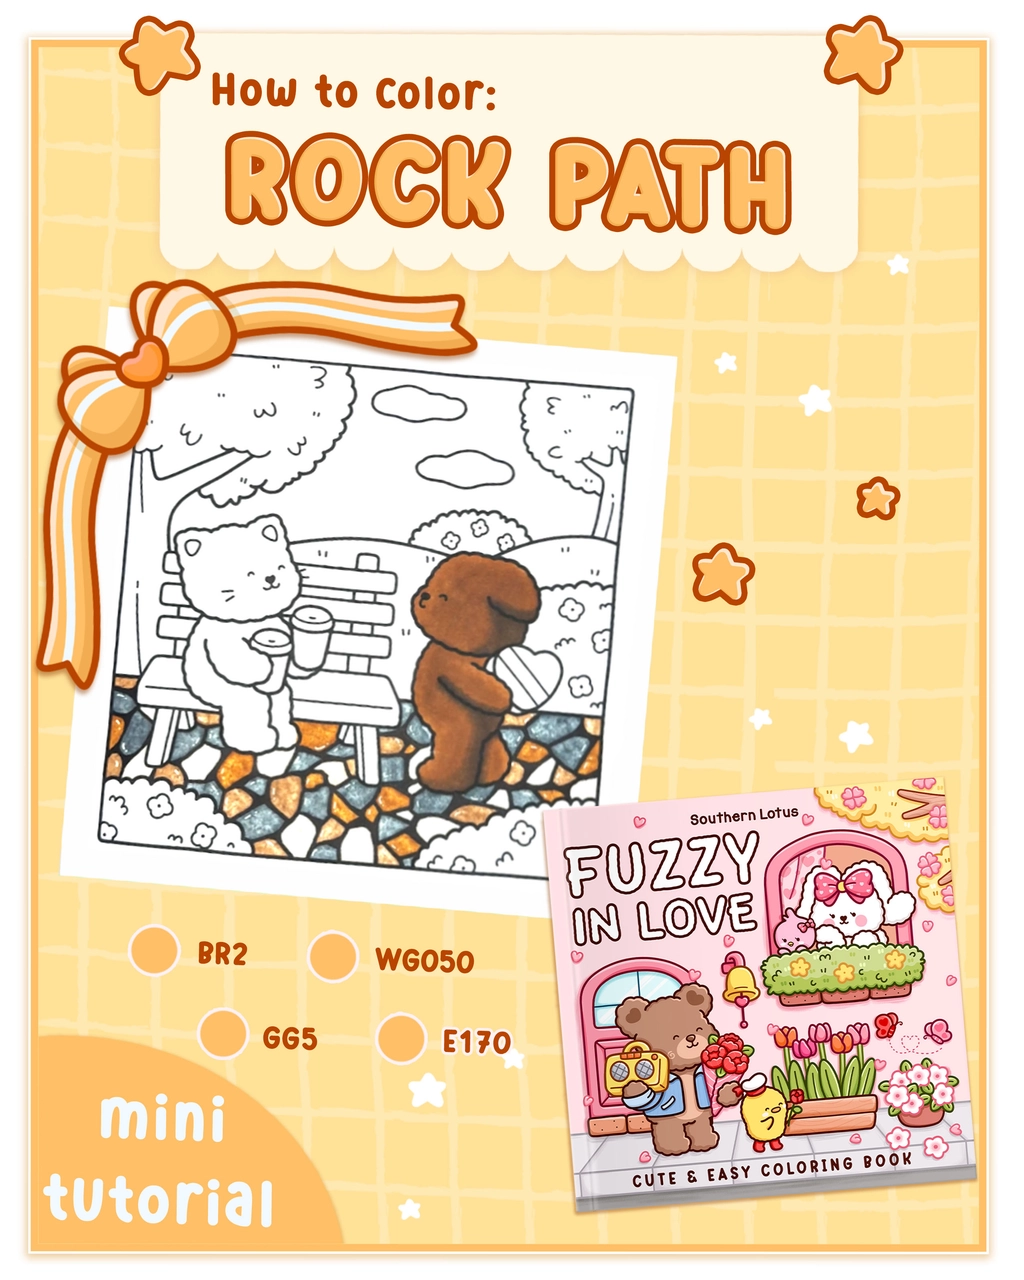
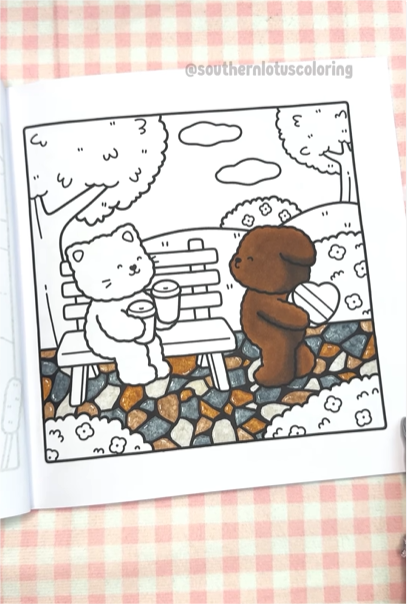
Creating a realistic rock path adds depth and texture to your coloring pages! Today, we’ll be working on a page from the "Fuzzy In Love" coloring book, illustrated by Southern Lotus Coloring Book.
This step-by-step guide will show you how to shade and blend rocks using Ohuhu Markers, making your path look natural and three-dimensional.
- "Fuzzy In Love" Coloring Book by Southern Lotus Coloring Book
- Ohuhu Markers (BR2, WG050, GG5, E170)
- Colorless Blender
- Black 120 Fine-Tip Pen (for gaps)
- White Gel Pen (for highlights)
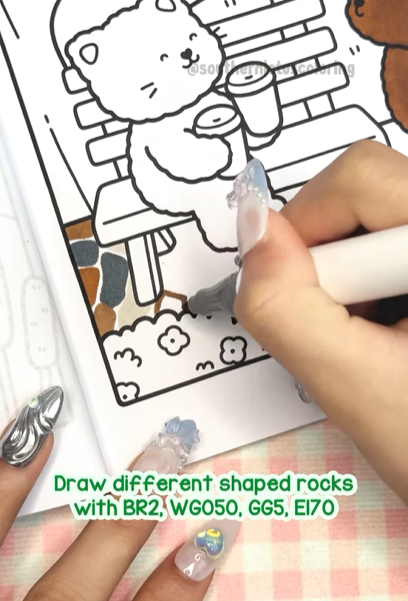
Step 1: Drawing Different Shaped Rocks
Using BR2, WG050, GG5, and E170, outline and fill in different rock shapes. Tip: Use curved strokes to mimic natural textures.
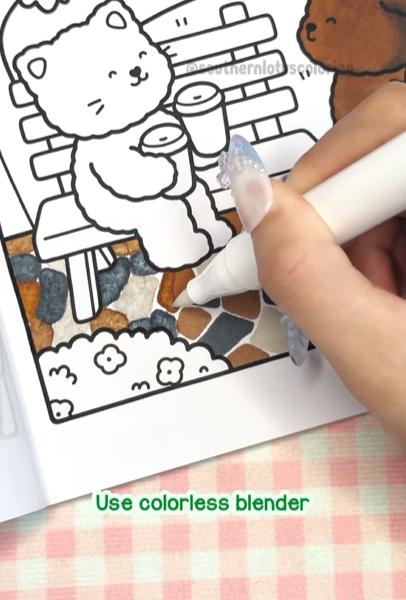
Step 2: Blending for a Natural Look
Take your colorless blender and lightly blend each rock. This step helps soften edges and makes the rocks look more natural. Avoid over-blending to keep some texture and contrast.
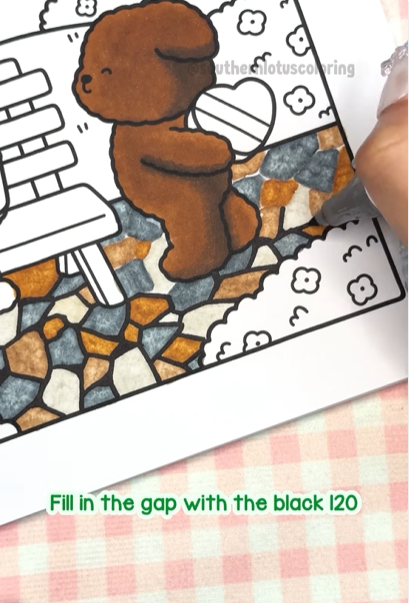
Step 3: Defining the Rock Path
Using a black 120 fine-tip pen, carefully fill in the gaps between rocks. This creates depth and makes each rock stand out.
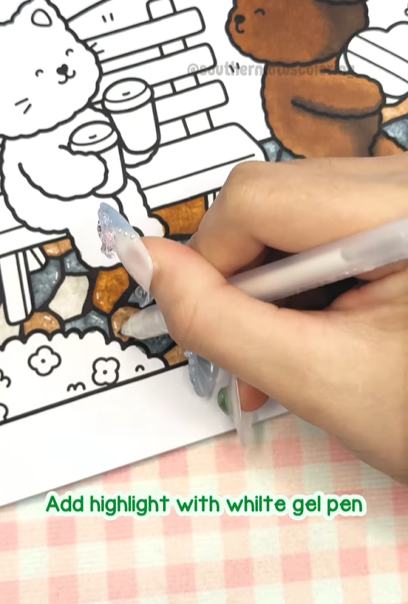
Step 4: Adding Highlights for Dimension
Grab your white gel pen and add small highlights on the edges of the rocks. This step enhances the light reflection for a more realistic look. Keep it subtle—just a few curved lines to enhance the rock texture.
Now you have a detailed, realistic rock path to enhance your coloring page! The combination of blending, shading, and highlights makes the rocks pop off the page.
Want more fun and easy coloring techniques? Follow Instagram @SouthernLotusColoring for step-by-step video tutorials!
The Southern Lotus Coloring Book collection features:
Try this rock coloring technique on different pages from "Fuzzy In Love" and bring your artwork to life!
Enter your email to get our special. Gift straight to your inbox.