

A beautifully colored backsplash can add personality and charm to any kitchen illustration. Whether you're creating a mosaic design or experimenting with different tile patterns, mastering the art of coloring a backsplash will elevate your artwork. In this coloring tutorial, we’ll walk you through five simple steps to create a realistic backsplash using only 3 marker colors.
Today's tutorial features an illustration from the Xmas Time by Southern Lotus Coloring Book, available on our website and Amazon.
- Ohuhu Markers (B250, PB2, B290)
- White Acrylic Pen
- A coloring page with backsplash elements (from Xmas Time Coloring Book)
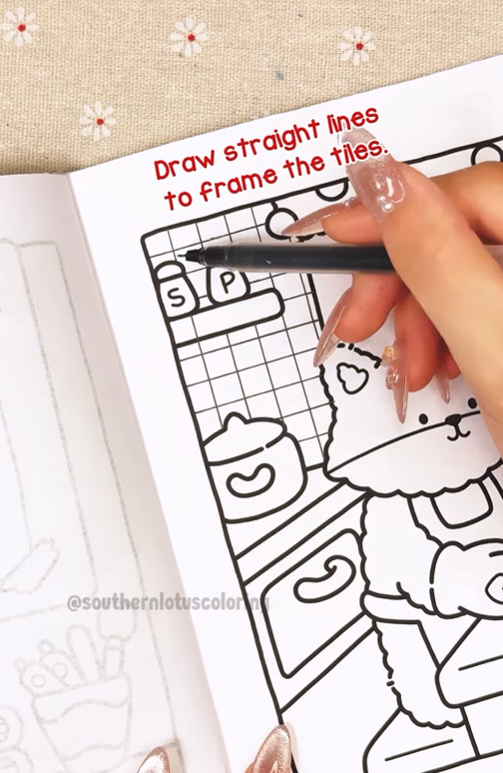
Step 1: Draw Straight Lines to Frame the Tiles
Before adding color, outline the tiles with straight lines to create a structured wall tile effect. This will give your backsplash a realistic grid layout.
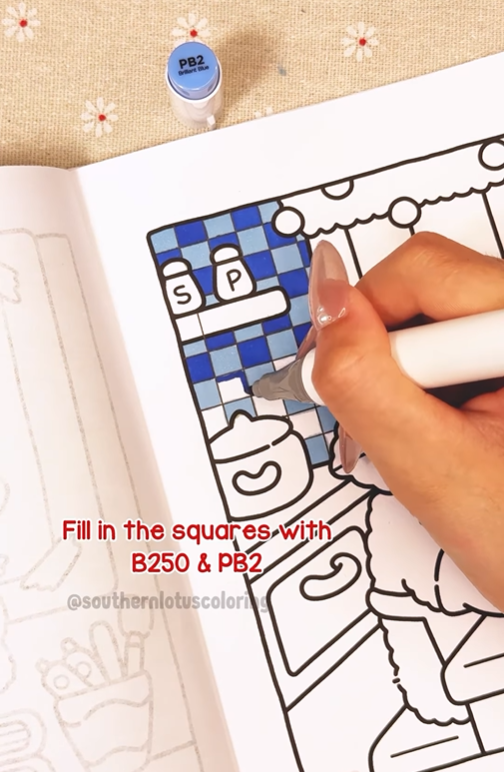
Step 2: Fill in the Squares Alternately with B250 & PB2
To mimic real tile patterns, color the tiles alternately using B250 and PB2. This step helps establish a contrast and makes the backsplash stand out.
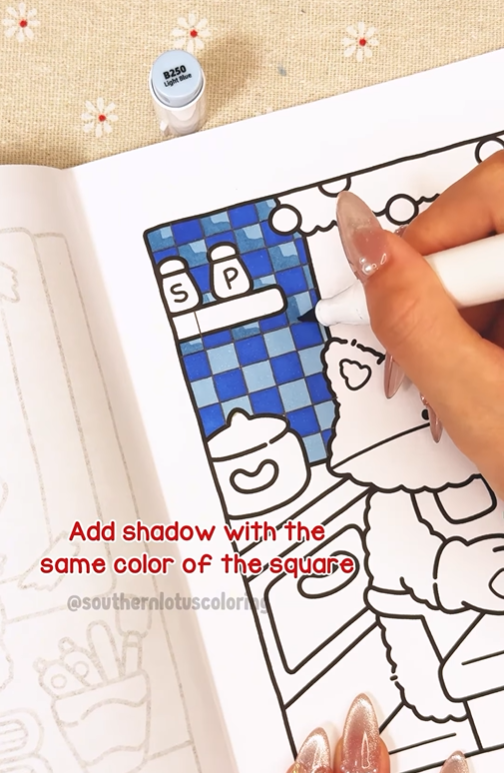
Step 3: Add Shadow with the Same Color as the Tile
To create depth, use the same color as the tile and apply a second layer along one side of each square. This technique enhances the illusion of 3D wall tiles.
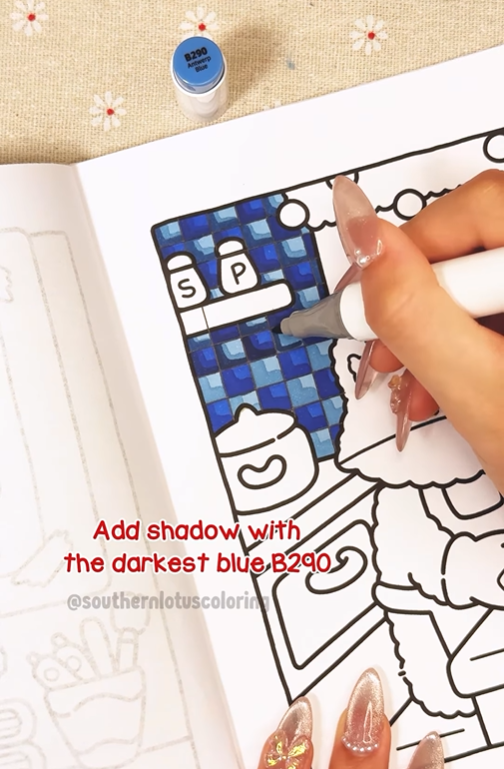
Step 4: Add Shadow with the Darkest Blue B290
For a more pronounced effect, apply B290 to the edges of selected tiles where shadows would naturally fall. This gives your tile patterns a dramatic and realistic look.
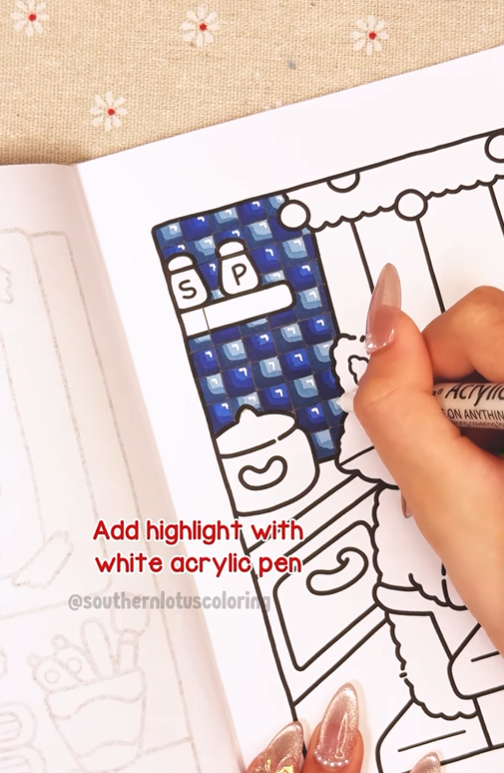
Step 5: Add Highlights with a White Acrylic Pen
Finally, use a white acrylic pen to add subtle highlights where light would hit the surface. This step makes the tiles appear glossy and enhances the overall wall color.
Congratulations! Your backsplash tile pattern is complete.
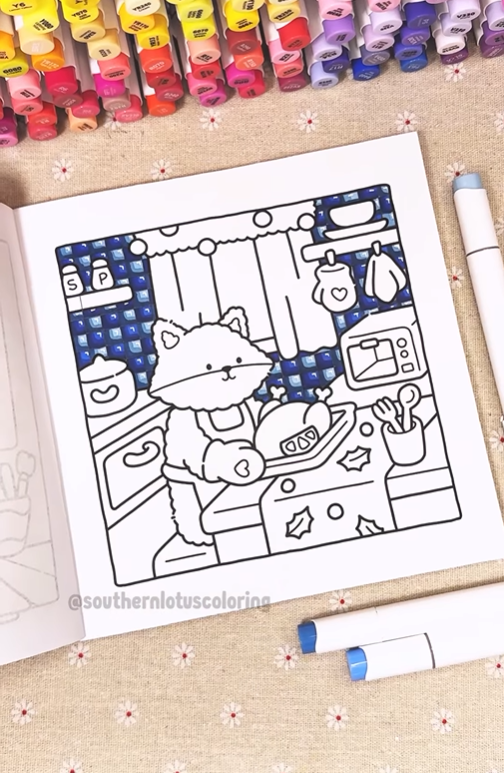
Whether you're designing a modern or vintage pattern design, this technique will help bring your artwork to life.
For more detailed tutorial, you can check out our Instagram.
Enter your email to get our special. Gift straight to your inbox.