
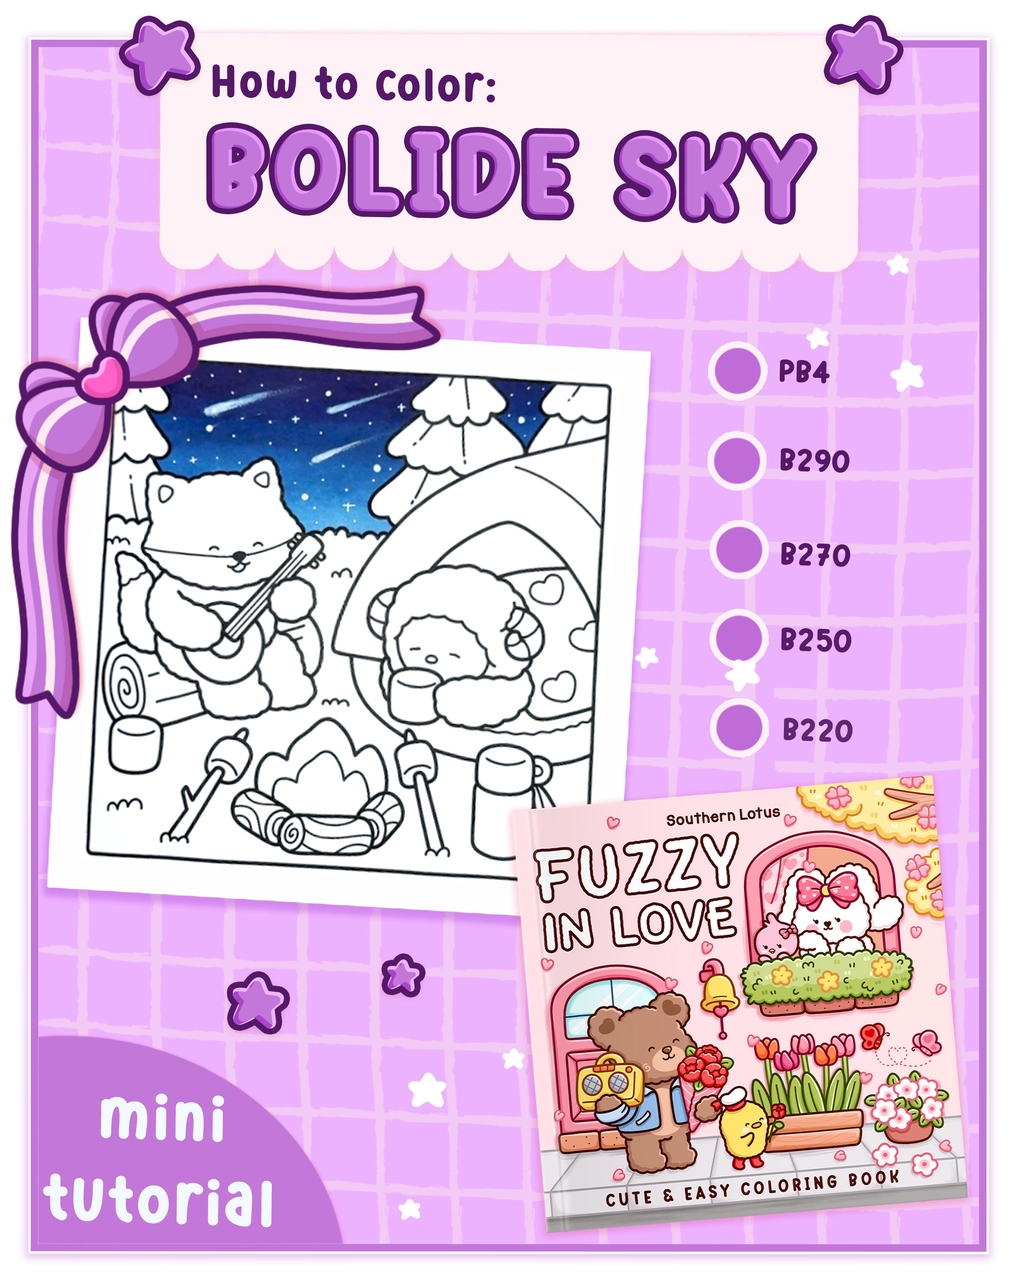
A bolide sky captures the magic of shooting stars and celestial wonders, making it an enchanting background for your artwork! In this tutorial, we’ll guide you through simple blending techniques to create a mesmerizing night sky effect using Ohuhu markers.
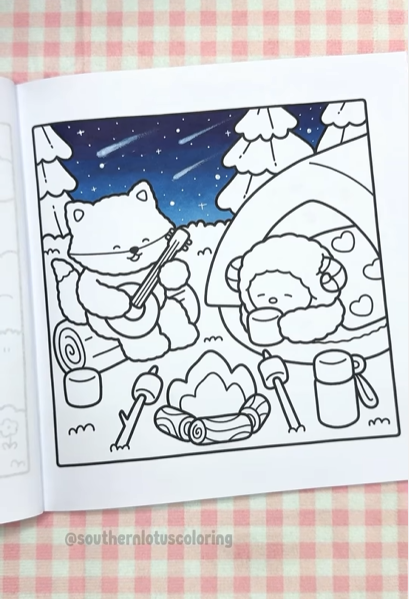
The page we’re coloring today is from the Fuzzy In Love, a Southern Lotus Coloring Book featuring charming hand-drawn illustrations for a dreamy, love-filled aesthetic.
- Ohuhu Markers (PB4, B290, B270, B250, B220)
- White Acrylic Pen
- Blending Tool (or your fingers!)
- A coloring page from Fuzzy In Love Coloring Book by Southern Lotus
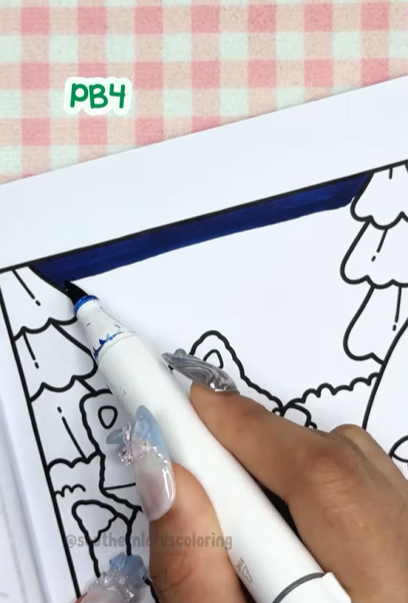
Step 1: Apply the First Layer
Start by coloring the entire sky with PB4. This will serve as the foundation for your night sky, ensuring a deep and rich starting point.
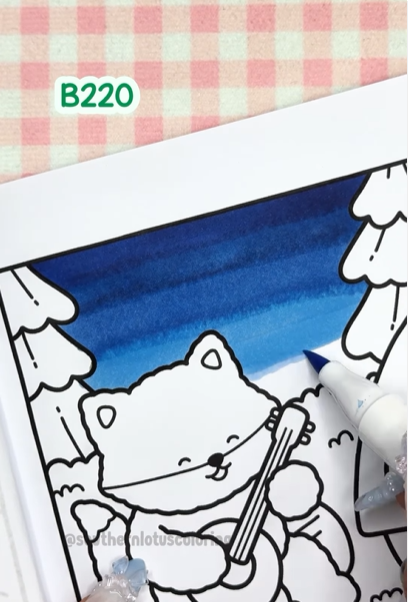
Step 2: Create a Gradient Effect
Gradually layer B290, B270, B250, and B220, blending each color seamlessly. Move from dark to light to create a smooth transition, mimicking the natural glow of the sky.
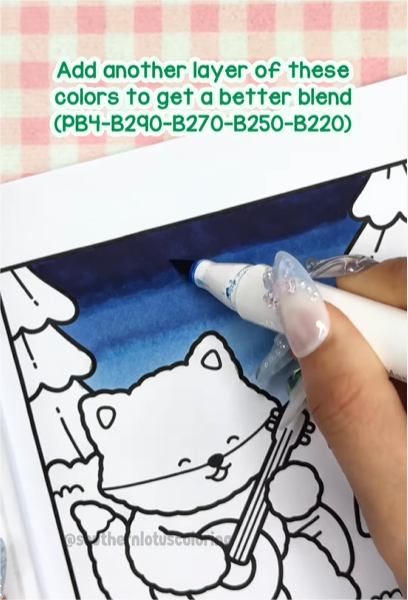
Step 3: Enhance the Blend
For a more polished look, add another layer of the same colors (PB4 → B290 → B270 → B250 → B220). This helps deepen the tones and achieve a perfectly blended gradient effect.
Step 4: Add Stars and Meteors
Use a white acrylic pen to dot stars across the sky. For shooting stars and meteors, apply the finger-blending technique—draw a star and lightly smudge it with your finger to create a soft glowing trail.

Your bolide sky background is now glowing with depth and wonder! The combination of blended blues and radiant white accents creates a dreamy celestial effect.
The bolide sky effect adds depth, mystery, and a magical touch to any coloring page. With the right blending and layering techniques, you can achieve a beautiful color gradient that brings your sky to life!
Check out our video tutorial on Instagram Southern Lotus Coloring for more real-time coloring tips!
Enter your email to get our special. Gift straight to your inbox.