

Creating dreamy clouds in your coloring projects adds a serene and ethereal touch to your artwork. In this tutorial, we'll use a page from the "Spooky Summer" coloring book by Southern Lotus Coloring Book to demonstrate effective techniques for coloring soft and dreamlike clouds. By following these steps, you'll learn how to apply base colors, blend hues, and add highlights to achieve a captivating cloud effect in your illustrations.
- "Spooky Summer" Coloring Book by Southern Lotus Coloring Book
- Ohuhu Markers: V390, B440, Y030, V230, V030, BG4
- White acrylic pen
- Colorless blender
Begin by sketching and filling in the small clouds using the V390 marker. This establishes the base color for the smaller cloud formations, setting the foundation for a cohesive sky scene.
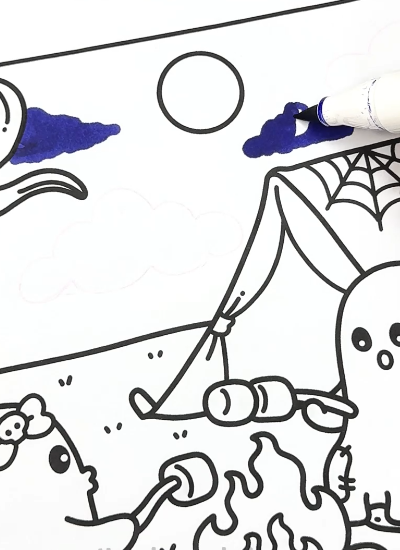
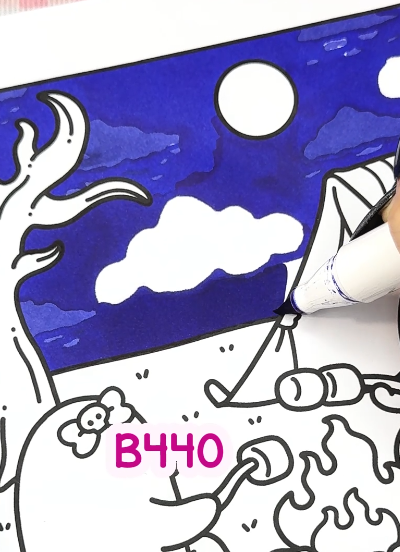
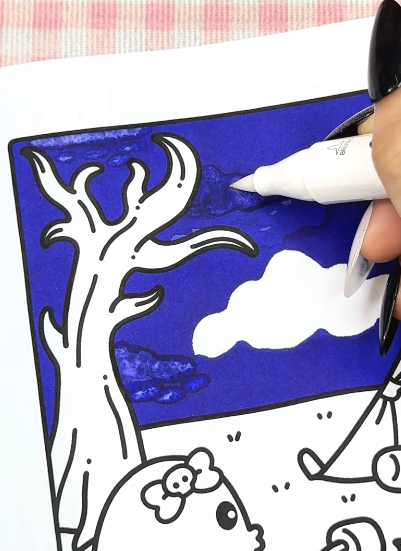
Using the B440 marker, color the entire sky area, leaving spaces for two larger clouds uncolored. This approach ensures that the large clouds will stand out against the sky background, contributing to the dreamy atmosphere.
To soften the appearance of the small clouds, apply a colorless blender over the V390 areas. This blending technique creates a smooth transition between the clouds and the sky, enhancing the ethereal quality of the scene.
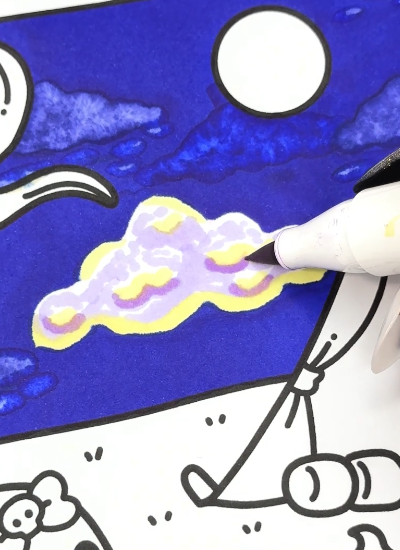
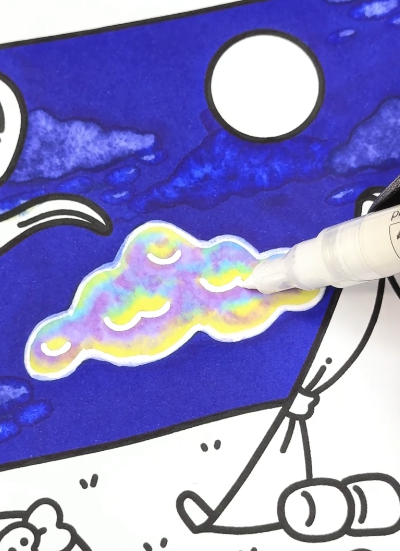
For the larger clouds, use Y030, V230, V030, and BG4 markers. Apply these colors in a random, curved manner to mimic natural cloud textures. Avoid strict patterns; instead, allow the colors to blend organically to achieve a more realistic and dreamy effect.
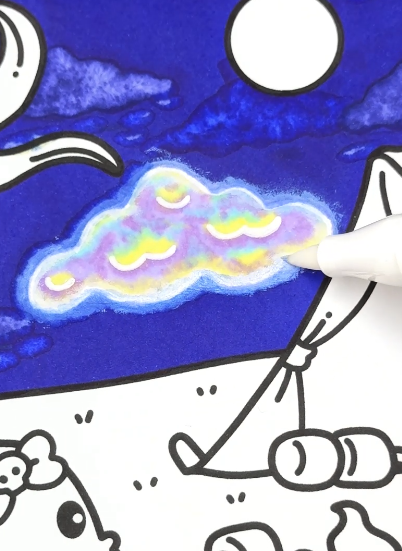
To enhance the luminosity of the clouds, use a white acrylic pen to draw highlights along the edges and within the cloud formations. These highlights add depth and dimension, making the clouds appear soft and illuminated.
Gently apply a colorless blender around the edges of the large clouds to create a subtle blur effect. This technique softens the transition between the clouds and the sky, contributing to the dreamy ambiance of the illustration.
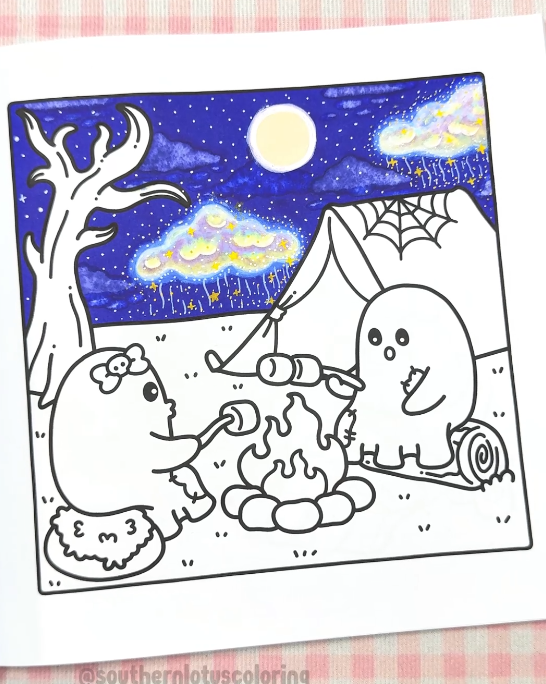
By following these steps, you've created dreamy clouds that add tranquility and depth to your illustration. The combination of layered coloring, strategic blending, and thoughtful highlighting brings the clouds to life, enhancing the overall impact of your artwork.
If you enjoyed this tutorial and wish to further develop your coloring skills, consider exploring additional resources and guides on Instagram.
Enter your email to get our special. Gift straight to your inbox.