

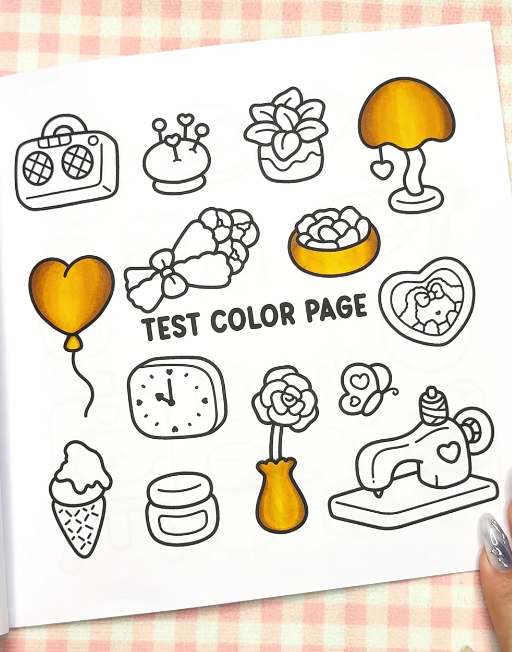
Creating a realistic gold texture in your coloring projects adds a touch of elegance and depth to your artwork. In this tutorial, we'll use a page from the "Fuzzy In Love" coloring book by Southern Lotus Coloring Book to demonstrate effective techniques for coloring gold textures. By following these steps, you'll learn how to apply base colors, blend hues, and add highlights to achieve a metallic gold effect in your illustrations.
- "Fuzzy In Love" Coloring Book by Southern Lotus Coloring Book
- Ohuhu Markers (Y3, Y6, Y2, Y180)
- Optional: White gel pen
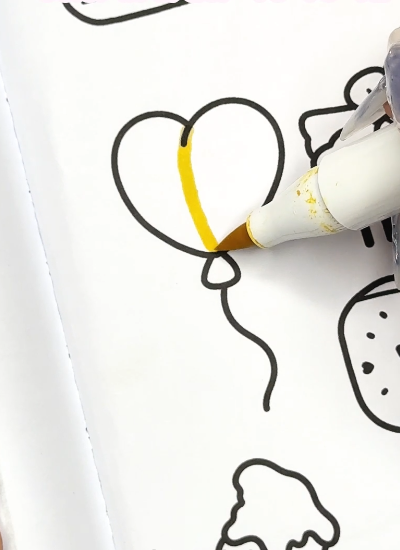
Begin by drawing a central line on the object using the Y3 marker. This serves as the foundation for the gold texture and helps establish the lightest area, simulating the reflective quality of gold.
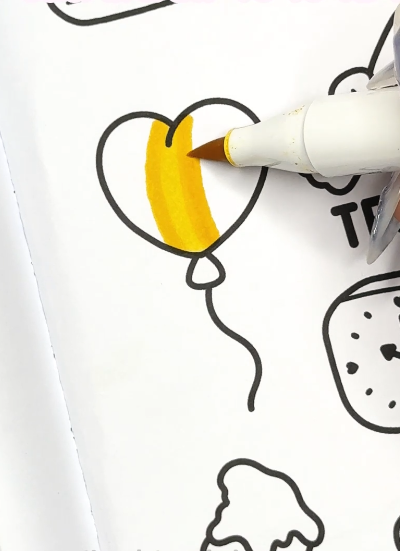
Next, use the Y6 marker to draw two lines on either side of the initial Y3 line. This step introduces a slightly darker shade, creating a subtle gradient that adds depth to the gold texture.
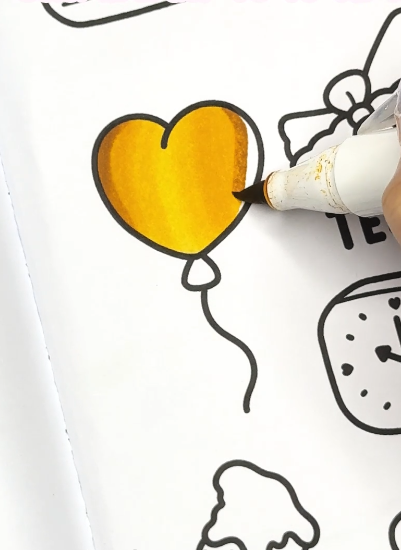
Repeat the process by applying Y2 and Y180 markers in succession, working outward from the center. Each additional layer should slightly overlap the previous one, creating a smooth transition between shades. This layering technique enhances the metallic appearance of the gold texture.
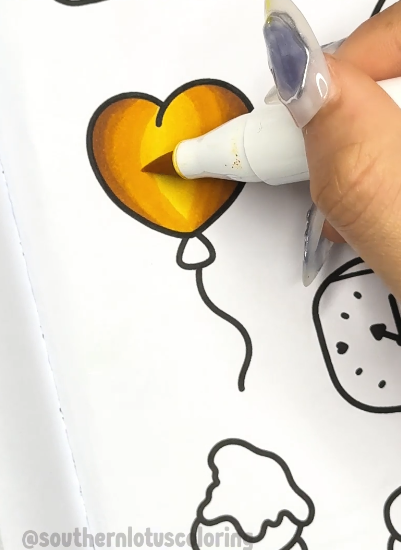
After applying all the color layers, add another layer with the same colors to achieve a better blend. This step ensures a seamless gradient, enhancing the realism of the gold effect.
For added brilliance, use a white gel pen to introduce subtle highlights to the gold texture. Focus on areas where light would naturally reflect, such as the central line or raised portions of the object. Gently blend the gel pen marks with your finger to achieve a natural look, further enhancing the metallic effect.
By following these steps, you've created a realistic gold texture that adds sophistication and depth to your illustration. The combination of base coloring, layering, and highlighting techniques brings the metallic gold effect to life, enhancing the overall impact of your artwork.
If you enjoyed this tutorial and wish to further develop your coloring skills, consider exploring additional resources and guides on Instagram.
Enter your email to get our special. Gift straight to your inbox.