
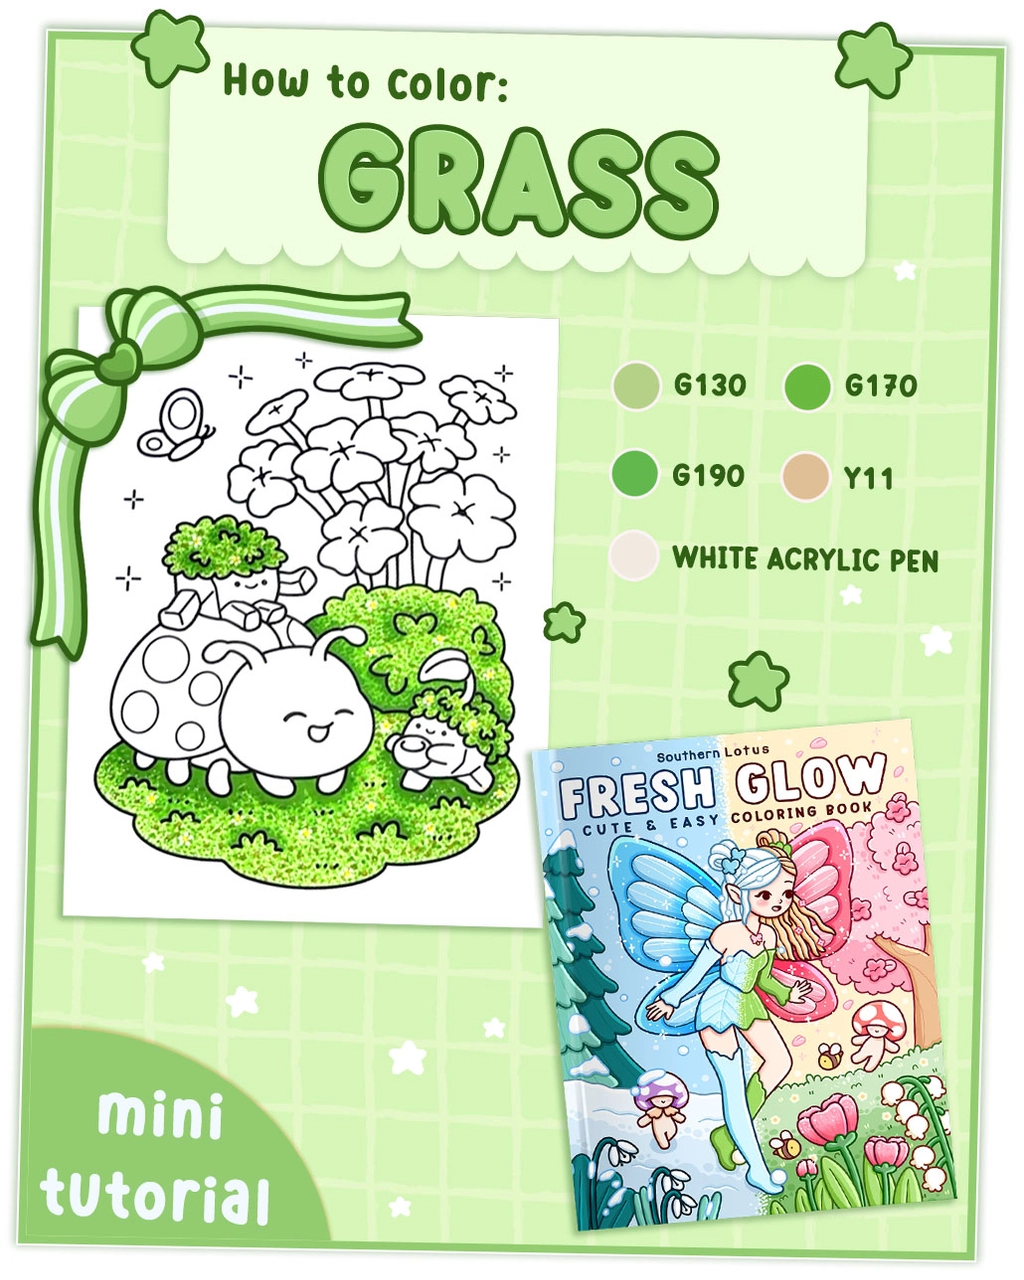
A beautifully colored grass background can bring any illustration to life, adding depth, texture, and realism to a coloring page. Whether you’re coloring a fairy garden, countryside scene, or a cozy backyard, mastering the dot technique for grass will make your artwork pop!
Today, we’ll be working on a grass illustration from the Fresh Glow, a Southern Lotus Coloring Book filled with delicate hand-drawn designs of glowing, dreamy settings. Follow this 5-step tutorial using Ohuhu markers to create a natural, soft-textured grass effect.
- Ohuhu Markers (G130, G170, G190, Y11)
- White acrylic pen
- A coloring page featuring a grassy background (from Fresh Glow Coloring Book)
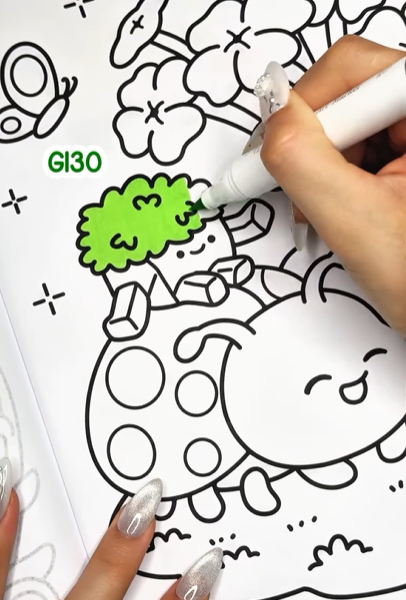
Step 1: Base Layer with G130
Start by laying down a smooth first layer of G130, a soft green tone. This acts as the foundation for your grass texture.
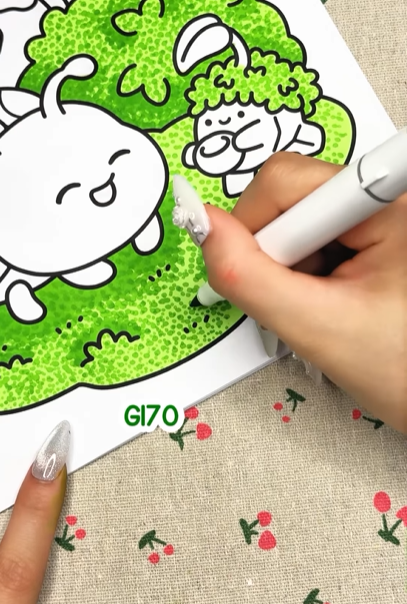
Step 2: Dot Evenly with G170
Now, take G170, a slightly darker green, and dot evenly across the area. This creates texture and movement, making the grass look lush and full.
Step 3: Add More Depth with G190
Using G190, an even deeper green, continue adding dots to emphasize depth and natural shading. Concentrate this darker tone around the edges and random patches to make the grass look layered.

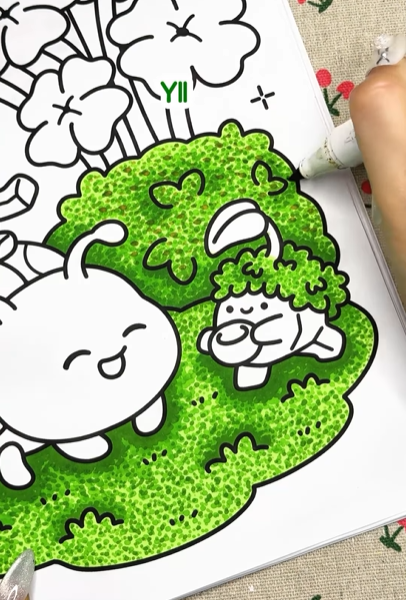
Step 4: Create Withered Grass with Y11
To make the grass look more realistic, add random yellow dots with Y11 to create the effect of sunlit or slightly dry patches.

Step 5: Highlight with a White Acrylic Pen
Use a white acrylic pen to lightly add highlights on some of the grass patches. This helps mimic sunlight reflection and enhances the three-dimensional look.
A Soft & Realistic Grass Background is Done!

With layered colors, soft blending, and a detailed dot technique, your grass now looks natural and lively. This technique works beautifully for coloring gardens, nature scenes, and cozy outdoor illustrations.
For more detailed tutorials, you can check out our Instagram.
Enter your email to get our special. Gift straight to your inbox.