
A starry night sky can add depth and magic to your coloring pages, whether you're illustrating a dreamy landscape, a cozy cottage scene, or a mystical galaxy. With just three simple steps, you can create a beautifully blended night sky using Ohuhu markers and a white acrylic pen for twinkling stars.
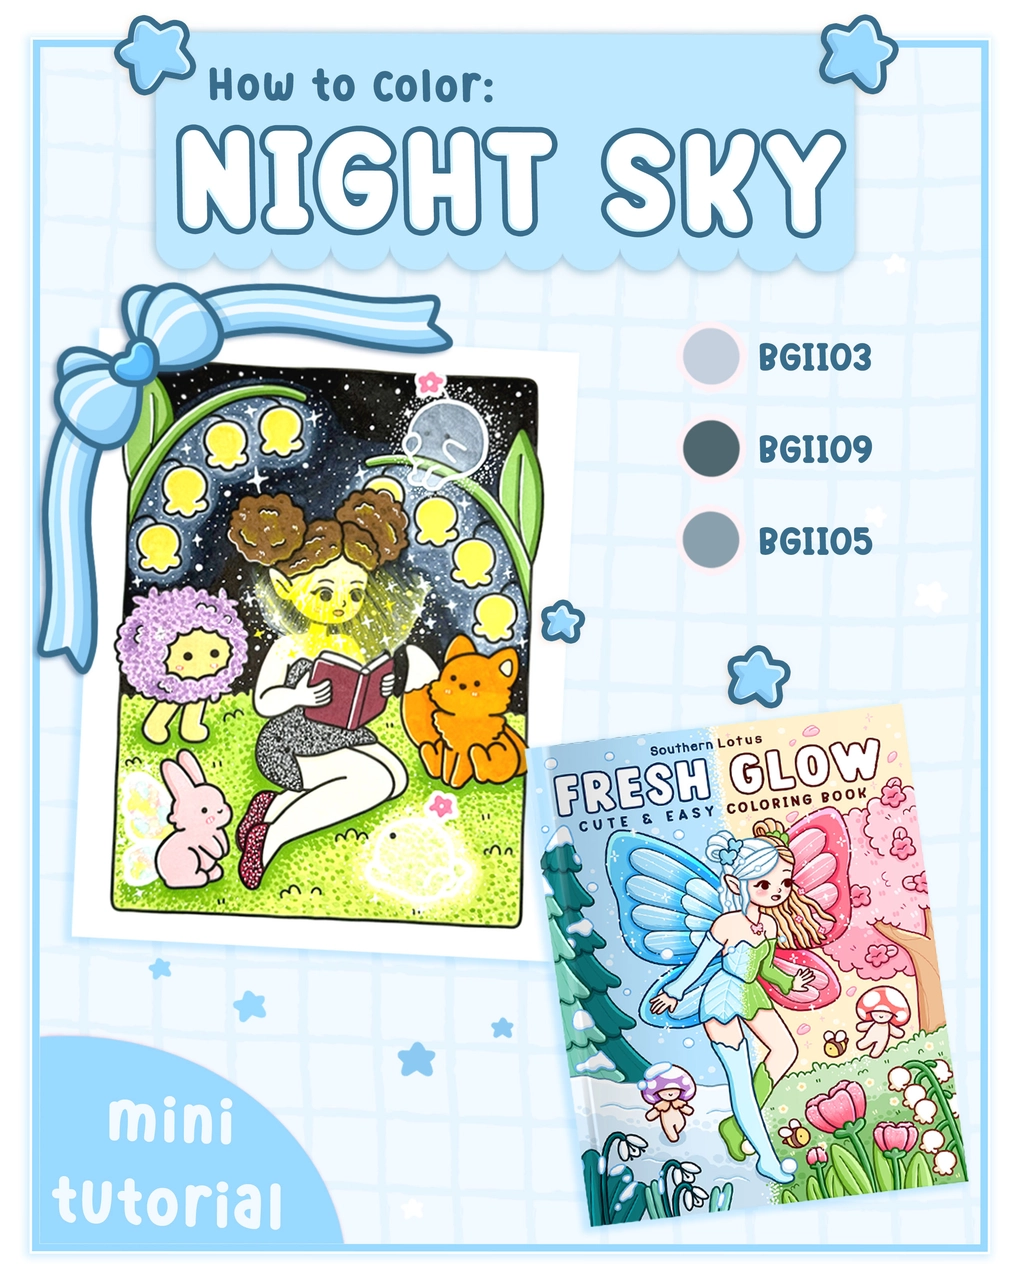
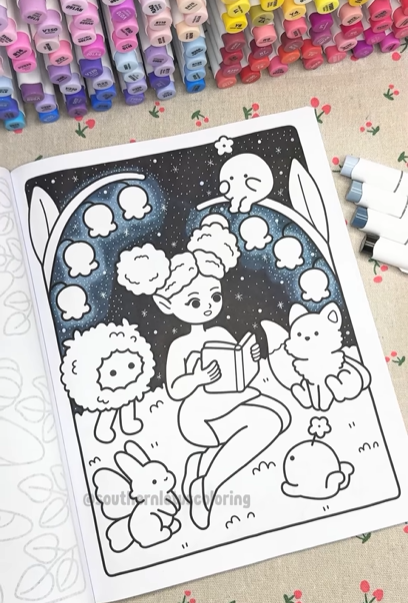
Today, we’ll be coloring a night sky background from the Fresh Glow, a Southern Lotus Coloring Book filled with hand-drawn illustrations of enchanted spaces and glowing lights. Let’s bring the night sky to life!
- Ohuhu Markers (BGII03, BGII05, BGII09)
- White acrylic pen
- A coloring page featuring a night sky (from Fresh Glow Coloring Book)
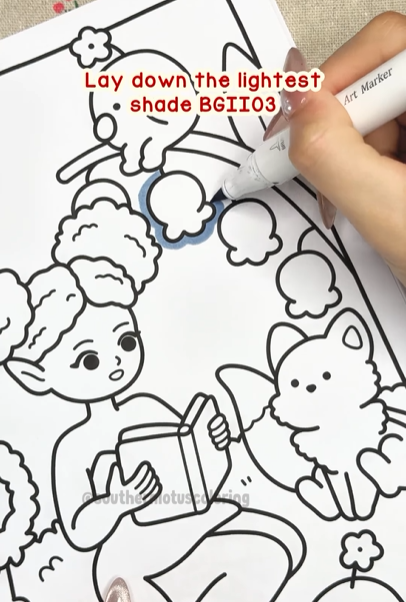
Step 1: Lay Down the Lightest Shade (BGII03)
Start by coloring the entire sky area with BGII03, the lightest shade of blue. This acts as a smooth base layer and makes blending easier in the next steps.
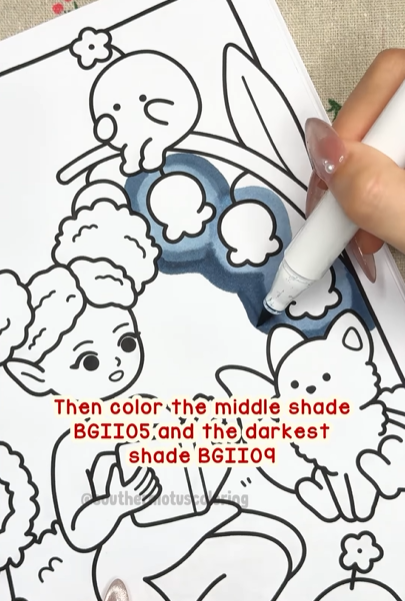
Step 2: Blend the Middle & Darkest Shades (BGII05 & BGII09)
Next, take BGII05 and add a second layer from the top of the sky, blending it downward into the lighter base. Then, use BGII09, the darkest shade, at the very top to create depth and contrast.
Tip: Blend smoothly by going over the edges where the colors meet with the lighter marker (BGII03) to create a soft transition.
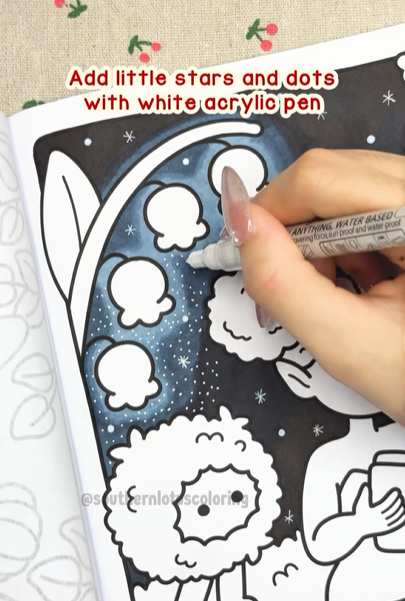
Step 3: Add Stars & Details with a White Acrylic Pen
Now for the magical touch! Use a white acrylic pen to add tiny dots, crosses, and larger glowing circles to create stars. Vary the size and spacing to make it look natural and dreamy.
A Dreamy Starry Night!
With just three simple steps, you’ve created a beautifully blended night sky with a glowing galaxy effect! This technique works great for cityscapes, mountain views, or any celestial-themed illustrations.
For more detailed tutorials, you can check out our Instagram.
Enter your email to get our special. Gift straight to your inbox.