
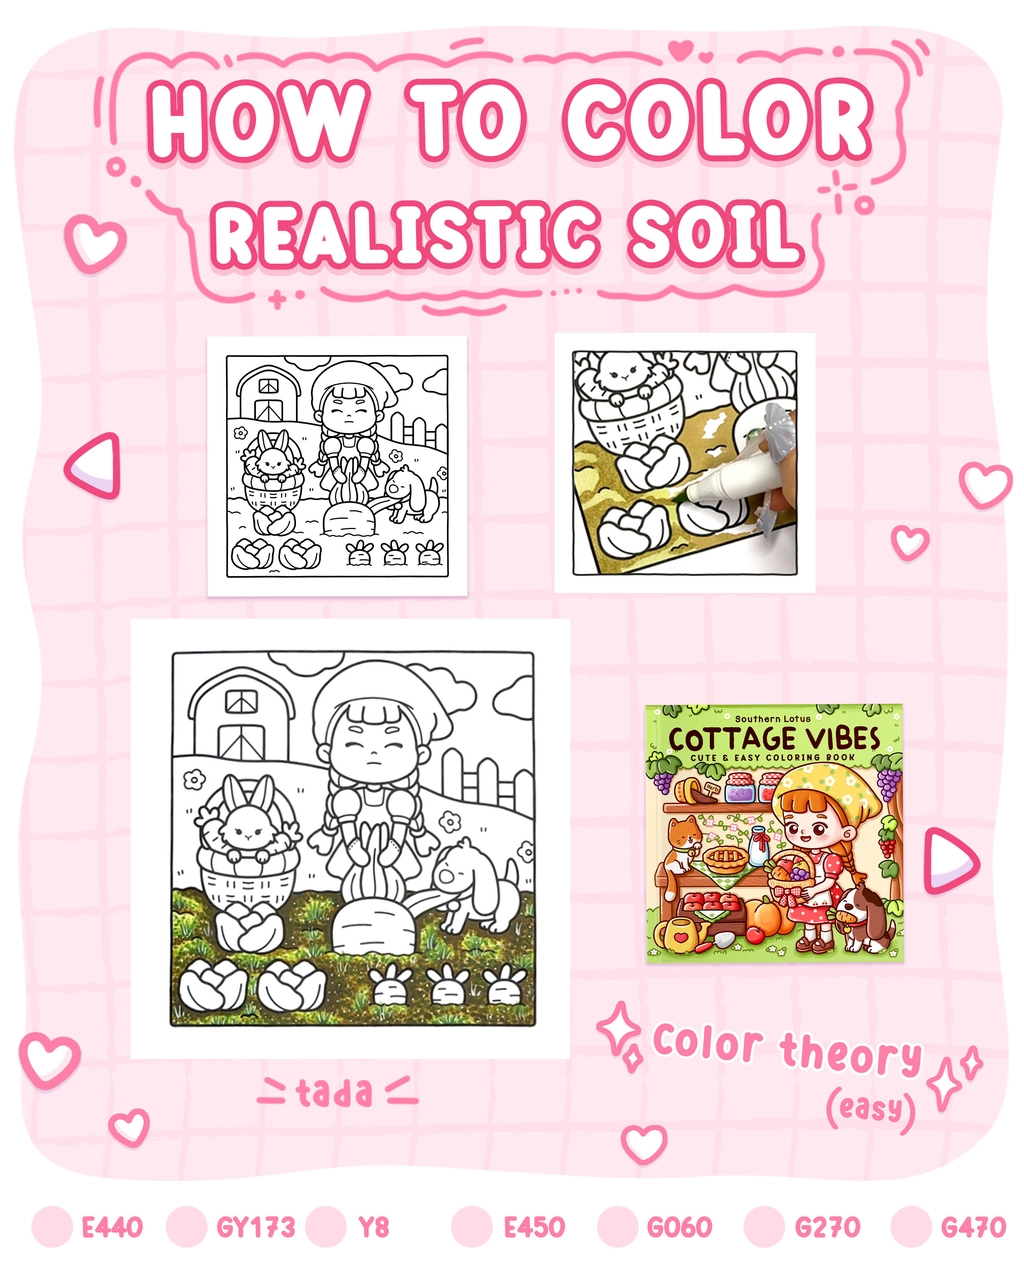
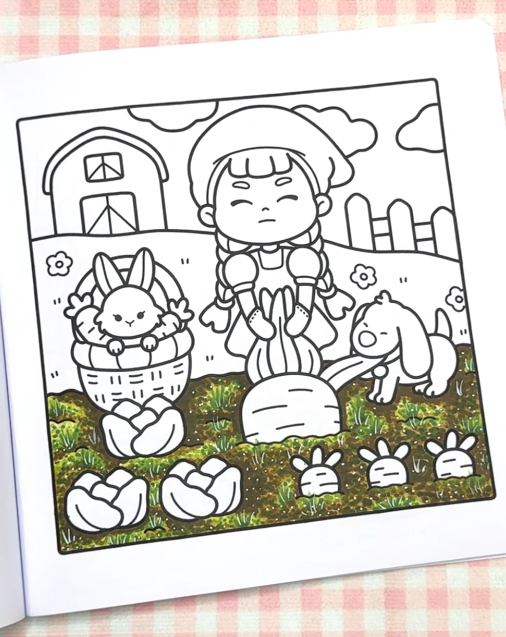
Creating a realistic soil texture in your coloring projects adds depth and authenticity to your artwork. In this tutorial, we'll use a page from the "Cottage Vibes" coloring book by Southern Lotus Coloring Book to demonstrate effective techniques for coloring soil. By following these steps, you'll learn how to blend colors and apply textures to achieve a natural-looking soil ground in your illustrations.
- "Cottage Vibes" Coloring Book by Southern Lotus Coloring Book
- Markers (E440, GY173, Y8, E450, G060, G270, G470)
- White acrylic pen
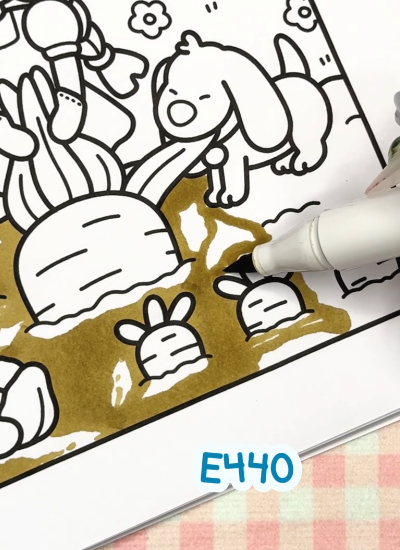
Begin by covering the soil ground with the E440 marker, leaving some random spaces uncolored to serve as highlights later. This base layer establishes the foundation for the soil's texture and depth.
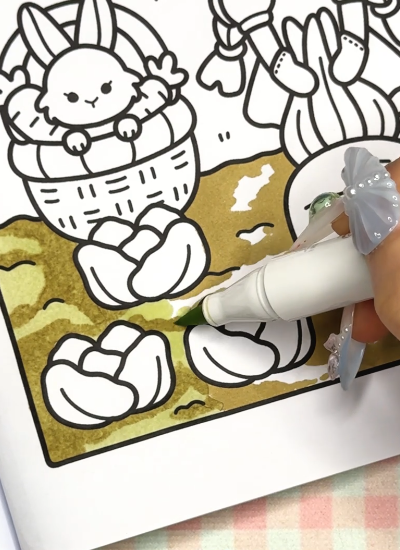
Next, use the GY173 marker to apply a second layer over the entire soil area, including the spaces left for highlights. This step enriches the soil's color and prepares it for texture application.
To mimic the natural texture of soil, employ the dotting technique. Use the Y8 marker for shadows and the G060 marker for highlights, adding random dots across the ground. This technique adds depth and realism to your soil illustration.
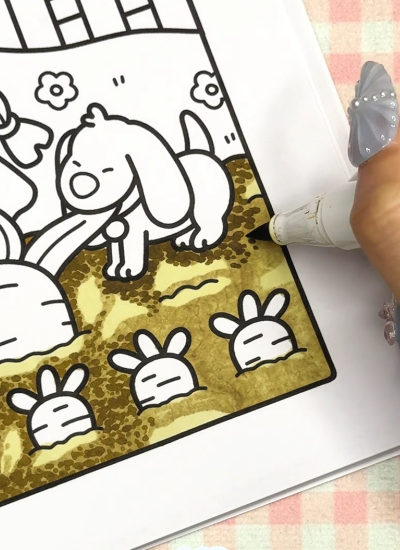
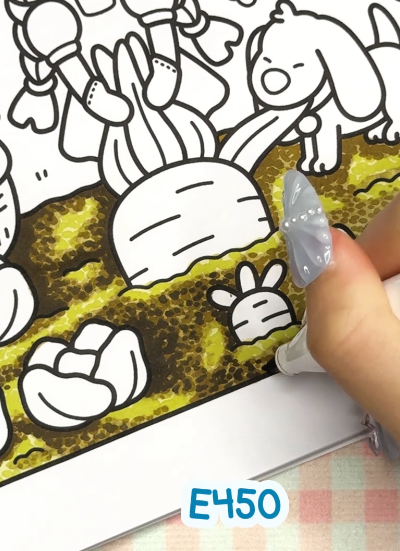
Deepen the shadows by applying the E450 marker, focusing on areas adjacent to objects on the ground, as these typically have the darkest shades. This step adds contrast and dimension to the soil.
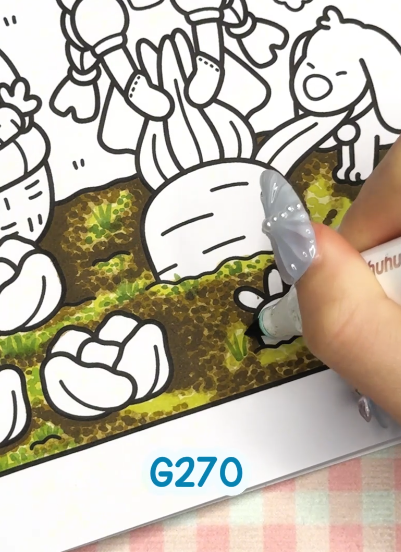
Introduce vegetation by drawing taller grass blades on the soil using the G270 marker. This addition brings life to the scene and enhances the realism of your artwork.
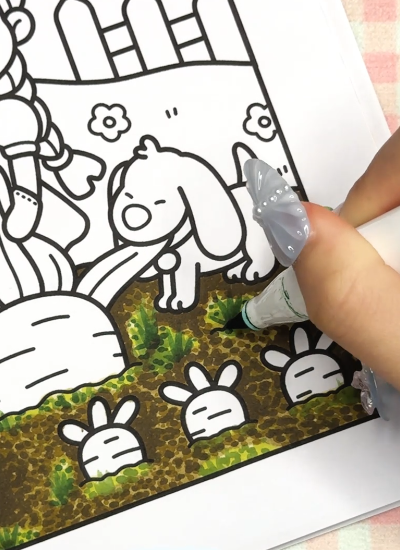
To further refine the grass, use the G470 marker to add shadows and the white acrylic pen to apply highlights. This contrast makes the grass appear more three-dimensional and natural.
By following these steps, you've created a realistic soil ground that adds authenticity and depth to your illustration. The combination of layering, dotting techniques, and careful shading brings the soil to life, enhancing the overall impact of your artwork.
If you enjoyed this tutorial and wish to further develop your coloring skills, consider exploring additional resources and guides on Instagram Southern Lotus.
Enter your email to get our special. Gift straight to your inbox.