
Adding shadows and highlights to your artwork is an essential technique to create depth and a realistic 3D effect.
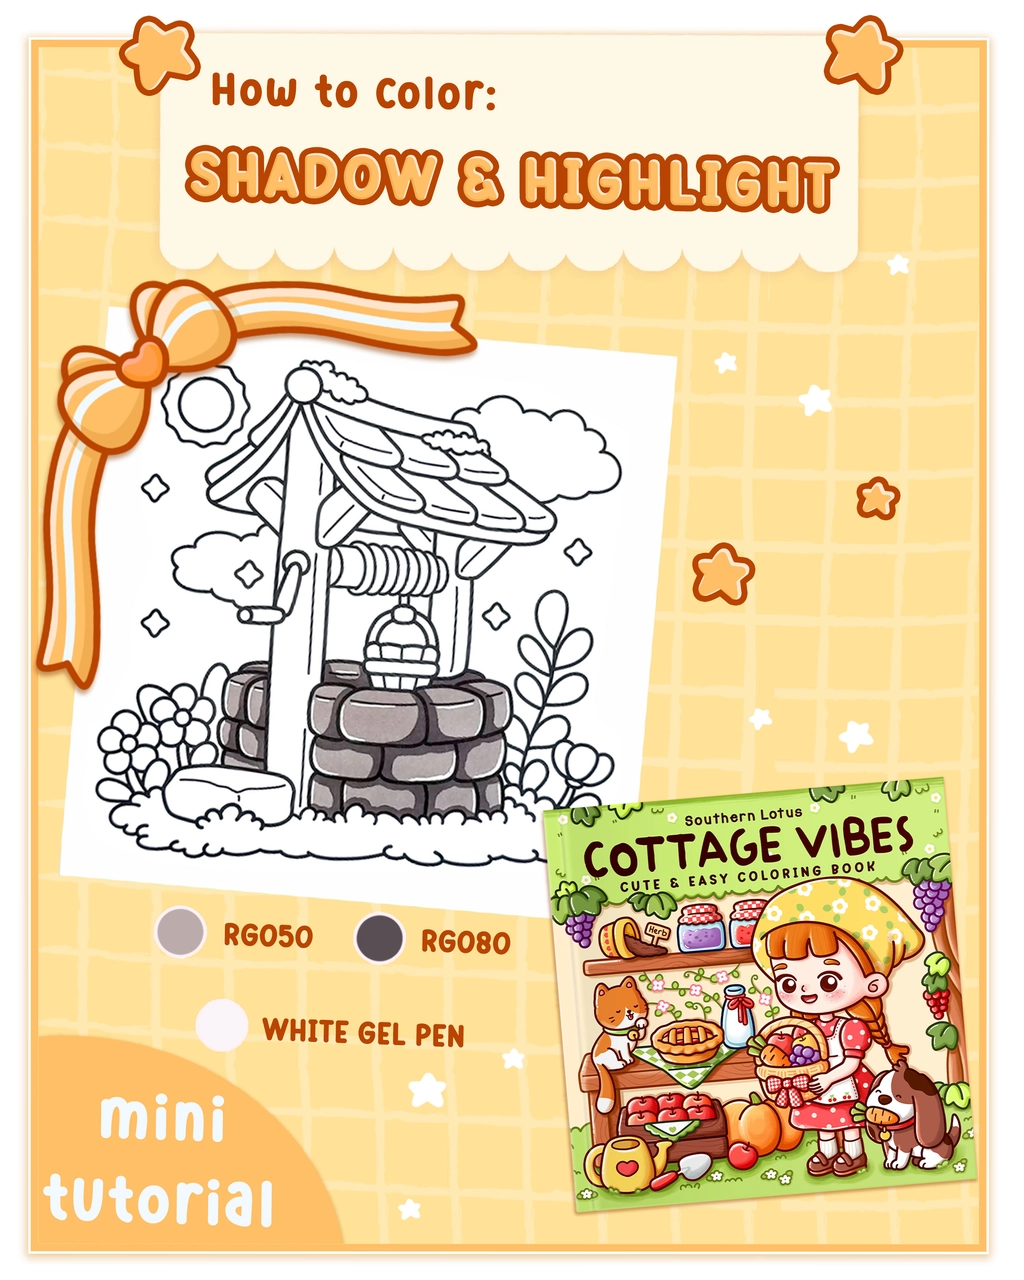
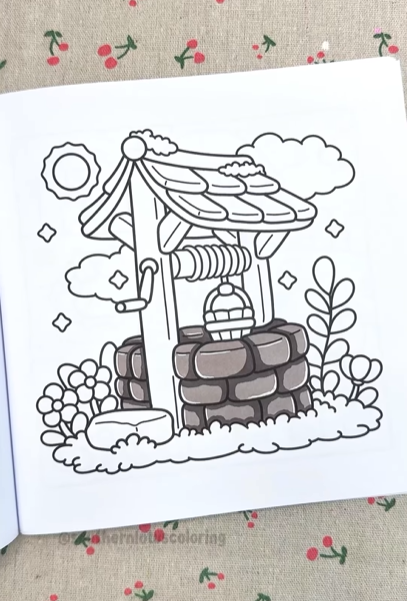
In this tutorial, we’ll guide you through 3 simple steps to enhance your artwork with shading and highlights using Ohuhu markers. The page we’re coloring today comes from the Cottage Vibes, a Southern Lotus Coloring Book featuring hand-drawn cozy spaces for relaxation.
- Ohuhu Markers (RG050 and RG080)
- White Gel Pen (for highlights)
- A Coloring Page: We’re using an illustration from Cottage Vibes Coloring Book
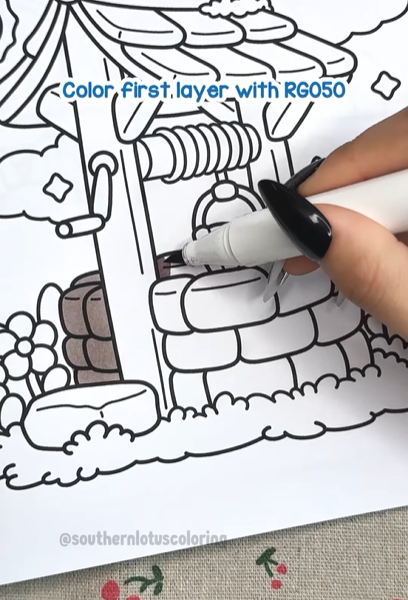
Step 1: Apply the Base Layer (RG050)
Start by coloring your object with RG050 as the base. This will be the foundation for your shading and highlights.
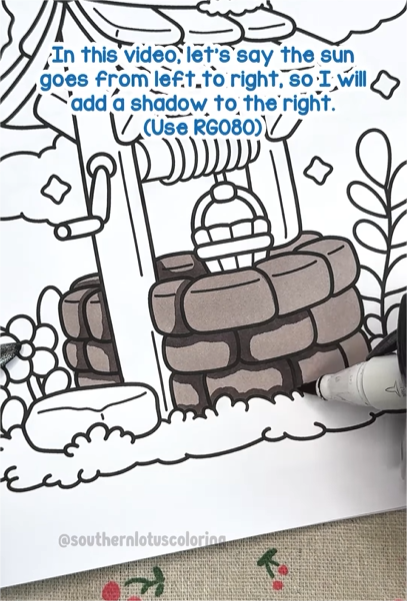
Step 2: Add Shadows with RG080
Shadows give your drawing a realistic and dimensional effect. Before adding shadows, decide where the light source is coming from:
Blend the darker shade (RG080) smoothly into the base layer to create a soft gradient effect.
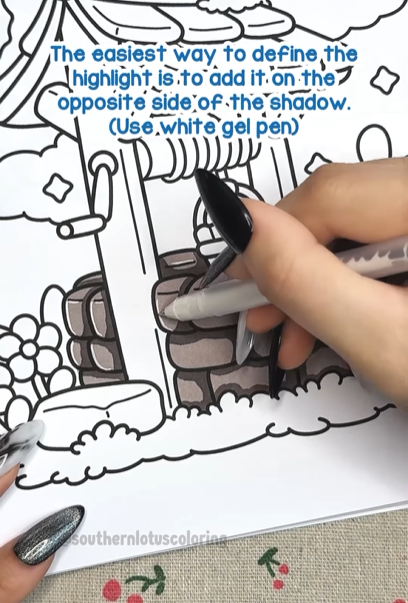
Step 3: Add Highlights for a 3D Look
To enhance the realism, add highlights on the opposite side of the shadow. A white gel pen works perfectly for this! Gently apply highlights on the top edges of the object where the light would naturally hit.
Your shading and highlighting are now complete!
The blend of shadows and highlights gives your artwork a professional and polished look.
For more detailed tutorials, you can check out our Instagram.
Enter your email to get our special. Gift straight to your inbox.