
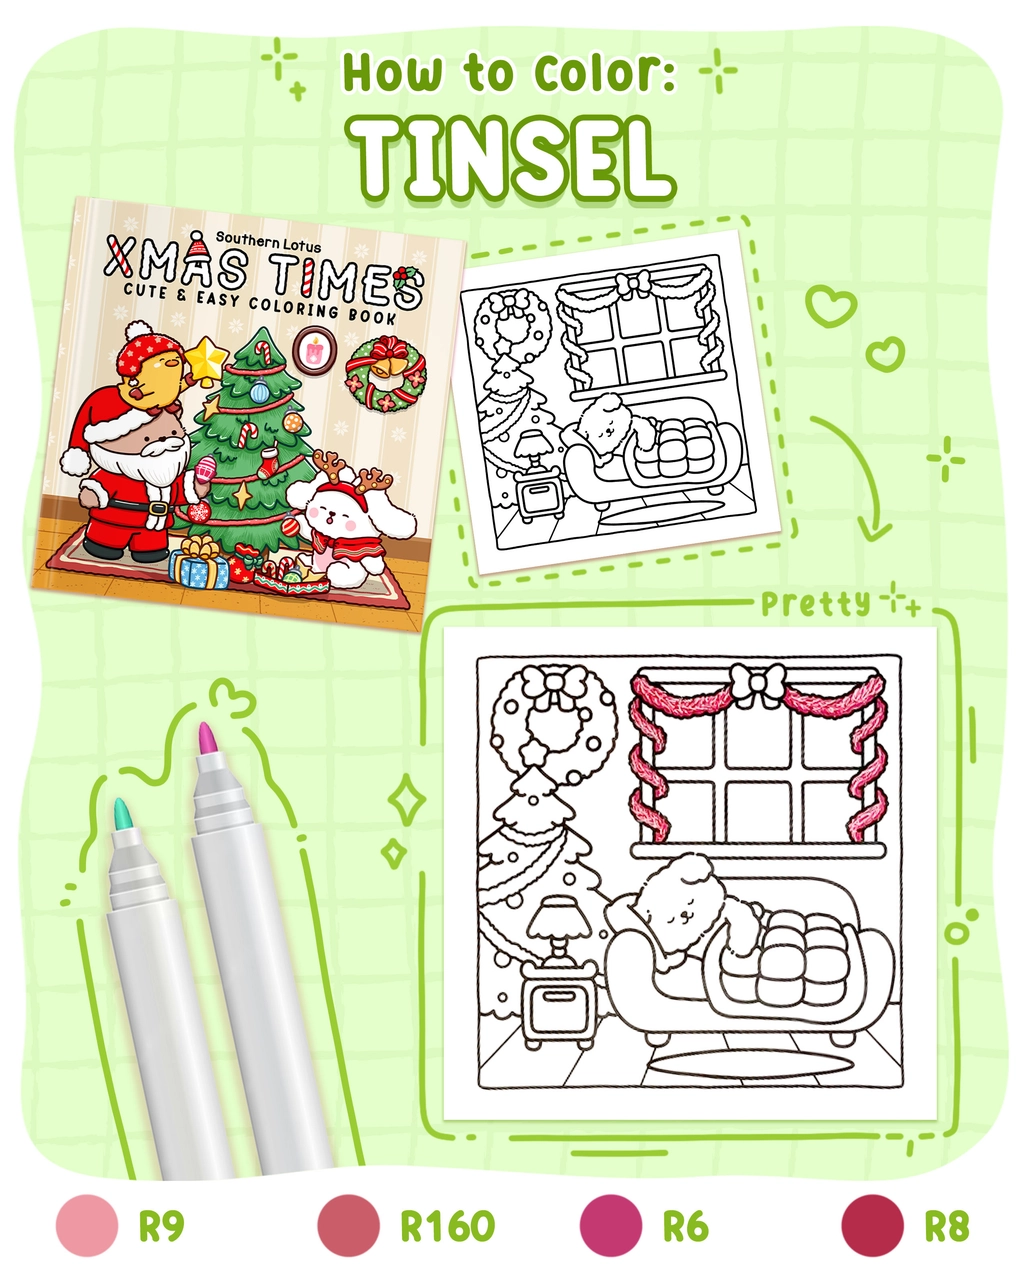
Tinsel is a fun and dazzling decoration that brings festive cheer to any artwork. With the right coloring techniques, you can create a shimmering, 3D effect that makes your tinsel look as if it’s glowing!
In this tutorial, we’ll walk you through 3 easy steps to achieve a sparkling tinsel effect using Ohuhu markers. This page is from the Xmas Times, a Southern Lotus Coloring Book featuring hand-drawn holiday-themed illustrations for a cute and cozy coloring experience.
- Ohuhu Markers (R9, RI60, R6, R8)
- White Gel Pen
- A coloring page featuring a tinsel decoration (from Xmas Times Coloring Book)
Step 1: Color the Base Layer
Fill in the entire tinsel area using R9, the lightest shade of red. This base layer will serve as the foundation for adding depth and texture.

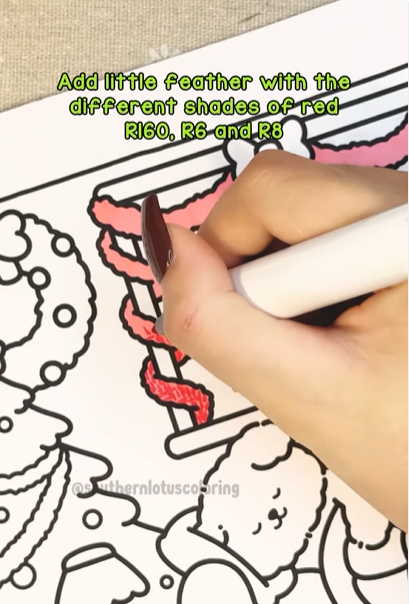
Step 2: Add Feather-Like Strokes
Using RI60, R6, and R8, gently create small, feathery strokes throughout the tinsel. This will mimic the strands of tinsel reflecting light from different angles.
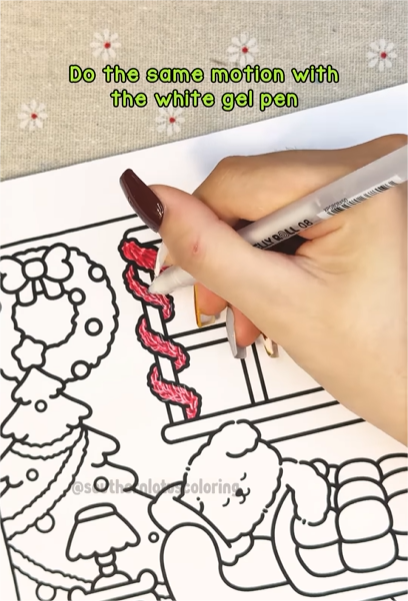
Step 3: Highlight for a Sparkling Effect
Use a white gel pen to add random highlights following the direction of the feathered strokes. This final touch enhances the glowing and reflective effect of the tinsel.
Your shimmering tinsel is now complete!
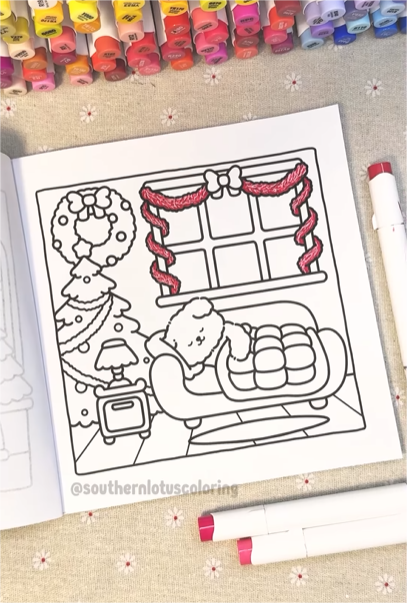
Tinsel has a reflective and textured look, making it a great subject for learning how to create shine and depth. By layering different shades and highlights, you’ll give your tinsel a realistic, eye-catching effect that stands out on the page.
For more detailed tutorials, you can check out our Instagram.
Enter your email to get our special. Gift straight to your inbox.