
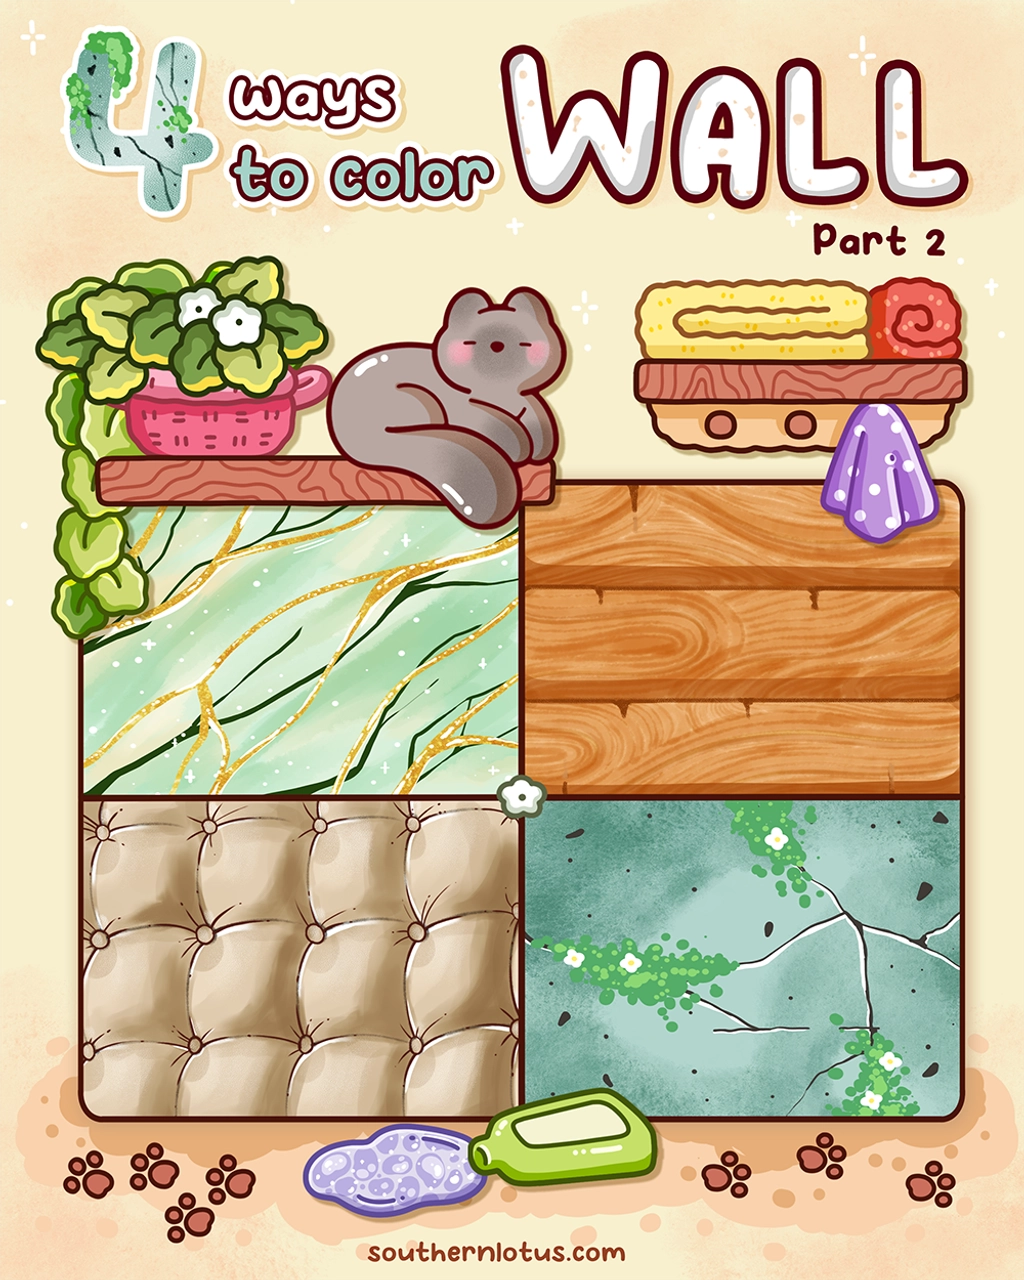
Ready to level up your coloring skills? In this blog, we’ll walk you through 4 wall coloring tutorials, each with four detailed steps. These walls are perfect for cozy interiors, cute room illustrations, and adding texture to your coloring pages. Whether you’re using alcohol markers, gel pens, or colored pencils, follow along and make your walls pop!
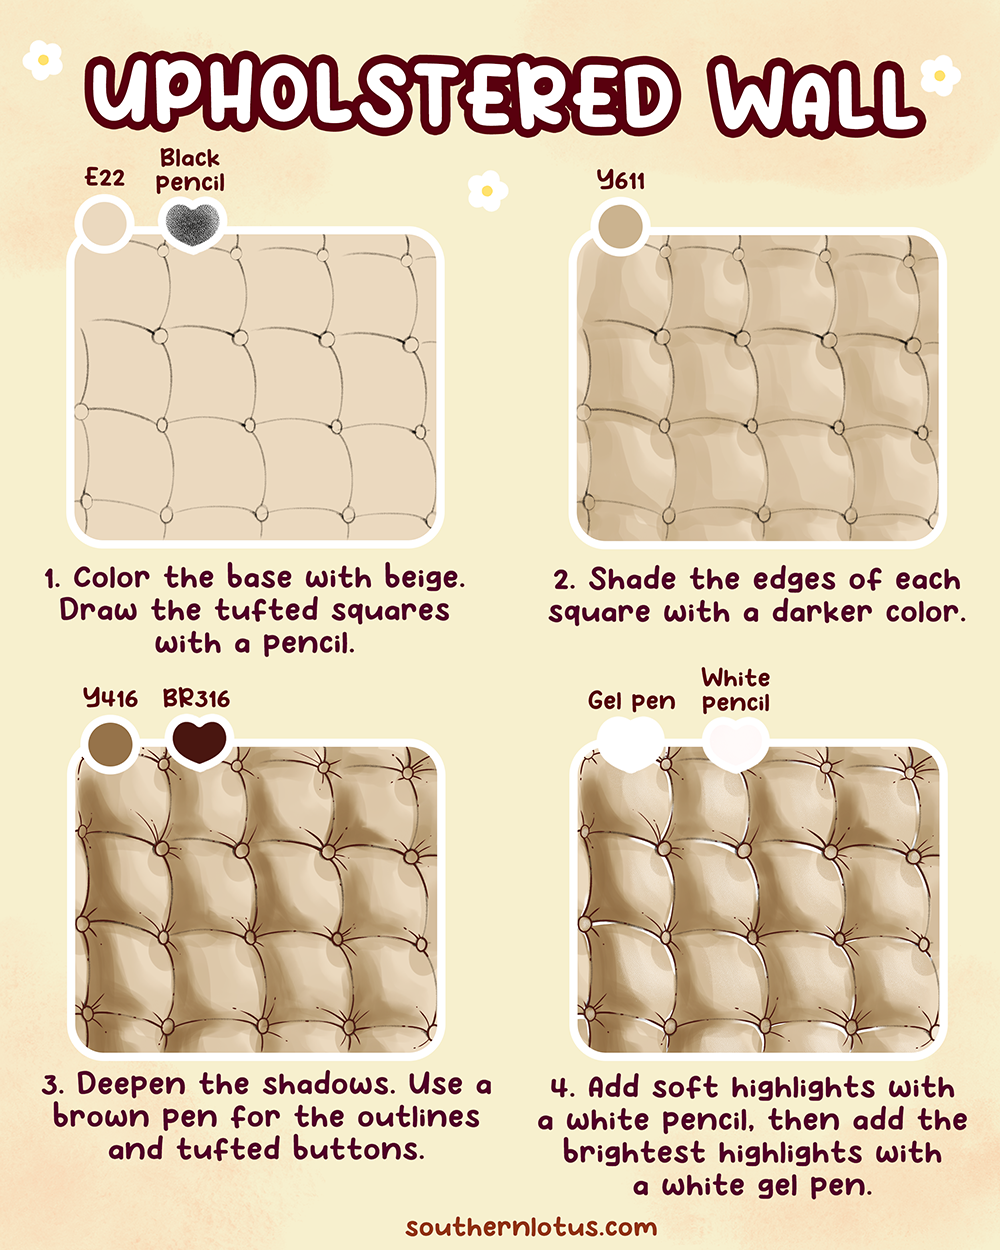
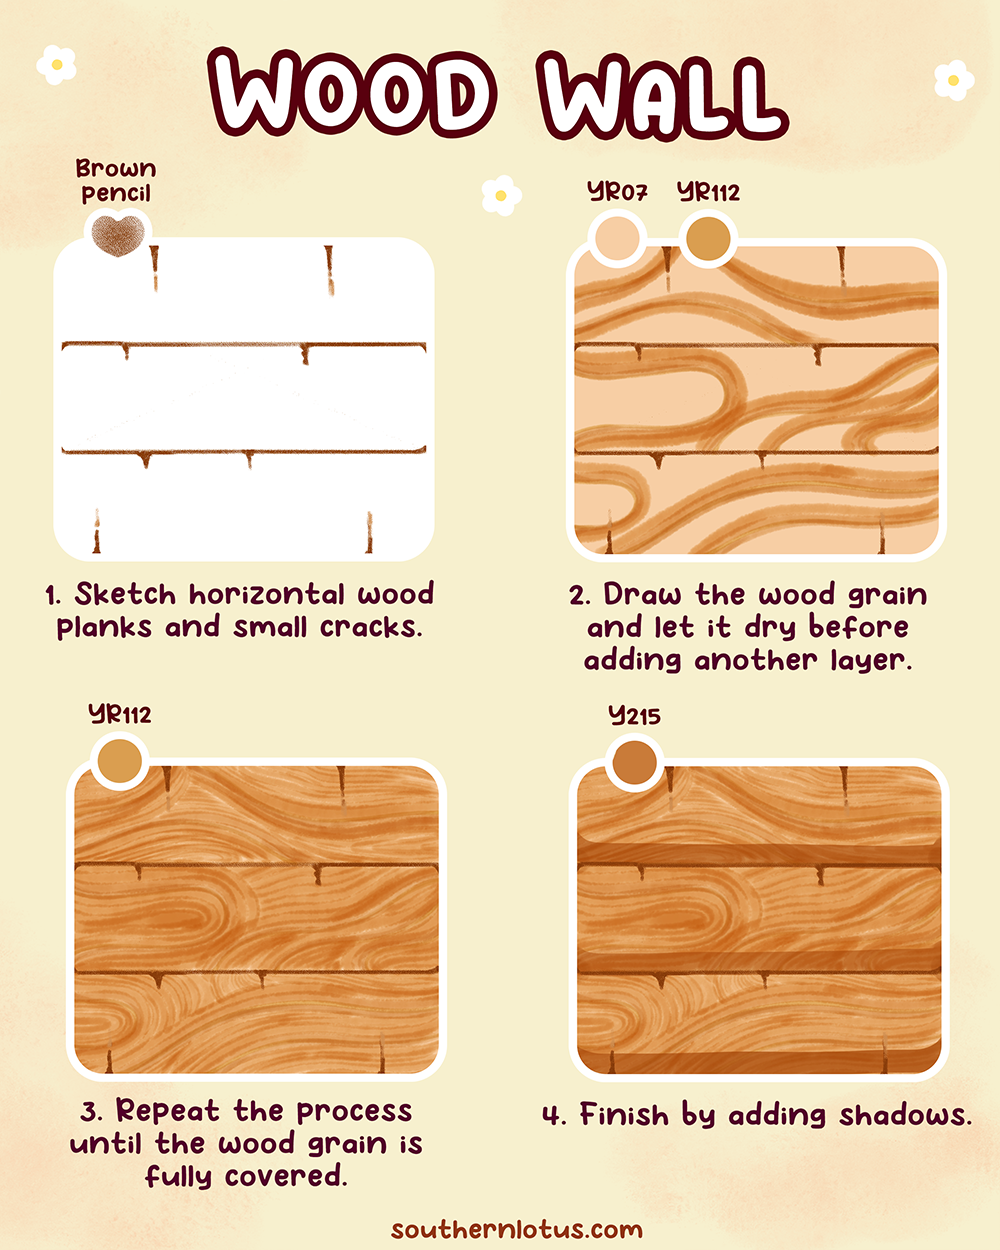
Step 1: Sketch the Wall
Lightly sketch vertical wooden panels with a pencil. Mark out cracks and edges to guide your texture.
Step 2: Base Coloring
Use a soft brown or beige marker/pencil to fill each panel. Keep the tone even for the base.
Step 3: Add Texture
Layer darker brown streaks along the wood grain. Add subtle lines and knots to make it realistic.
Step 4: Highlights & Finishing
Use a white gel pen to add soft highlights. Blend lightly for a smooth, cozy wood effect.
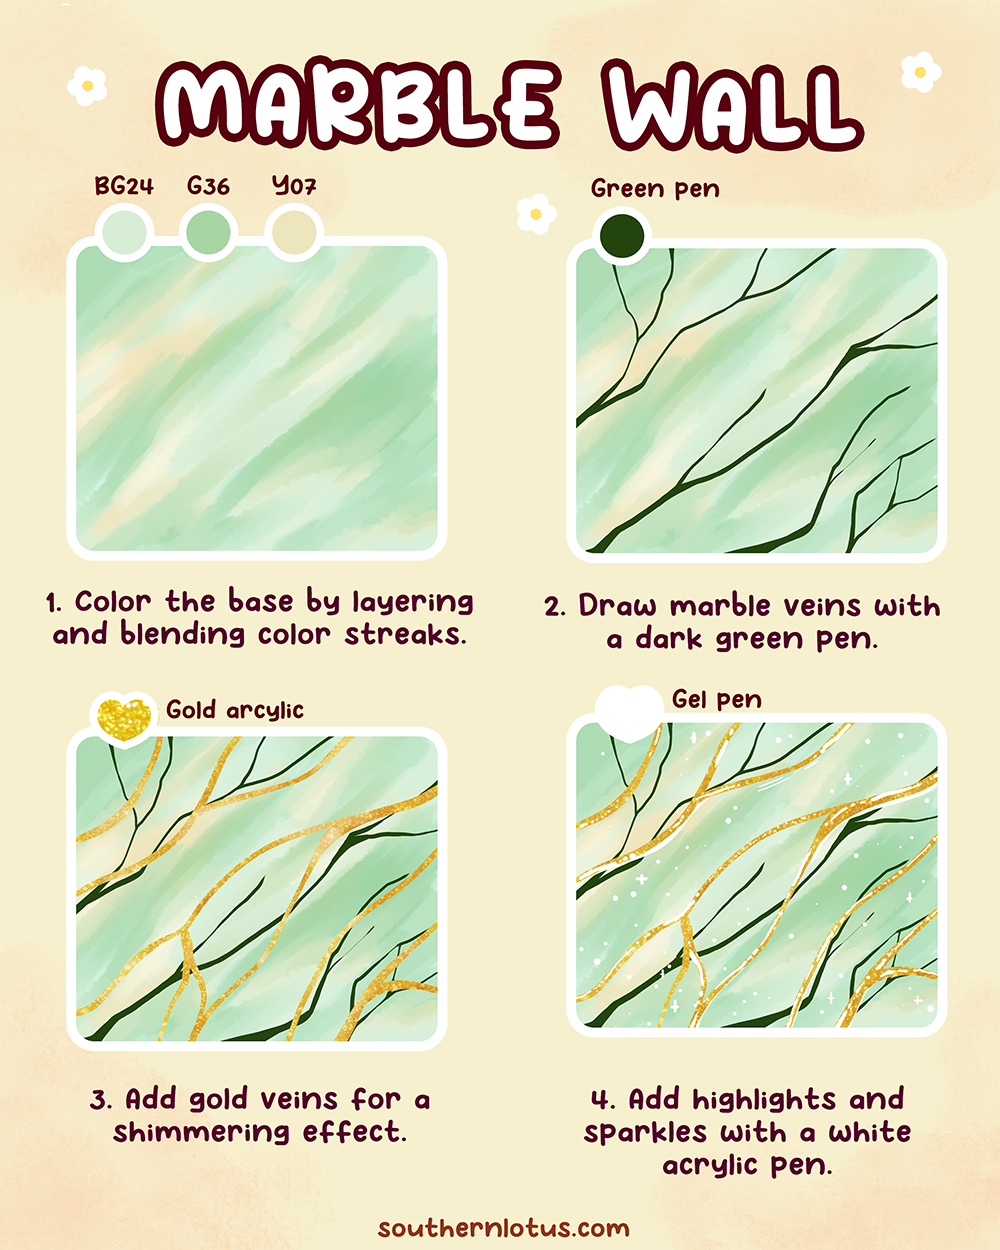
Step 1: Outline the Bricks
Draw rectangular brick shapes with a pencil. Space them irregularly for a cozy, natural look.
Step 2: Base Fill
Color the bricks with a muted red or terracotta base. Keep strokes light and even.
Step 3: Shadows & Depth
Add darker reds or browns to corners and cracks. Shade the mortar lines lightly with gray.
Step 4: Highlight & Texture
Add cream or light orange highlights on raised areas. Blend edges slightly for a rustic finish.
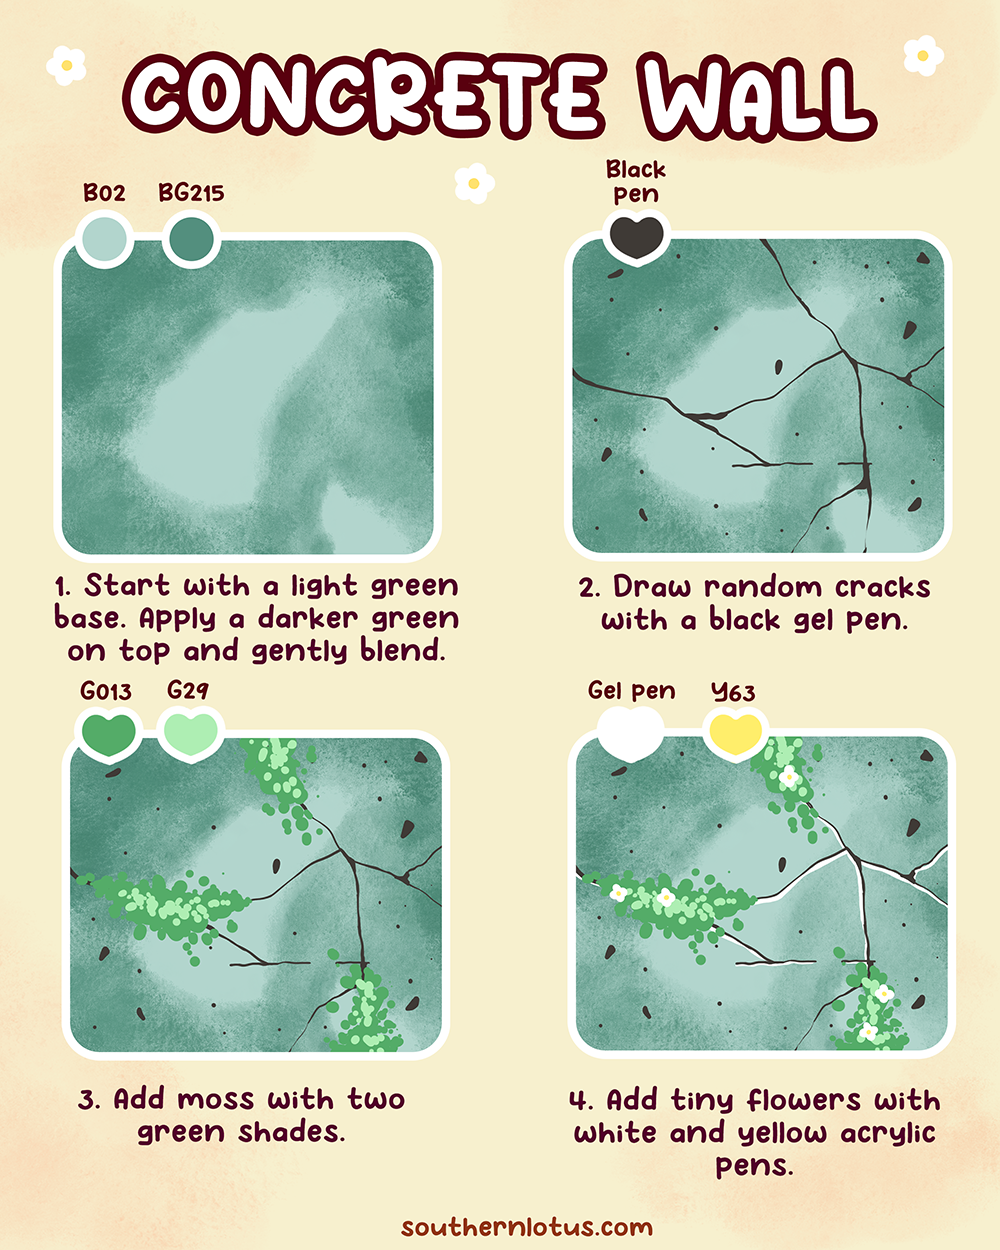
Step 1: Light Sketch
Sketch the wall outline lightly. Mark areas for highlights and shadows.
Step 2: Base Color
Fill the wall with a soft cream, pastel, or gray tone. Keep the color smooth for a plaster effect.
Step 3: Add Shadows
Use a slightly darker pencil/marker to create soft shadows in corners or textured areas.
Step 4: Highlight & Blend
Use a white pencil or gel pen to add gentle highlights. Blend edges softly for a cozy plaster look.
Step 1: Sketch the Pattern
Lightly draw the repeating wallpaper pattern. Focus on placement and spacing for a balanced design.
Step 2: Base Fill
Color the background with a soft, neutral shade. Avoid coloring over your pencil guidelines for the pattern.
Step 3: Add Pattern Colors
Use complementary colors for the wallpaper motifs. Layer and blend colors for depth and visual interest.
Step 4: Finishing Touches
Add shadows to edges and highlights with a white gel pen. Your patterned wall now looks lively and cozy!
Practice these four tutorials with our free printable PDF wall practice sheet. Perfect for cozy coloring sessions, stress relief, and improving your coloring techniques step-by-step.
Enter your email to get our special. Gift straight to your inbox.