

Wood textures bring warmth and realism to any artwork. In our previous wood grain tutorial, we explored how to create realistic wood patterns. Today, we’ll apply the same technique but with slight adjustments to color a wooden bench. If you love adding depth and details to wooden furniture in your coloring pages, this guide is perfect for you!
This tutorial features an illustration from the Little Cozy by Southern Lotus Coloring Book, available on our website and Amazon. This adult colouring book is printed on smooth paper, ideal for marker use.
- Ohuhu Markers (E240, Y9, Y210)
- White Gel Pen
- A coloring page with a wood bench illustration (from Little Cozy Coloring Book)
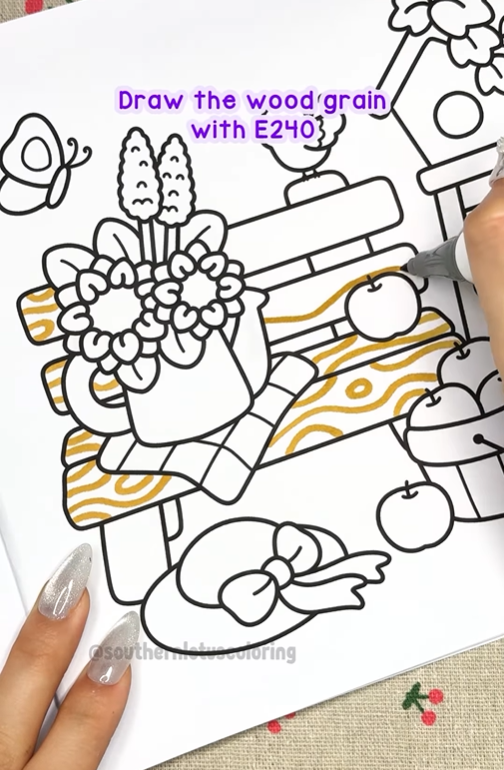
Step 1: Draw the Wood Grain with E240
Begin by sketching the wood grain using E240. Follow the natural lines of the bench to create realistic wood textures.
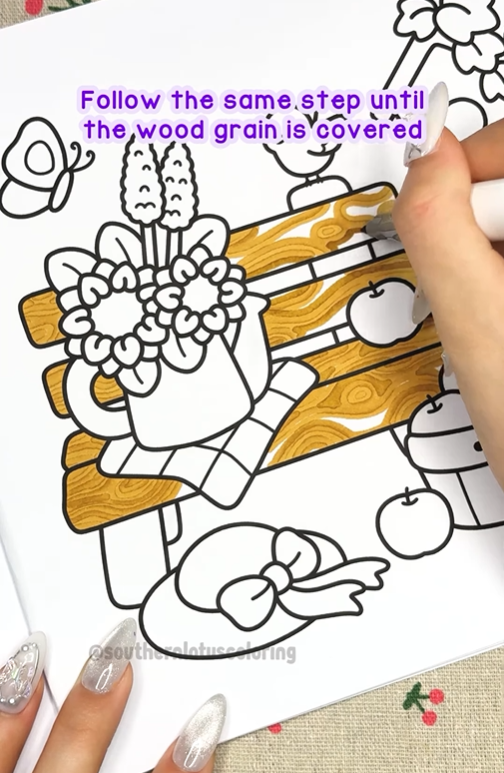
Step 2: Build Up Layers for Depth
Continue applying E240 over the grain lines, ensuring each layer is dry before adding another. This helps achieve a rich wood pattern without blending too much.
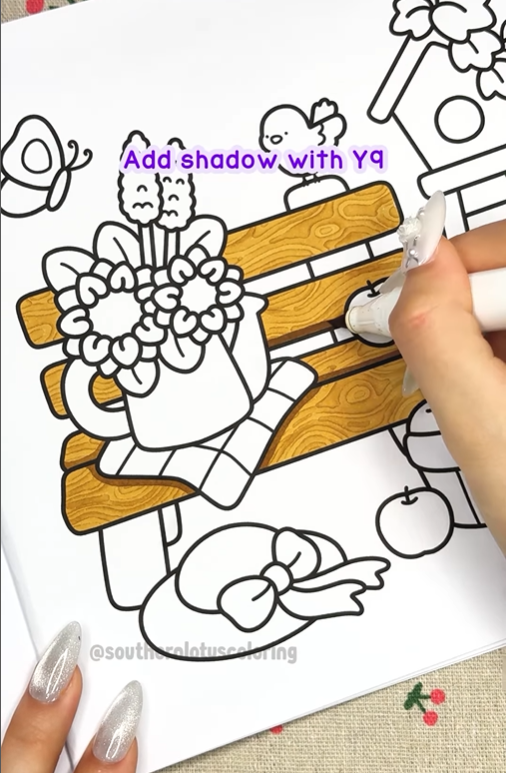
Step 3: Add Shadows with Y9
Enhance the depth of the wood texture by applying Y9 in shadowed areas. Focus on the edges and corners where natural light wouldn't reach.
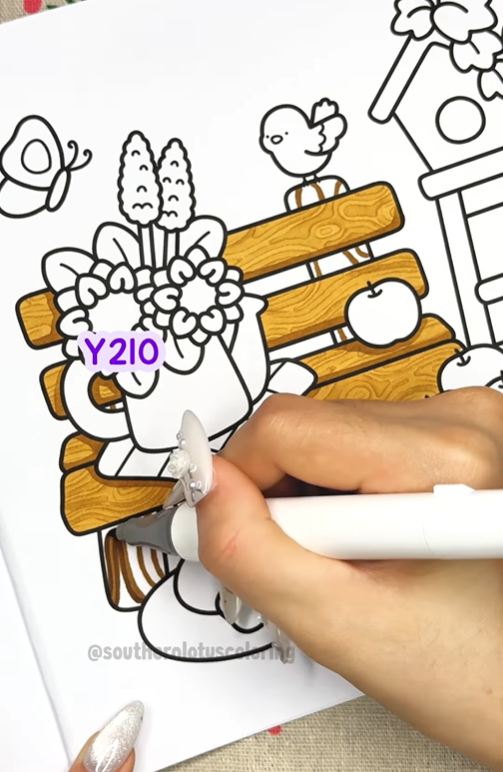
Step 4: Color the Chair Legs with Y210
Since the chair legs often appear darker due to perspective, use Y210 to color them. Apply the same layering technique as above to maintain consistency in the wood colors.
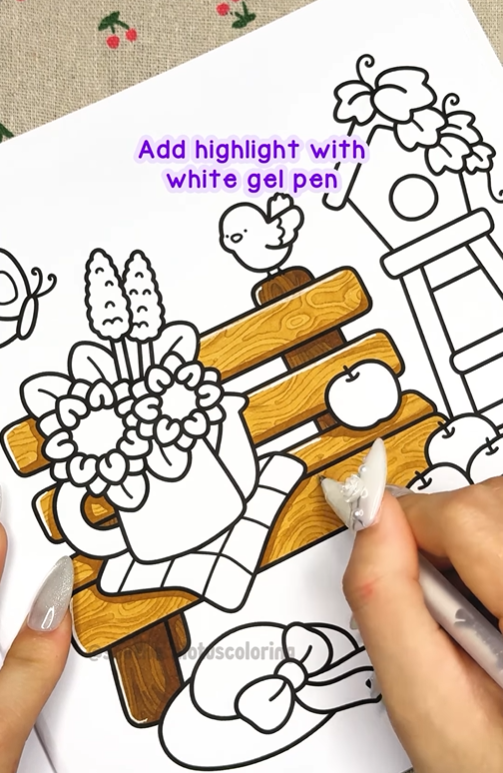
Step 5: Highlight with a White Acrylic Pen
Finally, add highlights with a white acrylic pen along the grain lines and edges. This step enhances the realism of the wood texture and makes the bench look polished.
Your wooden bench art is now complete!
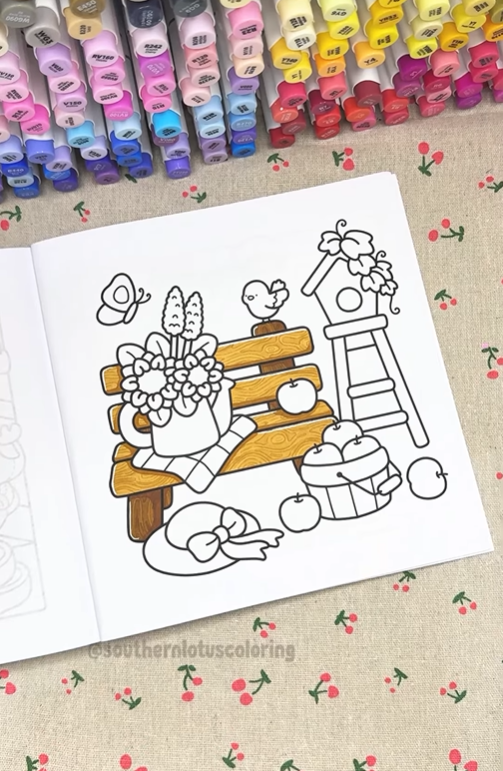
Whether you're coloring cozy indoor scenes or outdoor park benches, this coloring tutorial will help bring your artwork to life.
For more detailed tutorial, you can check out our Instagram.
Enter your email to get our special. Gift straight to your inbox.