

Who can resist this soft, tiny alpaca with its curly locks and gentle face?
In this tutorial, Southern Lotus will show you how to shade Alpaca.
Instead of a flat color, you will learn how to layer colors, create a gentle texture with dot strokes, and add subtle highlights to make your alpaca look even softer.
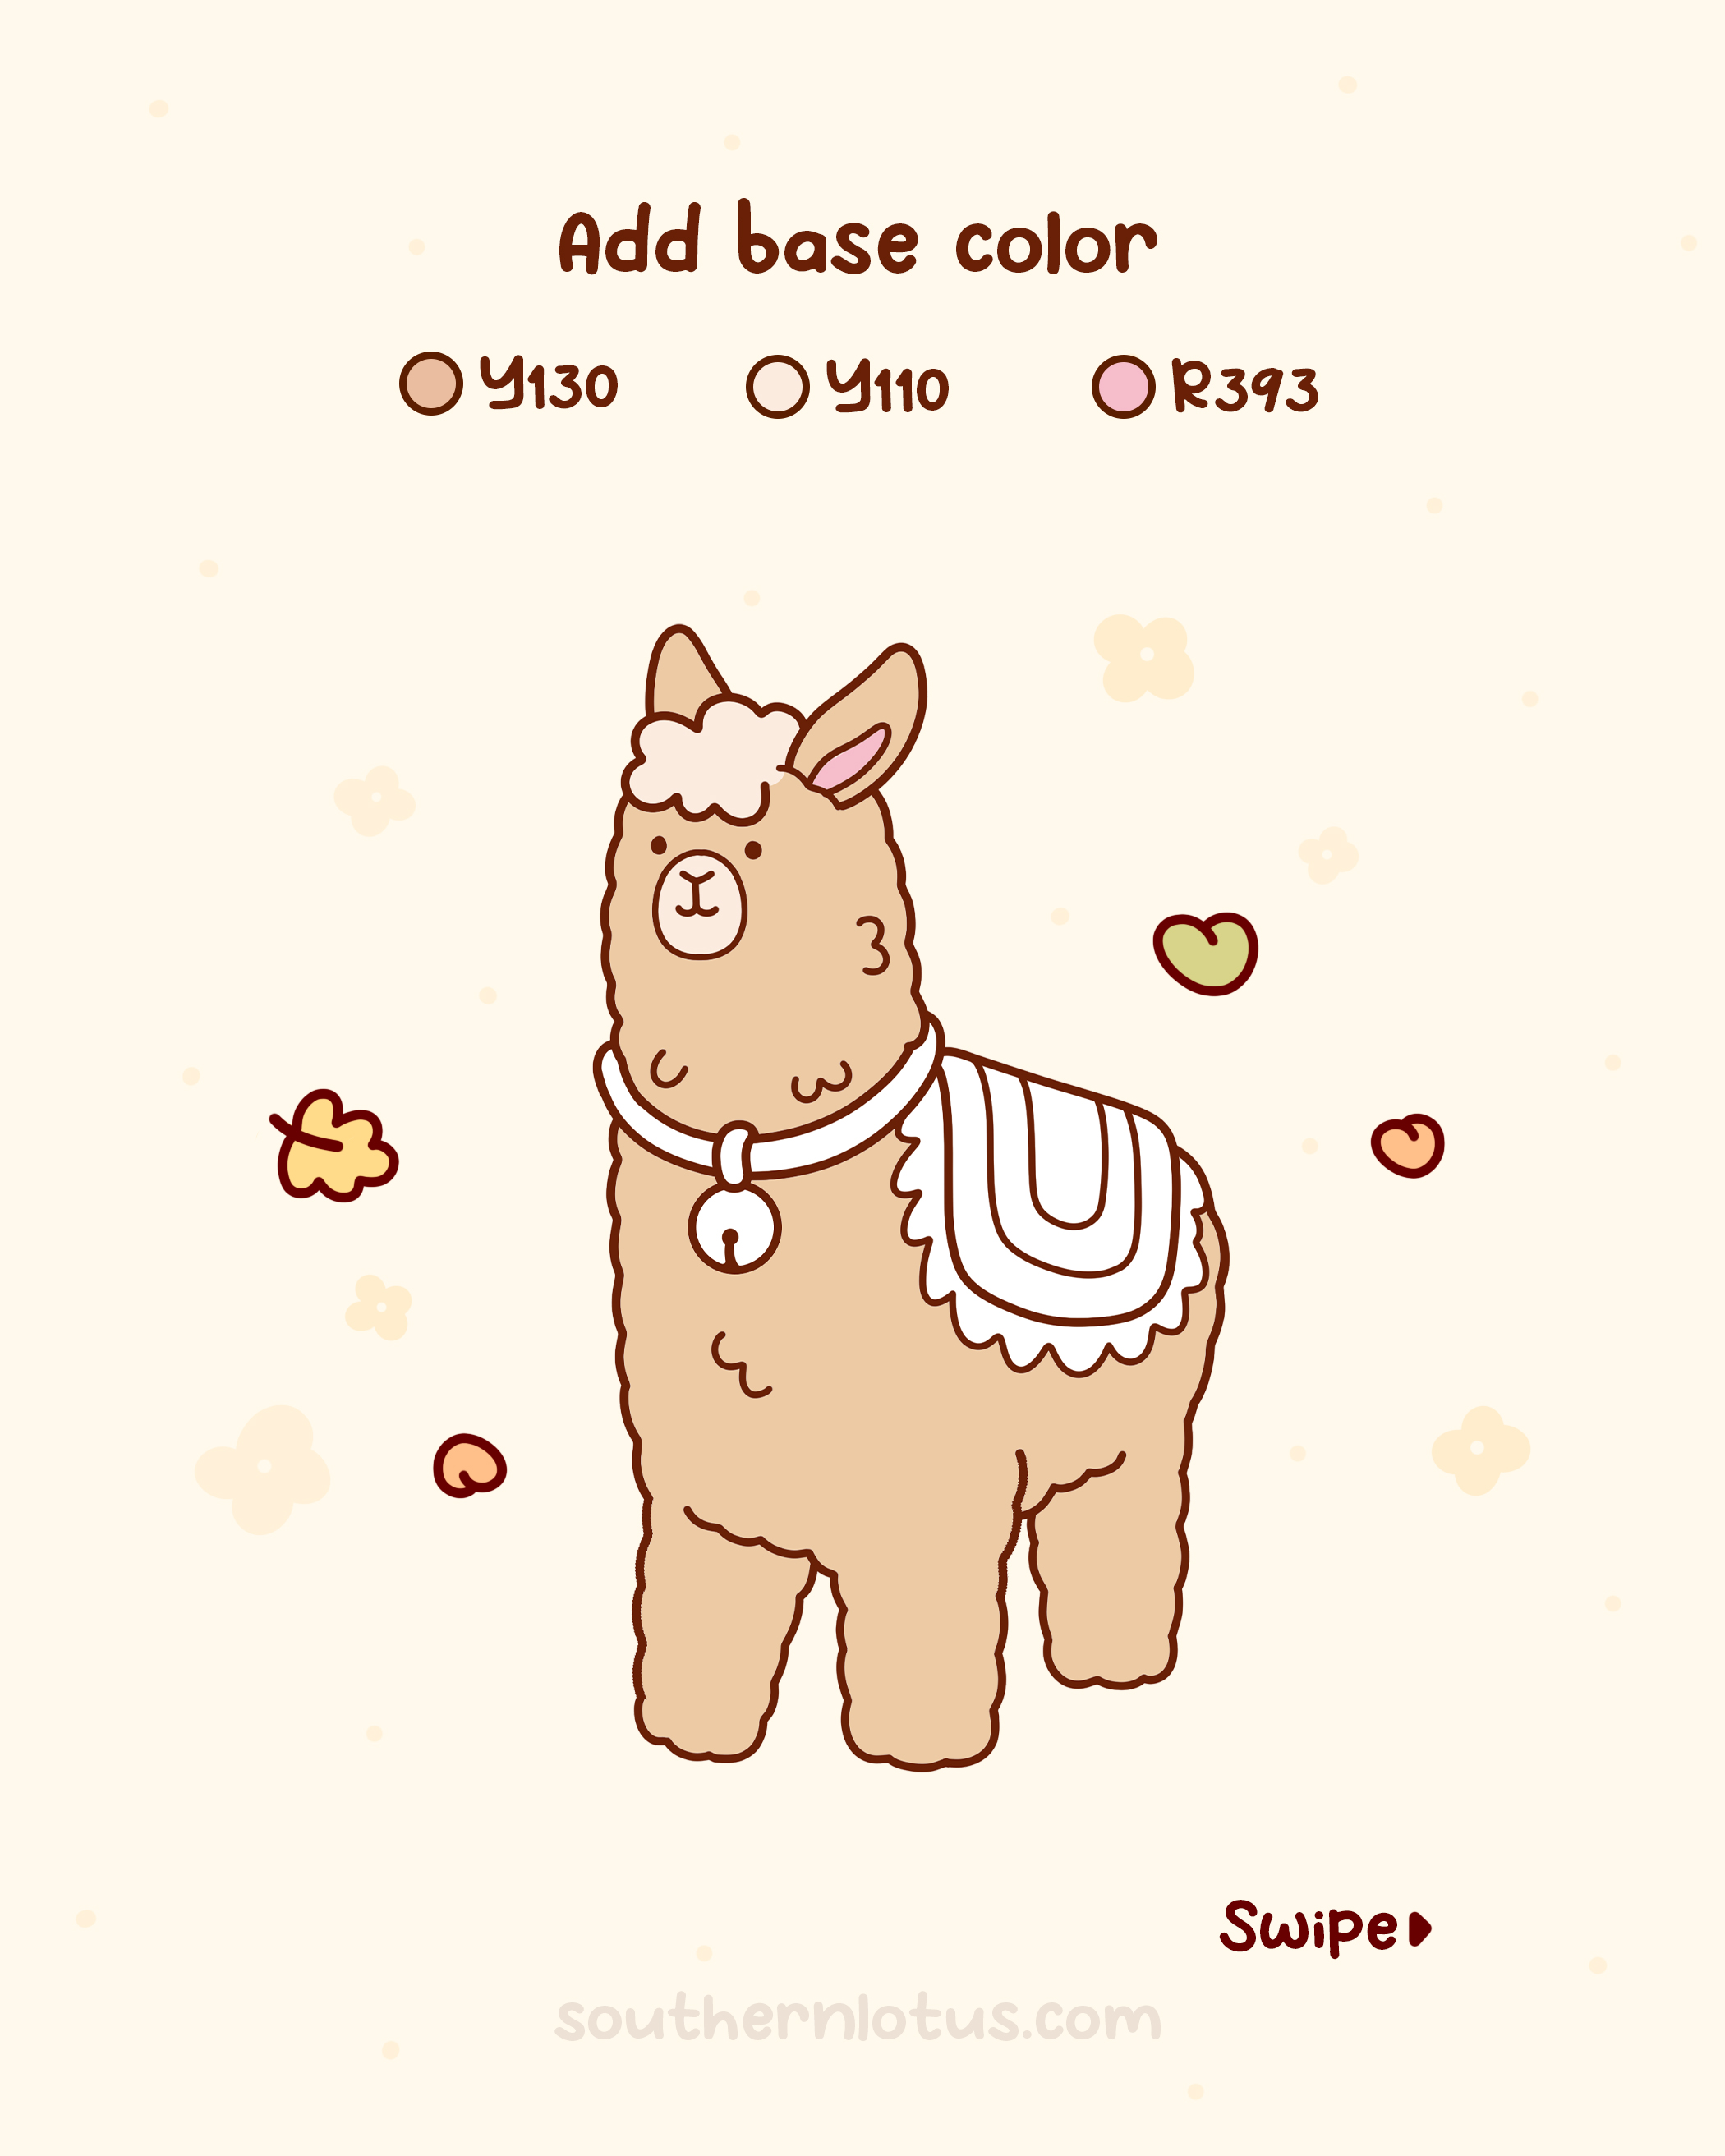
First, apply a light base color to the alpaca. This is the starting layer that defines the overall look of the drawing.
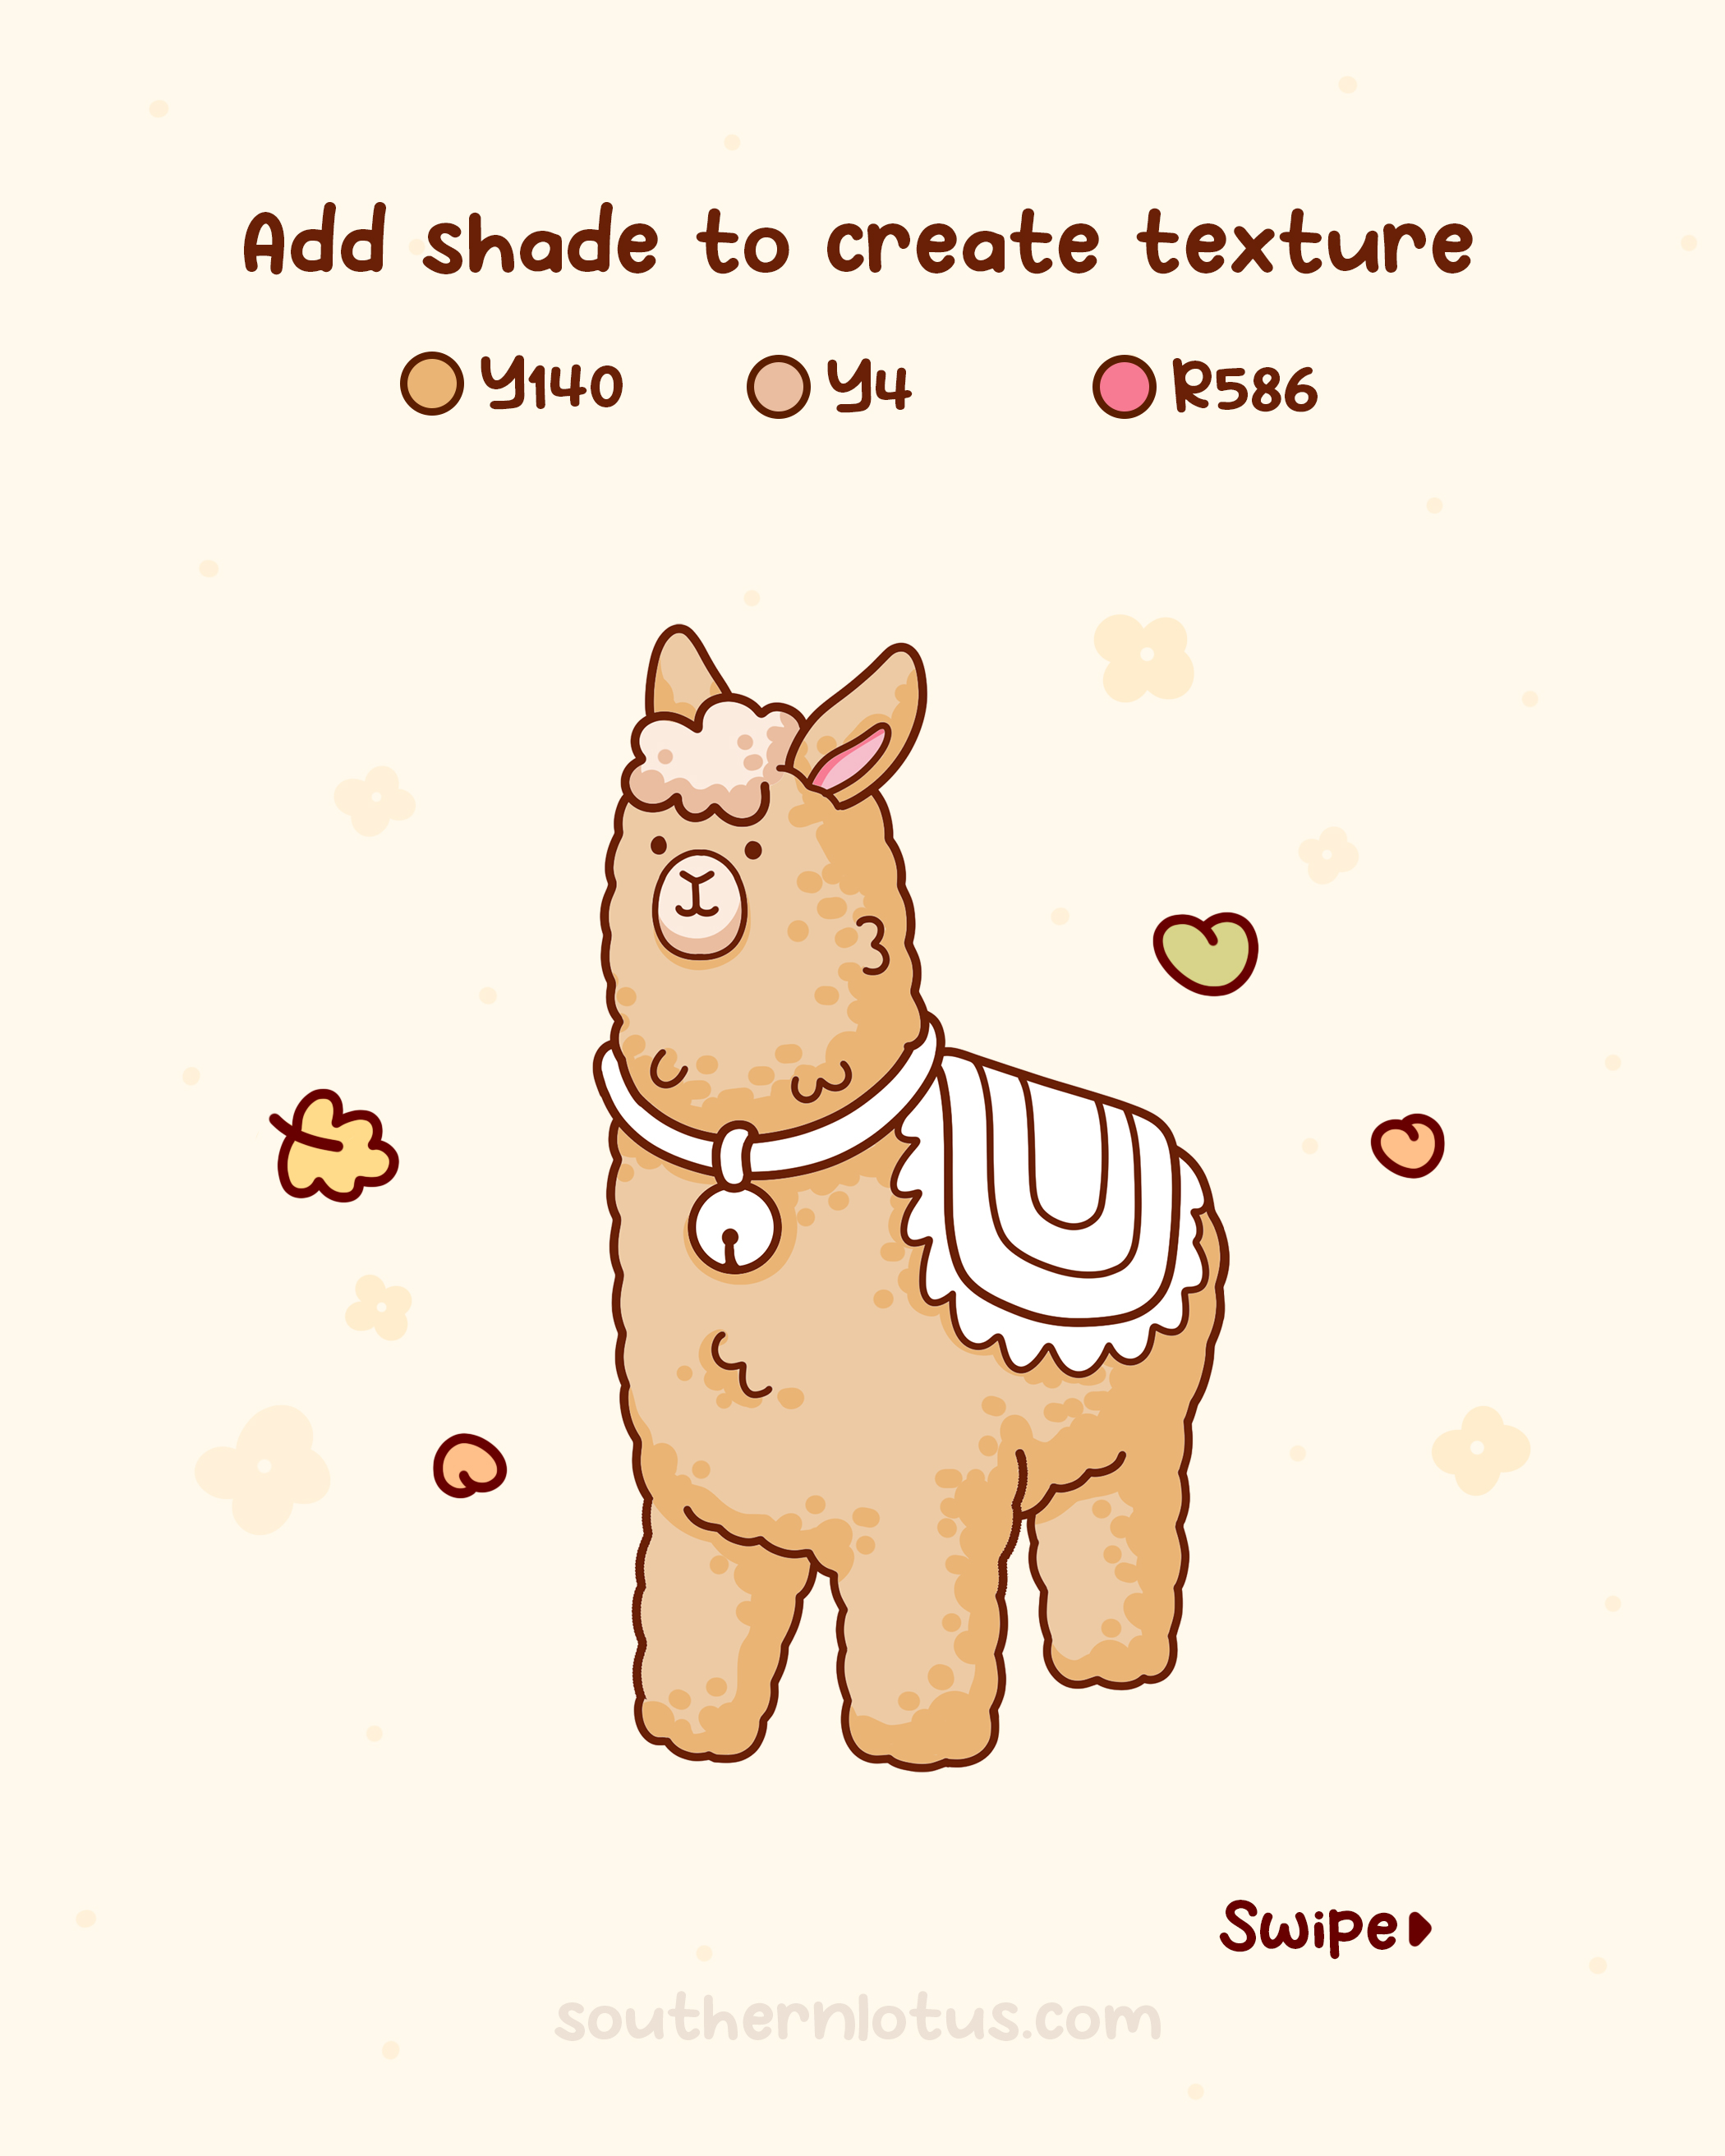
This is a crucial step to give the alpaca's coat texture and depth. Use a color slightly darker than the base color (Y140, Y4, R586) to create small dots or light strokes across the alpaca's body, simulating the natural fluffiness of the fur.
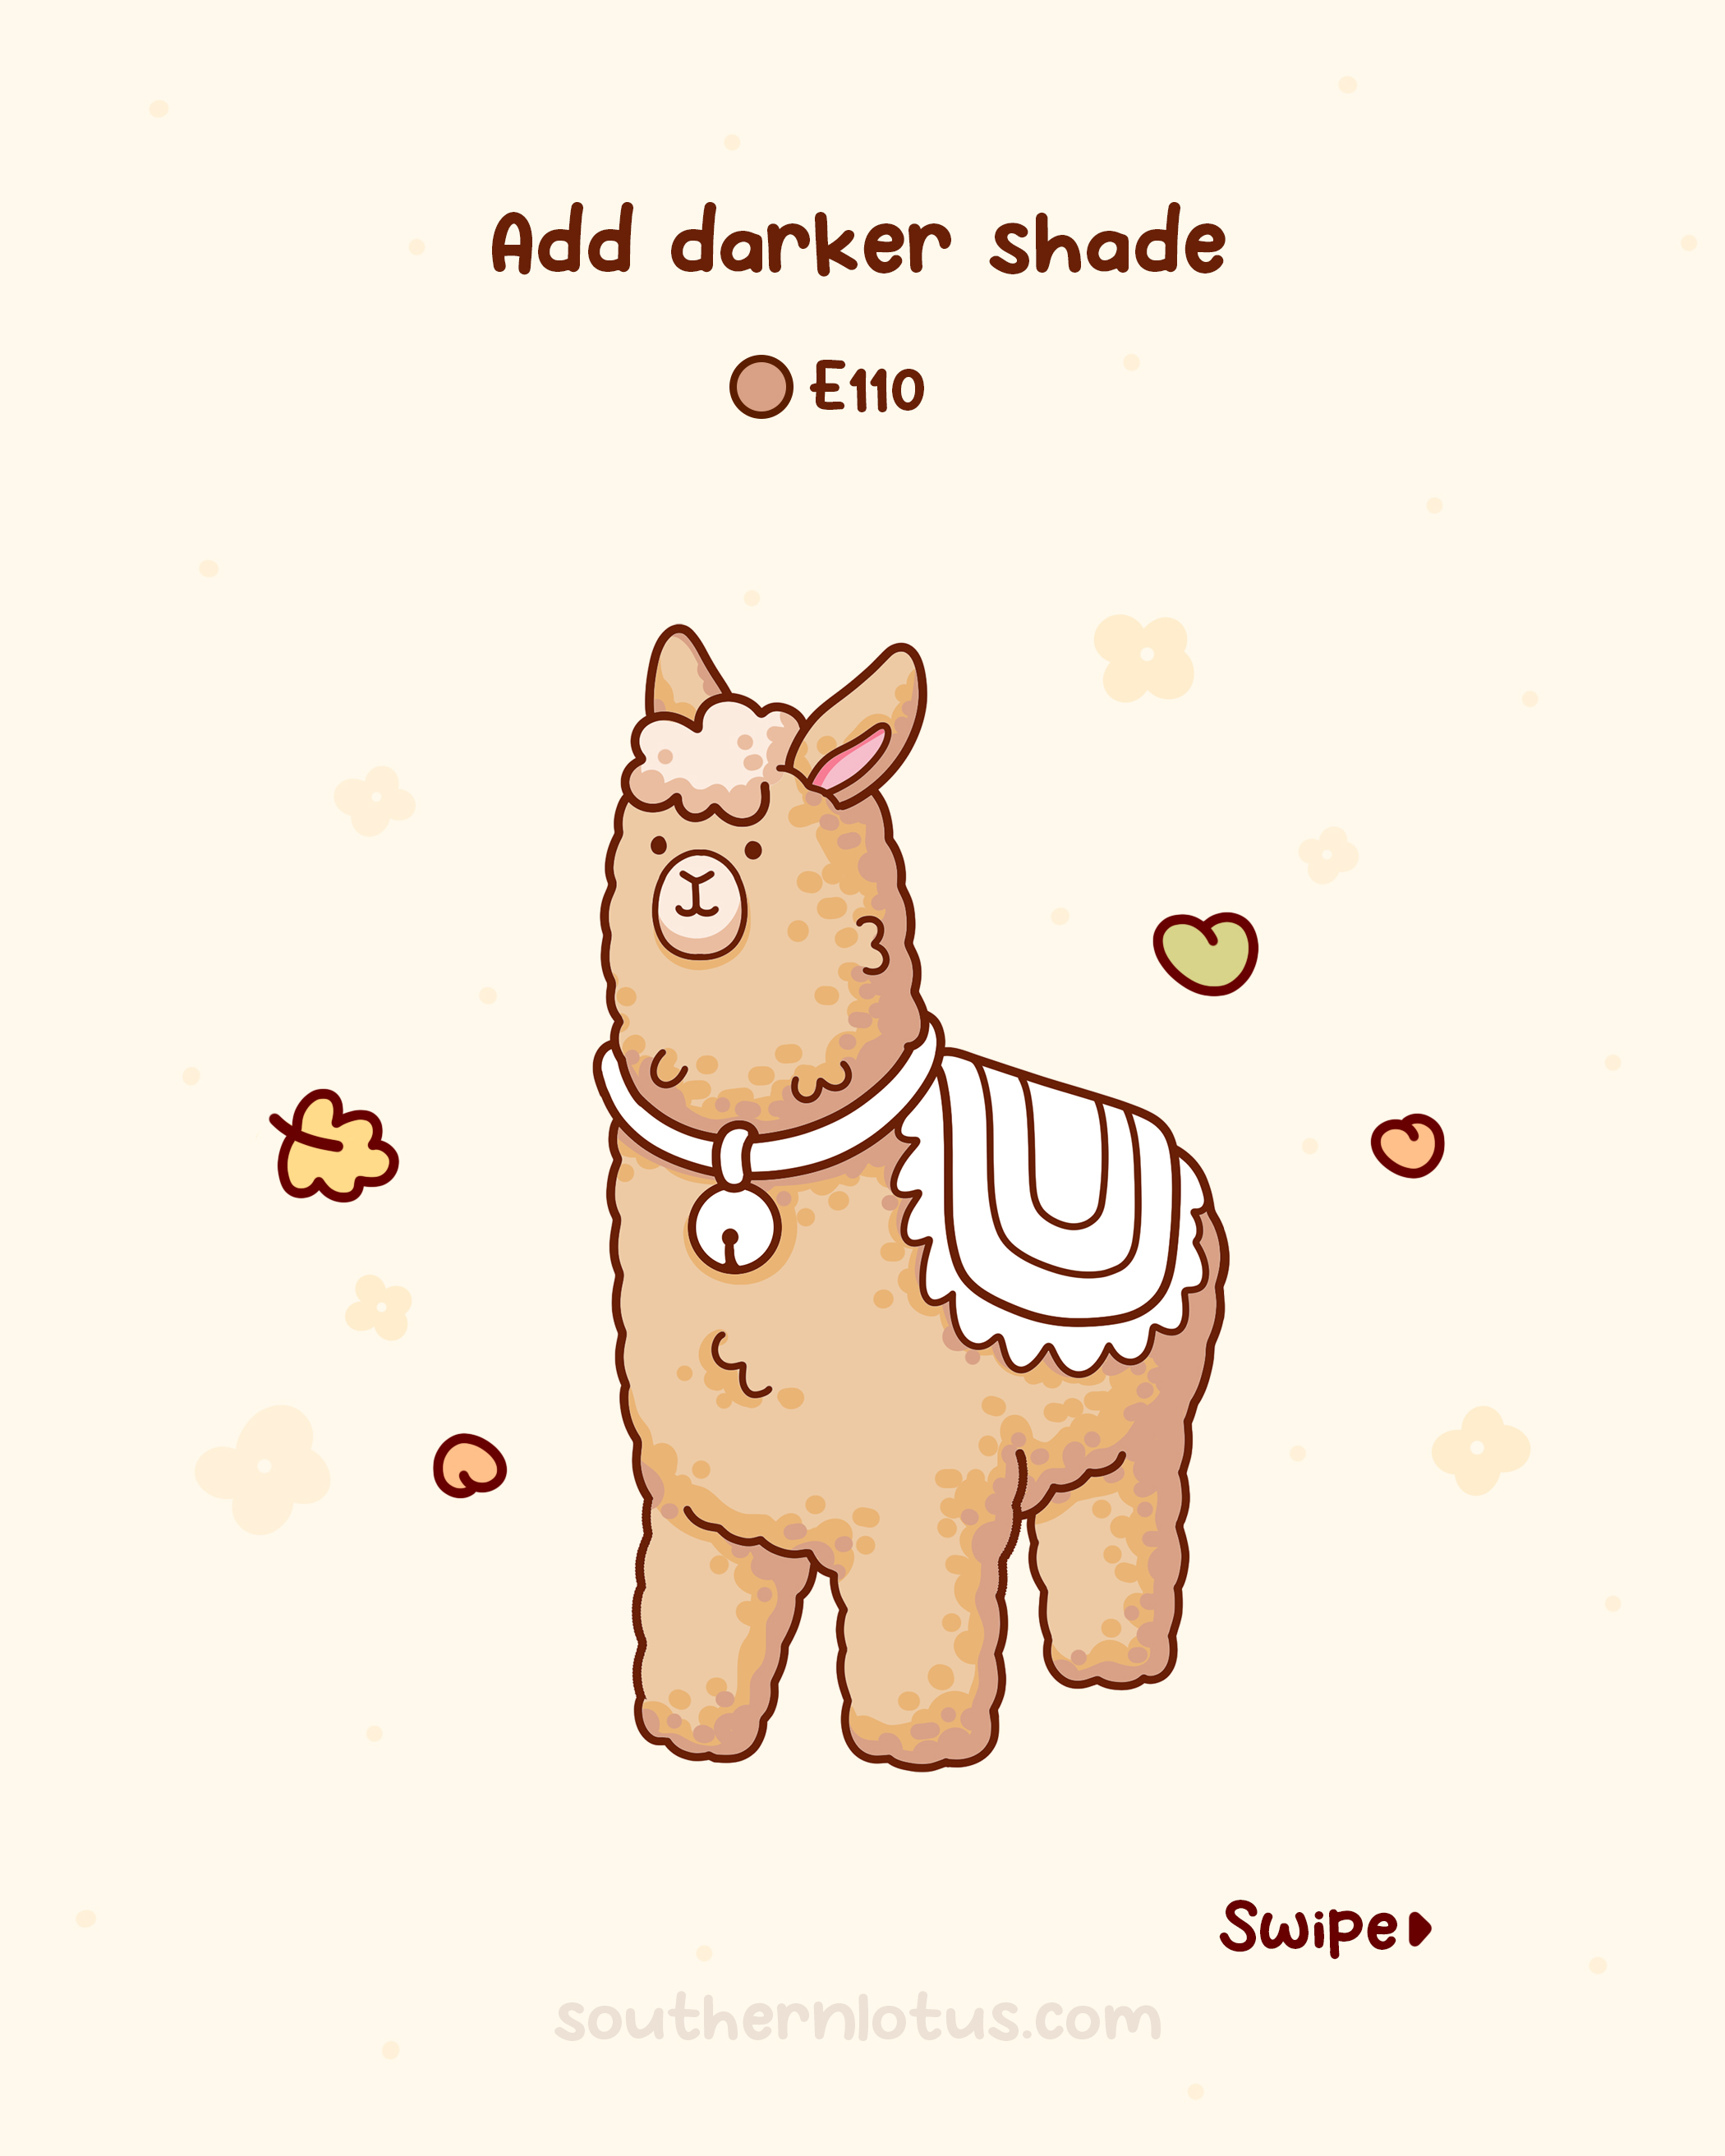
To enhance the depth and create dimension, add another layer of shadow (E110). Focus on areas where light is blocked, such as under the chin, legs, and body folds.
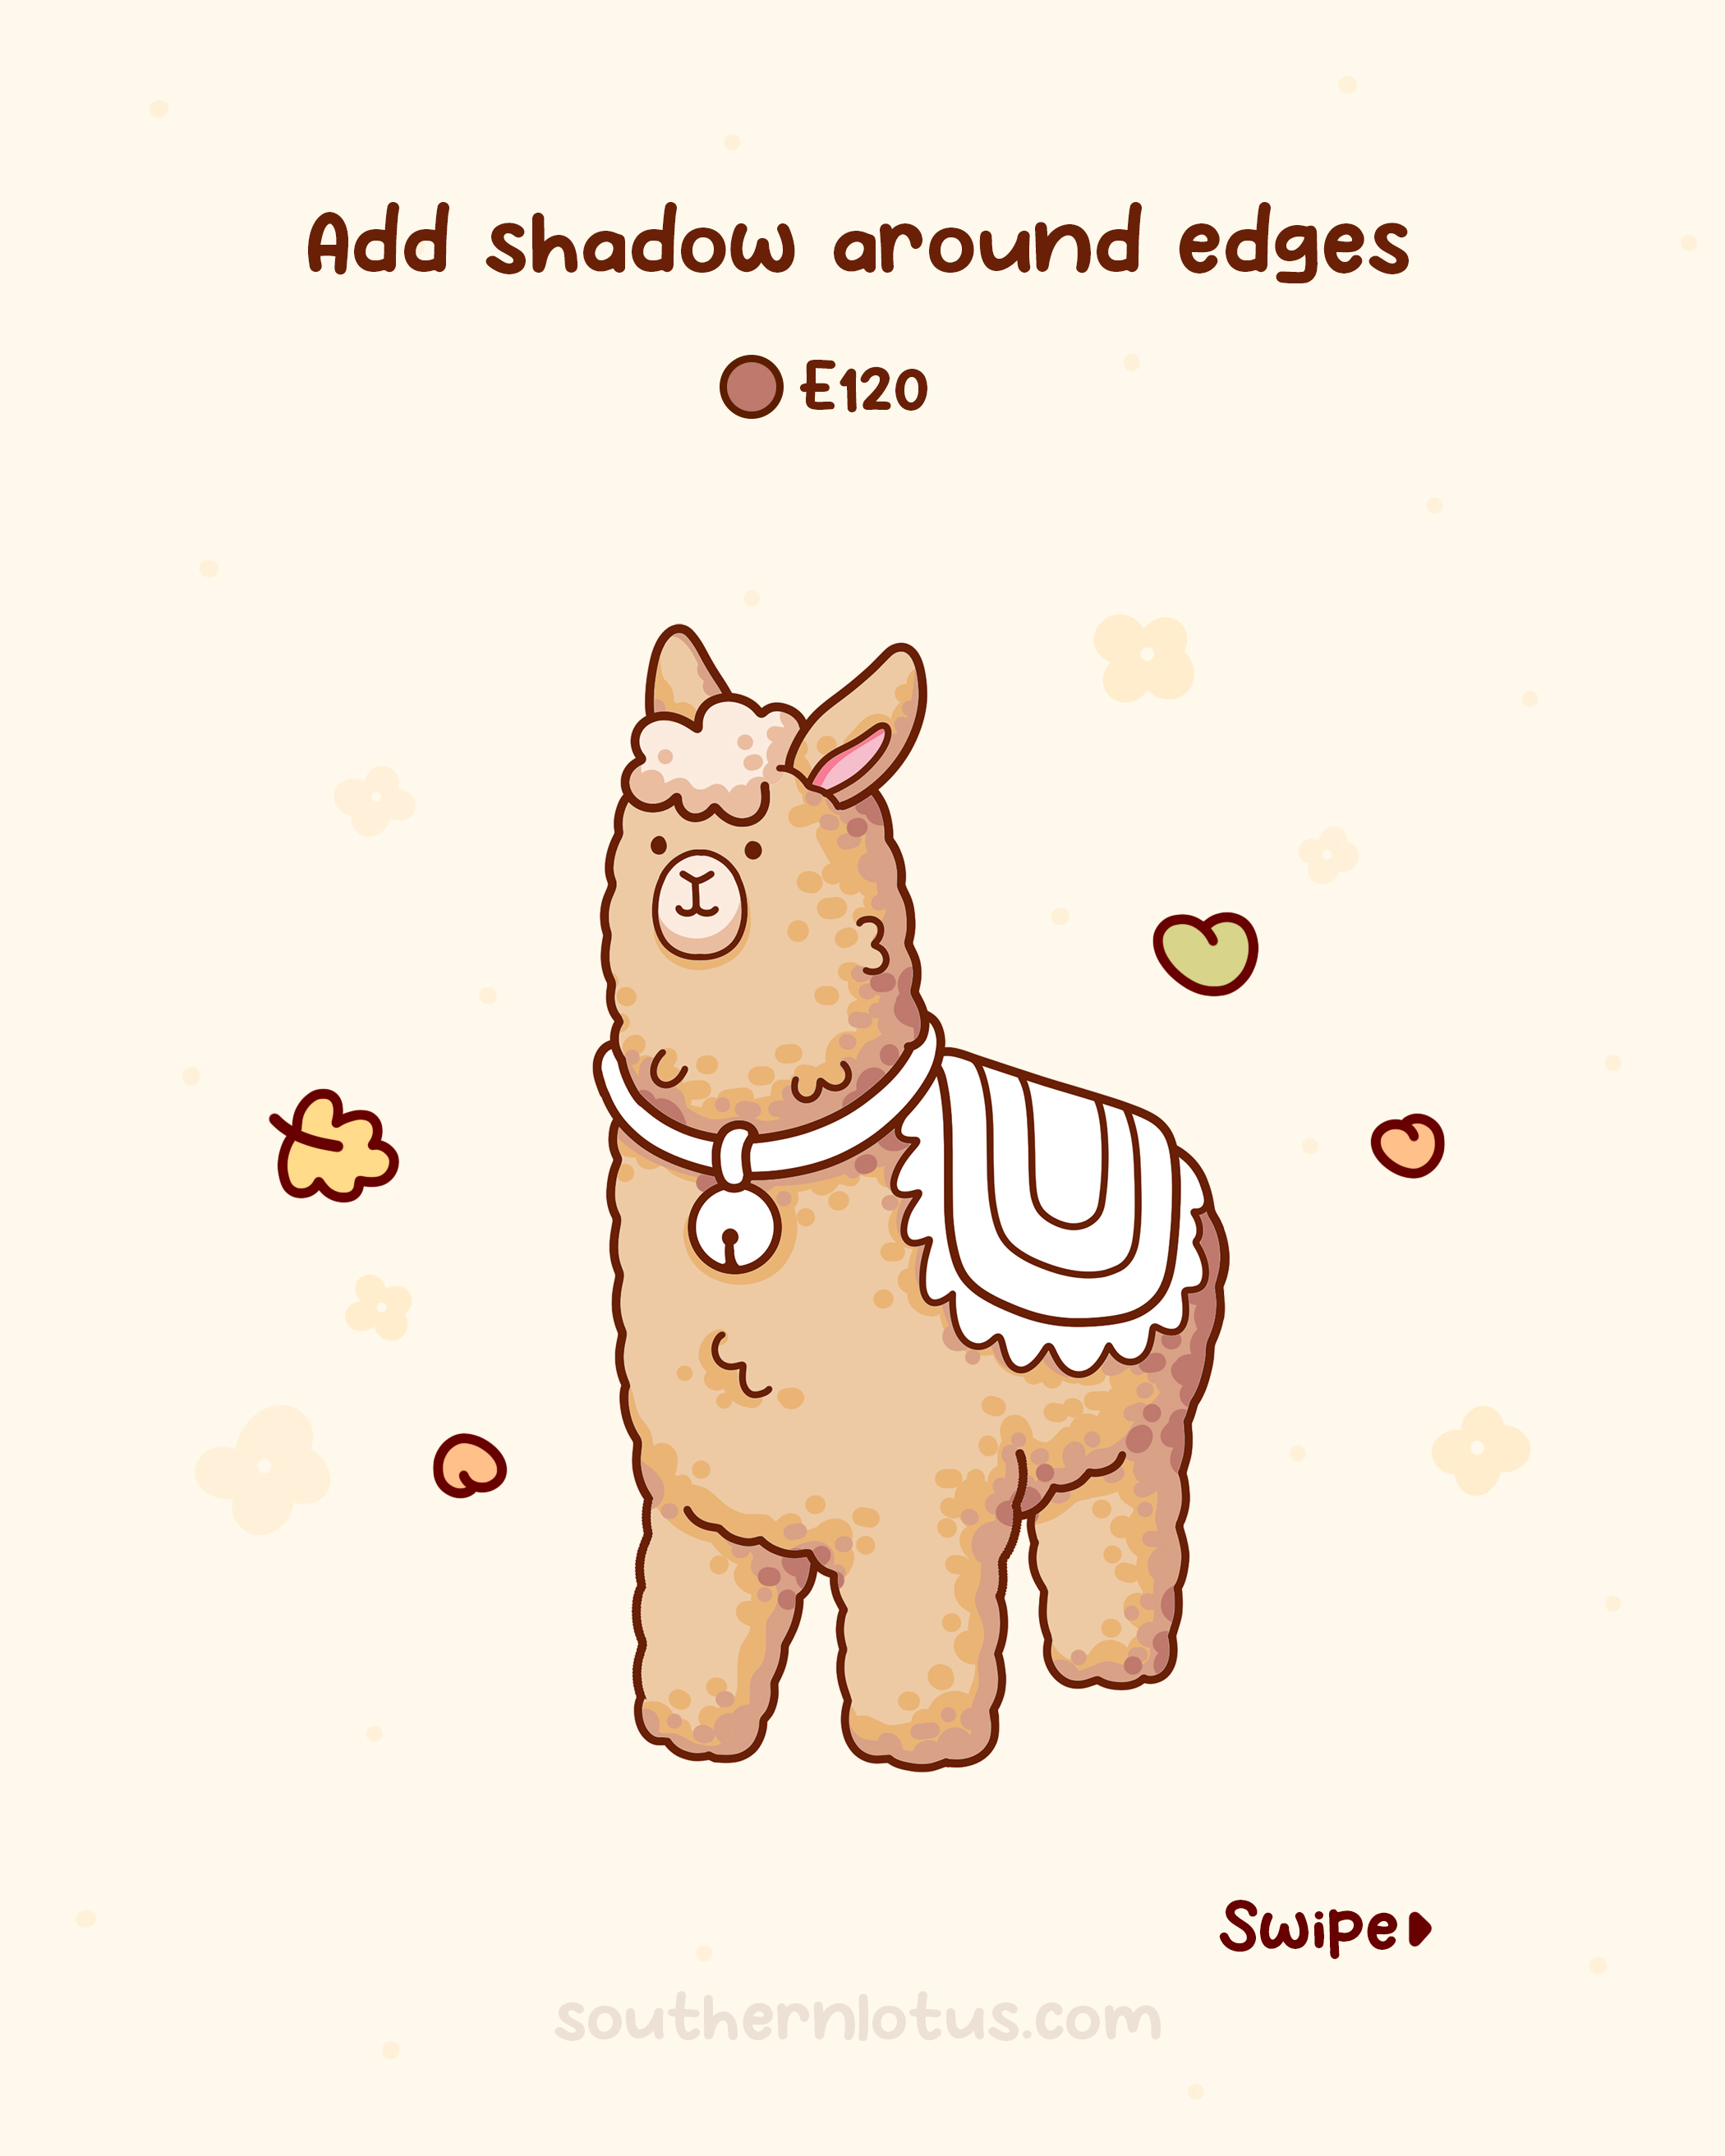
Use your darkest color (E120) to create shadows along the outer edges and the darkest areas (legs and belly). This helps "separate" the alpaca from the background and highlights its form.
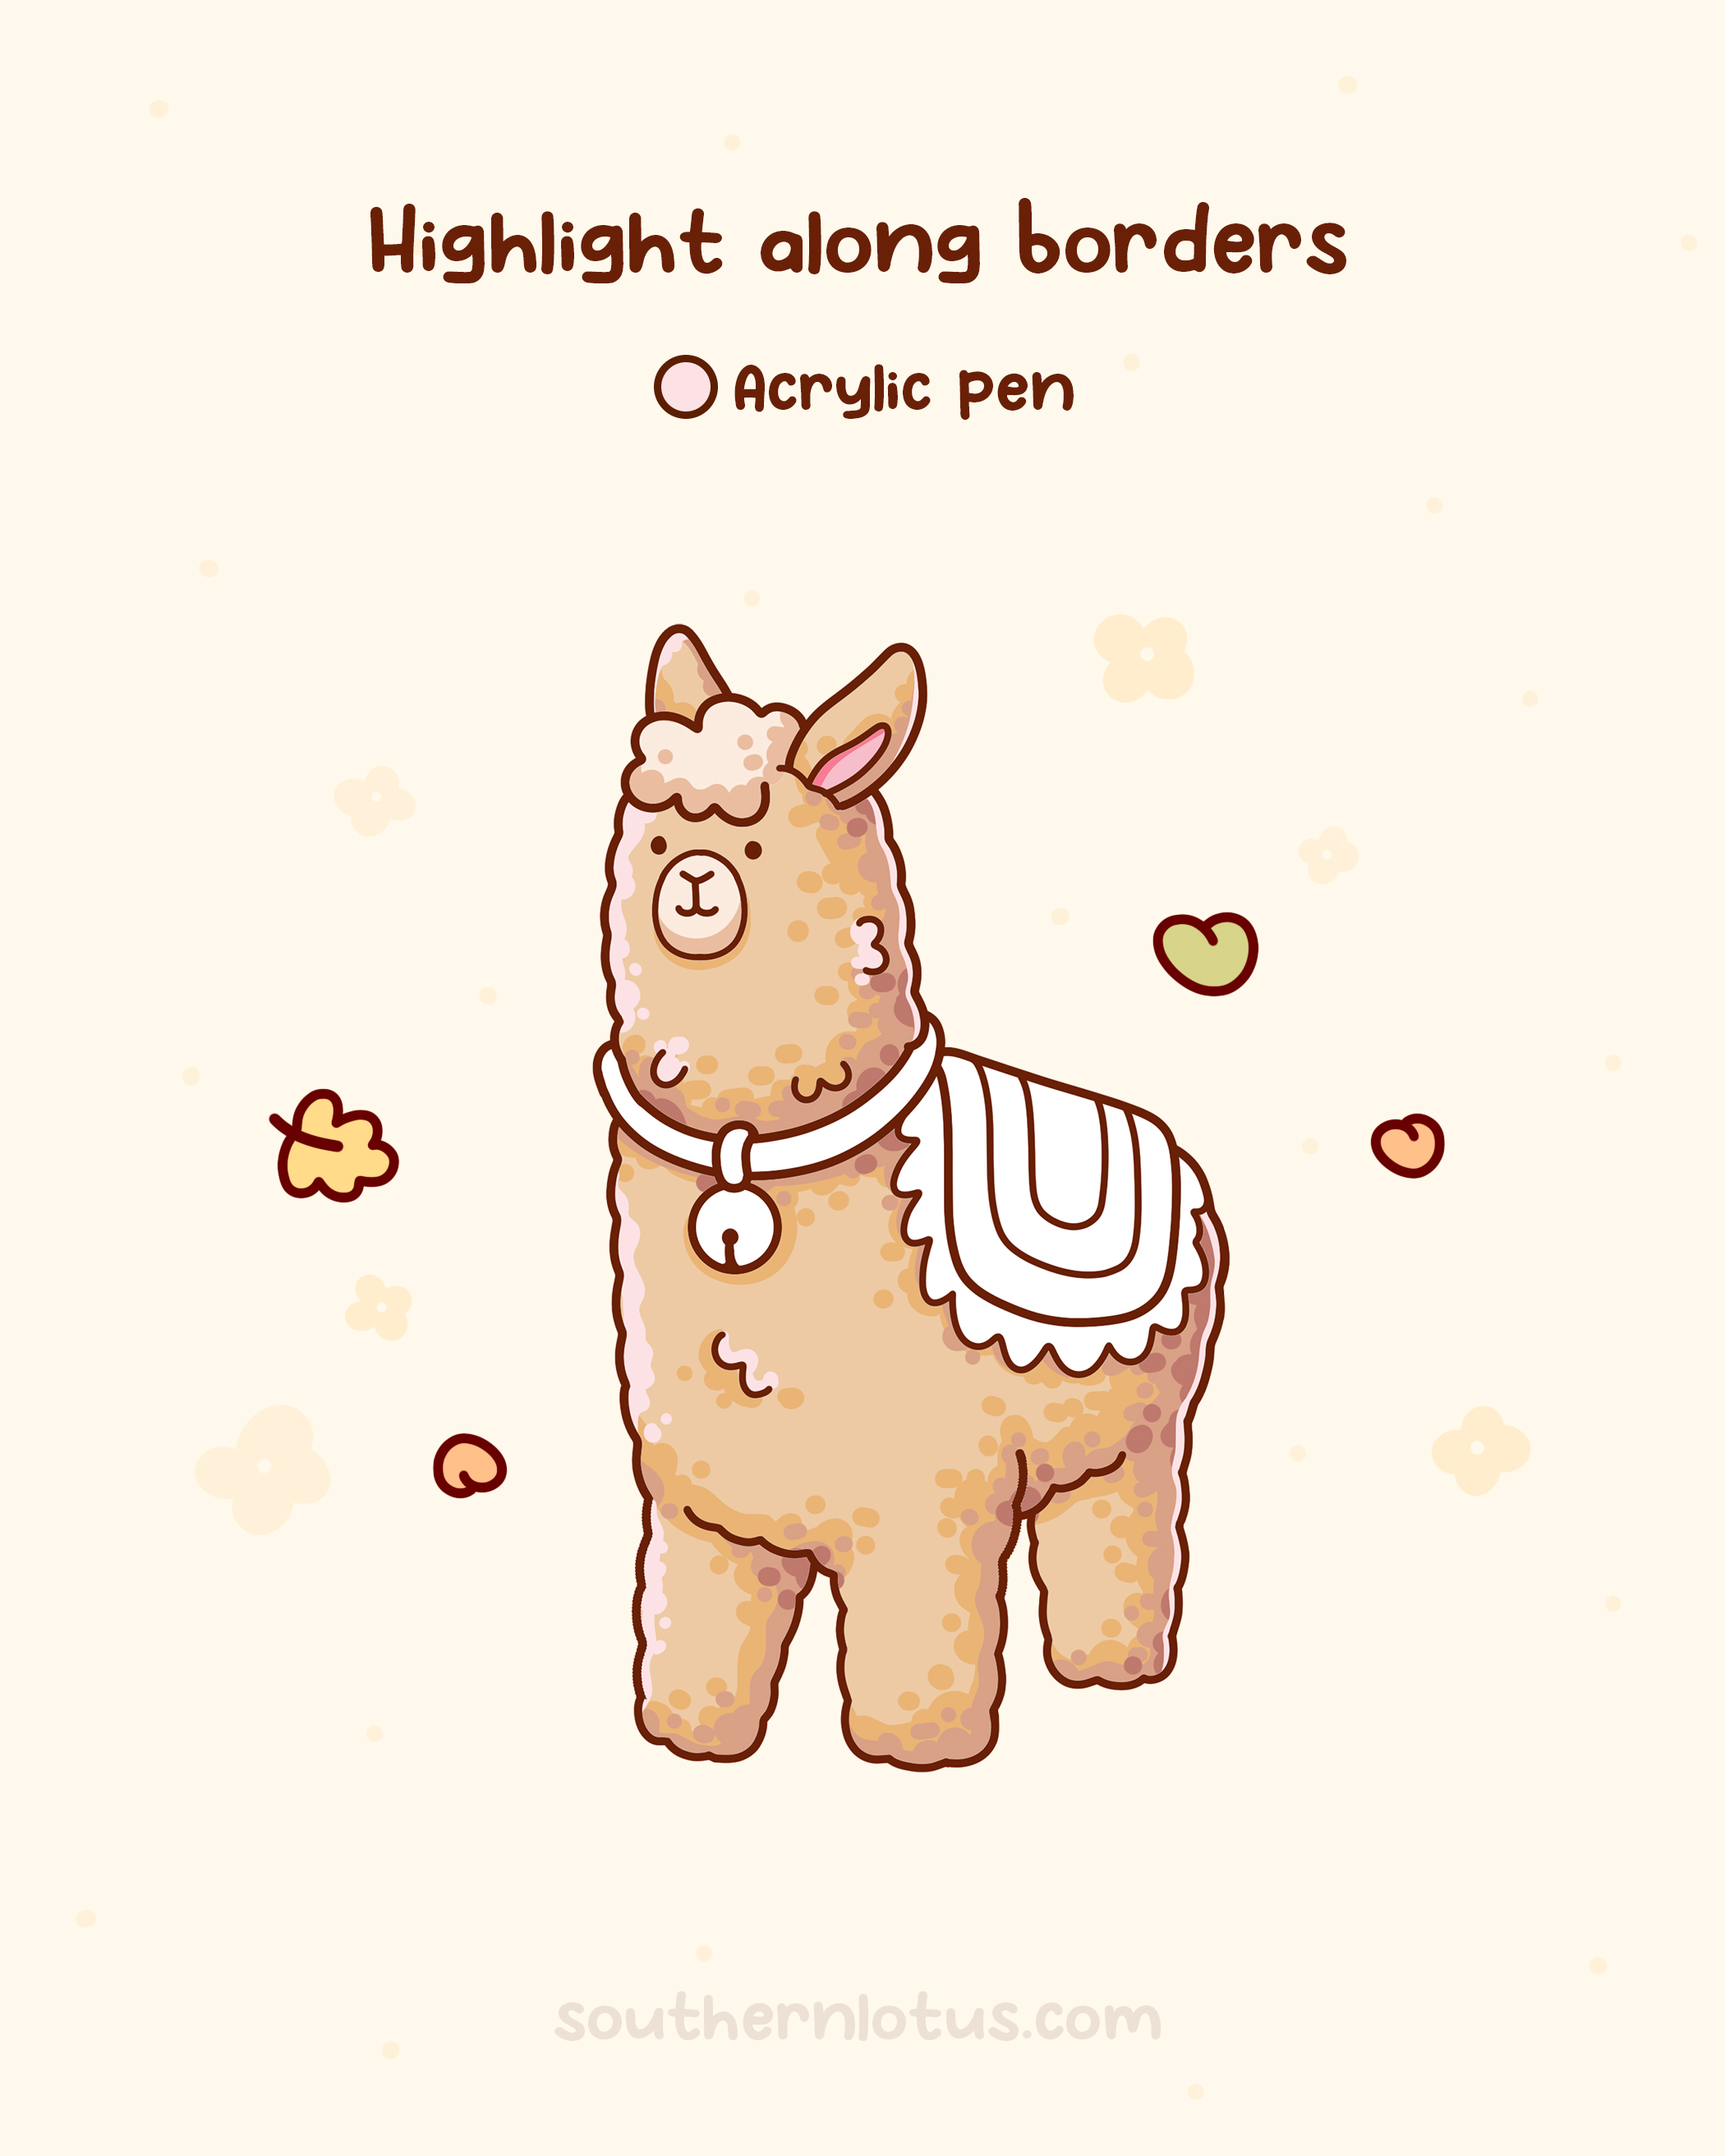
Use a white Acrylic pen to add bright highlights along the borders and areas where light hits directly. These highlights will make the alpaca's fur look shiny and softer.
Now, add color to the remaining details like the collar, bell, and especially the saddle blanket. Use contrasting colors like purple, yellow, and green to make your alpaca more striking and unique. Don't forget to draw some grass or small, cute details around it to make the picture more lively!

We have prepared a high quality PDF file that you can print out and start creating right away.
Enter your email to get our special. Gift straight to your inbox.